Mounting
the Crayola Kidsball Mounting
the Crayola Kidsball
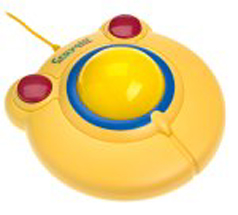
A while back, these things were all
the rage on BYOAC. A 3" trackball with an arcade-like feel, but
without the arcade price. So naturally, I had to have one when I saw
it at Fry's... The main problem with these is that they are very
diffucult to mount on a control panel. So I came up with a solution:
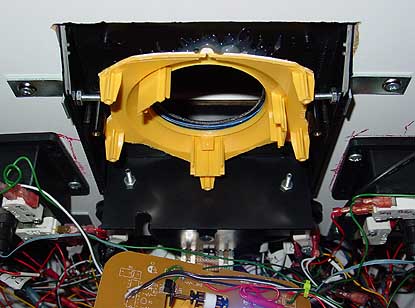
The top half of the Kidsball, cut-down
and mounted to the black box with hot glue
To mount the trackball, I put the
original Crayola housing inside a black project housing from an electronics
store. This was done by cutting away part of the Crayola's housing so
it fit inside the black box. Then I drilled a hole in the black box
the same size (2 3/4") as the hole in the top of the trackball. I hot-glued the
Crayola housing inside the top half of the black box, so the holes lined up.
(Remove the ball and bottom half first to make things easier.) Now it can be easily
mounted on a flat surface. I cut a square hole in the control panel to
mount the box into, then used some L-brackets to connect to the panel.
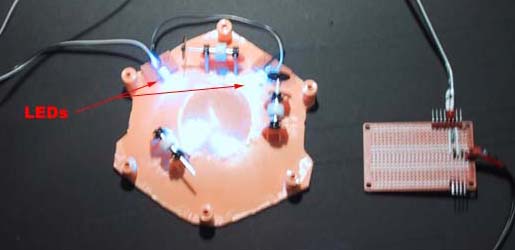
Super-bright blue LEDs installed
I also wired two
2600mcd blue LEDs to the base, and replaced the original trackball with a
translucent blue onel. All the LEDs connect to my custom lighting
board, which draws power from the PC's +5v supply.
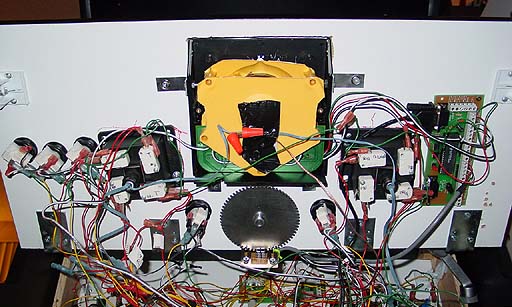
The complete Kidsball mounted
FINAL INSTALLATION
To finish off, I cut a hole in my control panel Lexan,
a little smaller (2 9/16") than the hole in the black box and the trackball housing. I
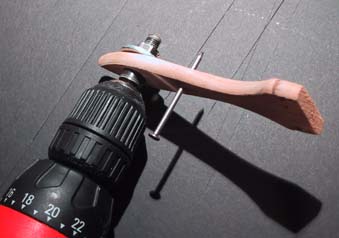
used a hand-made hole drill to cut the odd-sized hole, using a paintbrush
handle, a nail, and a router-bit arbor. The tip of the arbor bolt was put thru a
1/4" pilot hole in the Lexan, then drilled slowly to scrape away at the
Lexan until a hole was made all the way through.
The final installation
|
| The
information on this site is for the purposes of education and
entertainment only. The owner of this site makes no warantees as to
the accuracy of the information, and takes no responsibility for any
damage or injury sustained due to the use of information herein. The
design of the Pac-Mamea cabinet and all photos, computer renderings,
drawings, schematics, and printed information relating to such are
Copyright © 2005 Robert Meyers. No ownership of other
copyrighted material found on this site is implied. |