| .:
Connecting a trackball and spinner to a single USB mouse
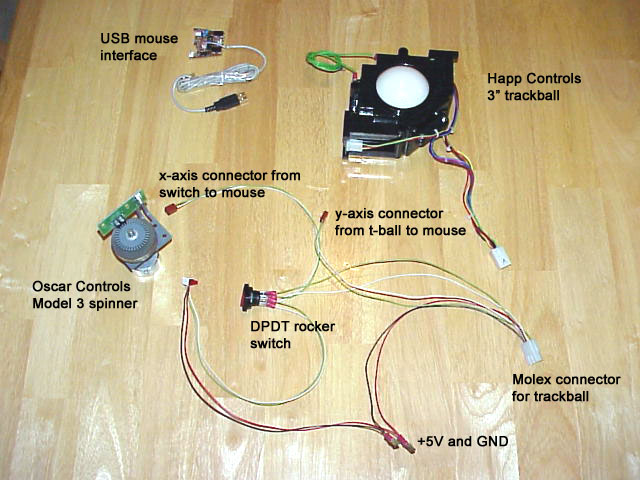
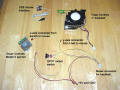
This write-up is to show how to connect both a
trackball and spinner to a single USB mouse interface.
Although this example shows the use of the Oscar Controls USB
mouse interface and spinner, most any USB mouse will work (except
Logitech!) The following components were
used:
You'll notice that I use various connectors to
make a custom wire harness. These aren't necessary if you
would rather cut off plugs and solder wires directly to the
contacts.
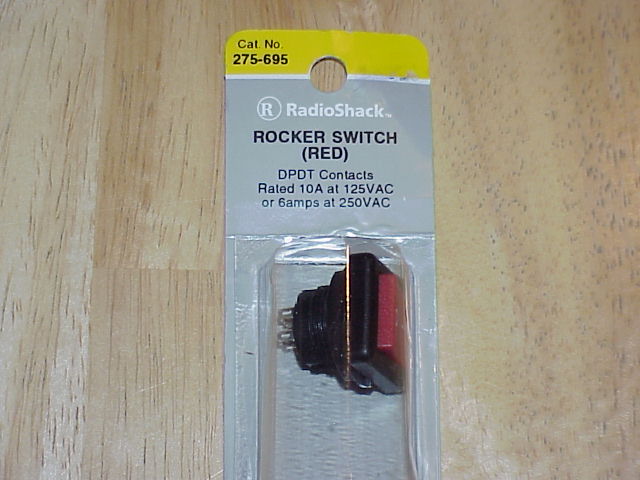
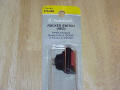
The rocker switch is used to switch the x-axis
signal output of either the trackball or spinner to the mouse.
This ensures that only one device is active at a time. Note
that the trackball will always control the y-axis of mouse because
it is connected directly to the mouse. The DPDT rocker
switch's center lugs are connected to the mouse, and the lugs on
the ends connect to spinner and trackball.
 -
-
If you are using your own mouse, the center lugs
on the rocker switch should be connected to the outside pins where
the x-axis black phototransistor is on the mouse board. More
in-depth examples of basic mouse hacking can be found here:
http://www.members.shaw.ca/bakaye/tballhack.htm, and
http://mamewah.mameworld.net/mousehack.html.
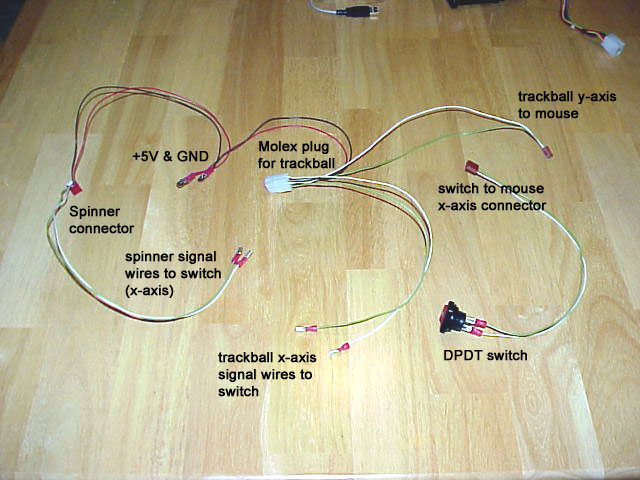
Making the wire harness
The first step was to build the wire harness.
As mentioned above, the connectors aren't necessary if you are
making a "permanent" setup, but I like to try to keep the
individual components easily removable.
 -
-
 -
-
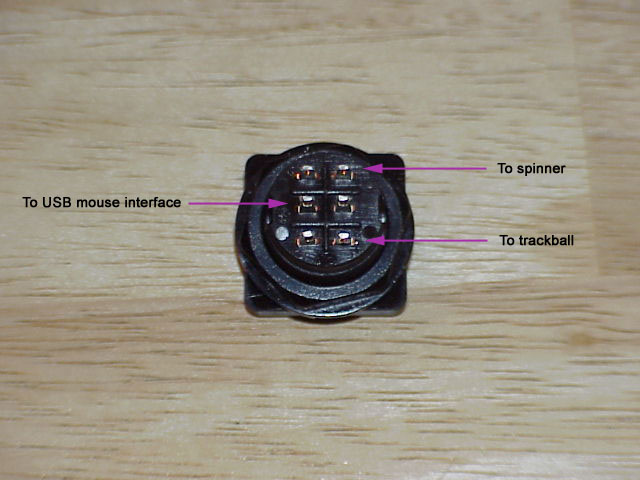
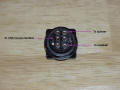
Here is the pinout for the Happ trackball.
I believe that the Wico and Betson Imperial trackballs are
the same, but you should verify yours before following this
diagram.
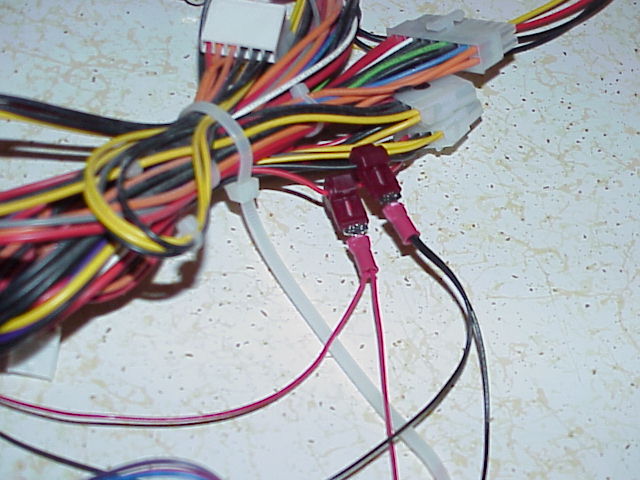
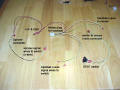
The +5V and Ground wires for both the spinner and
trackball are twisted together and crimped together with a .250"
spade terminal. The spade terminals are then used to plug
into the wire taps that were connected to power leads from the PC
power supply. Do not make these connections to your
PC's power supply with your computer turned on!!

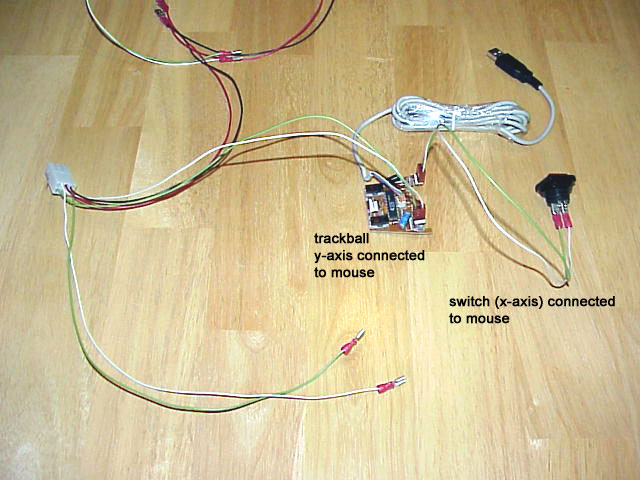
Final connections
The trackball y-axis leads are connected to the USB
mouse, and the center lugs from the rocker switch are connected to
the x-axis of the mouse.

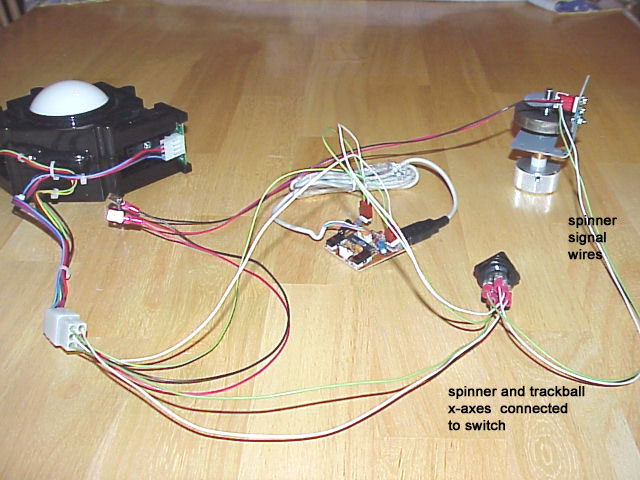
Next connect the spinner and trackball x-axis leads
to the upper and lower lugs on the rocker switch.
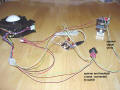
Verify your connections with a multi-meter to
ensure all your connections are correct.
Turn on your PC and wait until Windows is loaded. Finally
connect your USB mouse to an open USB port on your PC, and your
mouse will be automatically detected. You should now be able
to switch between the trackball and spinner by using the rocker
switch. That's it! Any questions?
Please email
Email for information. |