
The following will detail the
conversion/restoration of this cabinet.
BACK
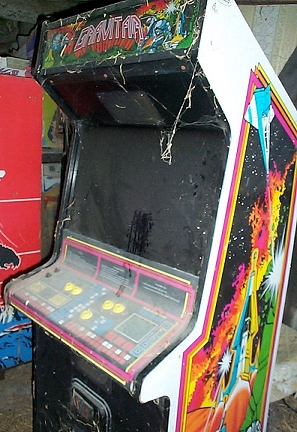 |
Well, pretty dirty, and empty. I hate to say it, but this good looking fella is
headed for a glowing future in Mame. I love the artwork
(never did care for the game to be perfectly honest though) |

PERCENT COMPLETE |
| |
On subsequent
research, it turns out that Gravitar was the least popular of
all the Atari Vector games. Guess that makes me feel a bit
better. Still, this will be as close to reverse
convertable as possible, however I just don't ever see it
happening. Best to get it out of the filth and being used
by happy gamers again. |
 |
|
| |
 |
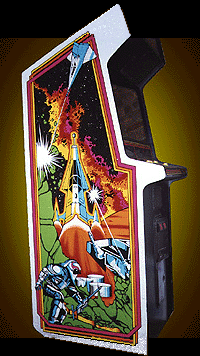
Since the panel is in such nice shape, I can't bring
myself to destroy it with a drill. I'll be making a new
wraparound panel out of wood, and hopefully selling this to
someone looking to restore their gravitar. (The cone buttons
were rotted and the undersides crumbled to dust, and the leaf
buttons were in very bad shape). |
|
| |
|
|
|
| |
 |
|
| |
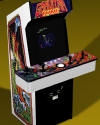
I did a
quick mockup of how this cabinet and control panel will look
when it's done. I plan to implement some of the artwork
from the cabinet into the underlay. The control panel mockup is
above, and a shot of the planned cabinet is below.
Considering how closely the Dyno and Power cabs matched the
original mockup, and the fact that I have the control panel
layout from those panels, this probably will be very close to
how it will look. |
|
| |
 |
|
| |
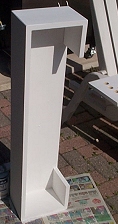
Construction
of the base went quickly, and the finish coat is applied.
I'll mount it to the cabinet and give it a quick polish with the
hand buffer to give it a nice finish. It was one of the first
nice days we have had around here, so I took the parts outside
to grab some sunshine :) |
|
| |
 I
printed the underlay, drilled all the holes except the
trackball, and put it together for a very quick trial run to see
how it will look. So far so good! Now to mount the monitor
and order some parts for this panel! I got a couple of e-mails
asking what the graphic here is: It's a piece of the
original artwork from the Gravitar flyer, that was released as
promo when the game was new. It just ties the theme and colors
all together and make the cab look as original as possible (with
a crazy 4 player panel on it!). I
printed the underlay, drilled all the holes except the
trackball, and put it together for a very quick trial run to see
how it will look. So far so good! Now to mount the monitor
and order some parts for this panel! I got a couple of e-mails
asking what the graphic here is: It's a piece of the
original artwork from the Gravitar flyer, that was released as
promo when the game was new. It just ties the theme and colors
all together and make the cab look as original as possible (with
a crazy 4 player panel on it!). |
|
| |
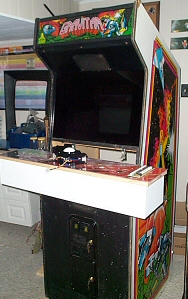
Here
is the cab with the wraparound panel attached. The space
just above the panel will have some plexi with an instruction
sheet. I also think I will do the front of the panel in
black, and the sides in white, to match the color-scheme of the
cabinet. I've also used a hand sander to round off the
edges of the panel, and now I need to route the t-molding slot
all the way around. The button/trackball and joystick
holes are all drilled, so all I have to do is get that t-molding
on and get it all wired together. Next will be the mount
for the monitor, and finally the artwork touchups and selecting
the computer system. Smooth sailing!
PLEASE NOTE: THE PANEL IS
NOTCHED, AND MOUNTED TO 2X4's THAT ARE ATTACHED TO THE INSIDE OF
THE CABINET, THE CABINET IS NOT CUT IN ANY WAY! |
|
| |
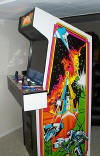
A
little more work and it looks like this. The artwork is
all coming together so well. The controls are in place.
The wiring is complete. Monitor, computer and debugging
are really almost all that's left to do. |
|
| |

Marquee was
going to be a printed one, but this one is in such good shape,
and looks so damn good, that I'm going to leave it unless the
new owner wants it changed. I'm really starting to regret
that I didn't keep this one, as I'd first planned. Ah
well, there's always the NEXT one. |
|
| |

I got the
19" IBM monitor, and stripped off the outer casing for a more
authentic look. It was a tight fit, but fit it did.
Here is is in place, before the cardboard bezel is set in place.
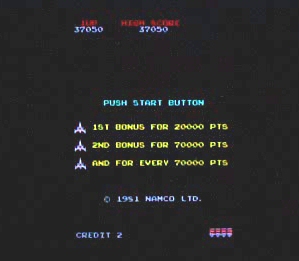
The smoked glass finishes the effect. Below, the Gravitar
cabinet sees its first ever game of Galaga:
I just need
to buy the computer system for this. An AMD 2200+ system
with 256meg ram and no onboard crap should play just about
anything that's thrown at it. This cabinet features two
speakers, one below the control panel, and one above the screen.
I might put a subwoofer system in to give it that major OOOMPH,
but that decision is up to the new owner. The control
panel seems to work flawlessly with the I-pac4 interface, and
the trackball and spinner combo will be tested once the computer
system is here, since the power for those comes straight from
the 5V supply lines I splice into the computer. The next
picture I post should be the 'finished' one...so stay tuned! |
|
| |
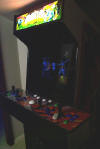 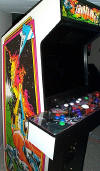
Well, there you have it. A cabinet saved from rot and
decay in a barn. Still restorable if somebody was
determined to do so, but much more fun as it is. I think
this one was my best work so far, it just all worked out so
well, and I'm sure it will be played by drunken crazy people for
years to come! |
|
|