|
Here's a different one,
it's a jukebox project that was started by a public school
class! In all honesty it's pretty good, but this one is
going to a charity auction, so I want it to be 100%. Above
is how I got the cab. There were a few problems,
but otherwise it was nice (good work kids!) |
|
| The panel needs
the most TLC. The trackball is mounted a bit sideways, a button
hole is filled with an extra thin layer of bondo, the two big
buttons aren't connected to anything, and the blue paint has
brush marks in it...time to bring this from the classroom to the
big time! |
 |
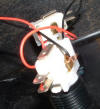
| Wires were just twisted, not
soldered, just begging for misfires and problems. |
 |
| I like the buttons, they
light up real neat, but the setup doesn't work well, the tiny
button here is used for selecting songs, while the big one is
-supposed- to start the computer, the third button is an extra.
I plan to make the big buttons left and right select buttons,
and the little button the power.
|
 |
|
Computer is sort of just stuck in there with
tape. Not bad if the machine will never move, but they
-always- get moved. It's got a cold cathode tube in there
however, which is a nice touch. (wait till you see
the cutout they did for the back, it's a great idea!!!) |
 |
| Say hello to Mr. weld-it! |
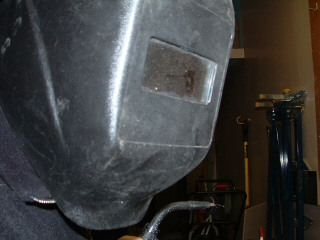 |
| Okay, I ripped apart the
panel, and started the changes. I grabbed some bulk steel
stock from the shop and cut out a plug for the hole near the
trackball. Normally I would just use a square piece and
spot weld it in and bondo, but this one needs to be flush or the
trackball won't sit right. Oh and don't worry about the
surface rust on the steel, I grind it shiny before I use it
(guess I shouldn't store it beside the filler spout for the fish
tank eh?) :) |
 |
| Plug is set in place, and I
welded in the gaps. It took a bit to build up the
material, but then I used the power grinder to make it all
flush, and it was strong enough to drill for the trackball hole. |
 |
| Here's a piece cut from that
rusty steel stock...told ya I get it super shiny before I
install it! This one is to fill the button hole that
doesn't need to be flush underneath. I spot weld it in,
fill the indent with bondo and then sand flush. |
 |
| Three patches welded in.
Oops, I only wanted two patches! |
 |
| The panel is minty-fresh and
ready for plexi and the new mounting holes! |
 |
| There we go, ready for an
underlay if it's wanted. Lights are wired to the computer
5V, and they work perfectly. Time to redo the labels in
the buttons. |
 |
| I had some pvc pipe, so I got
the crazy idea to cut it for drive risers and cd mounts...you'll
see what I mean! |
 |
| I went out and got a sheet of
acrylic mirror. You can cut and shape it just like plexi...well
almost like plexi. I cut to size the panels for the
monitor surround. It's just not a juke without mirrors. |
 |
| Plastic mounts for the drives
in back are cut and smoothed plexi with the undersides painted
with gold paint. Gotta have the glam! |
 |
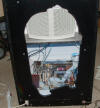
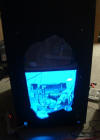
| Couple of pictures of the
computer compartment. Wires are still wild in there, but
you can see the mirror motherboard mount and the cold cathode
light. **DOH! This won't work, those pci cards
aren't grounded, in fact even the motherboard isn't properly
grounded...guess I gotta stuff that into a conventional case.
No wonder I was getting lockups! @#$%! |
  |
| Two more pics of the back
compartment. It glows real nice it does. Almost done
in there. (case added later) |
  |
| There's the cd mounts.
The two of them flank the monitor. Just a silly
little detail, but it hopefully makes the piece stand out.
I added 1/4 round where the pieces meet (not in this pic). |
 |
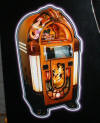
| Gotta give Joff and the class
credit for the juke pic. It's awesome! |
 |
| |
|
| And there is the finished
product! Just in time as it needs to be delivered in about
9 hours. Time to get some sleep! |
 |
|
List of changes to cabinet
-
repair/redo control panel
-
Completely rewire cabinet
-
Replaced flukey marquee
light
-
Permanently mounted
speakers in cabinet
-
Covered speaker hole
above monitor
-
Applied acrylic mirrors
-
Replaced plexi on marquee
-
Remount motherboard in
properly grounded case
-
Wiped and re-installed
Operating System
-
Built and mounted CD
accent pieces.
-
Touched up paint chips.
-
Replaced sideart on one
side.
|