
Project Code: STARCAB

|
|
|
|
|
A nice little cabinet. Vertical screen, wonderful campy orange paint, car-bumper door strips nailed on with rusty nails...who could ask for more!!!

There is a good chance I will set this one up as a horizontal screen machine, and redo the bezel much like the Project X cabinet. I might try to keep a bit of the orange color on the front of this cabinet, it feels just so 80ís for some reason. The controls will be the first to go. Here is a shot with the one-piece control panel and bezel removed. I donít think I can salvage that sideart, so Iíll have to strip it off and probably end up cleaning and touching up the sides.

Stripped out the crap controls, and cleaned the cabinet. For the sake of saving myself a lot of work, I think the marquee will not light up on this one. I used a slot cutter I ordered from from t-molding.com, and installed some nice new black edging. Here you can see the piece of Lucite in place, and the black overlay material now covering the control panel.
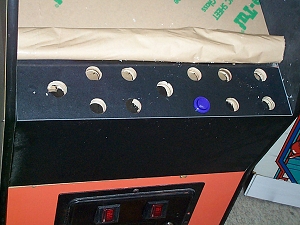
I peeled the protective covering off the lucite to see where the control panel holes will go....
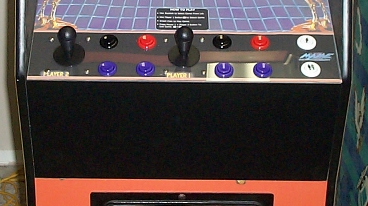
...and a bit of drilling later, and presto! One pristine controller ready for a game of crazy climber, Robotron or whatever youíre thinking of throwing at it!
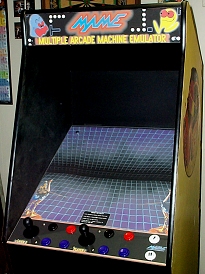
Here is the cabinet now. I canít cut the screen hole in the vinyl underlay until I get a monitor for this, so the gridwork stays Ďas-isí for now. I have the i-pac ready for this one, so as soon as I get the computer installed and a door panel built for the back, itís done.
UPDATE! This cabinet sold yesterday! Itís going to be on ass-kickin Xmas present, so I have to get it finished up and lookin all pretty. Ya, pretty I said!
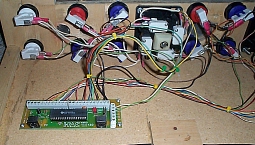
Wiring up the controls went pretty quick. Here you can see the I-pac mounted to the underside of the main control panel.

To get the coin lights working, I did a power supply hack. The bulbs are automotive 12V, so I wanted to get the 12V power from the computer. I took one black wire and the yellow wire from a ďYĒ connector, cut them and wired them to the two coin lights. If you had 5V bulbs in the holders, you would use the red and black wire. When the computer is powered up, PRESTO...working coin lights!
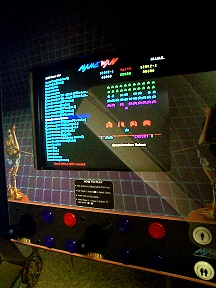
I measured and traced out the position of the new monitor, and cut the hole in the bezel graphic. Fortunately, I measured right! Looks very very nice, if I do say so myself (and I do!)
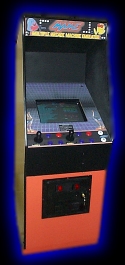
Finished!
|
(c)2003 MMP. All rights Reserved. No duplication without permission. |
