
Project Code: ZAKK-PAC
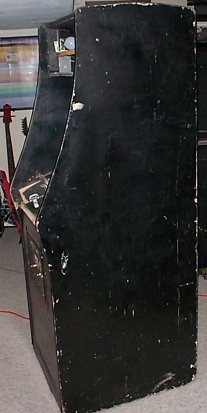
Looking to restore or make your own Pac-Man cabinet? Maybe you have cut your own from the online blueprints in the how-to section here. Well this can help you put the finishing touches on that cab. Watch as I turn the near junker at left into a near-perfect pac cab!
|
|
|
|
|
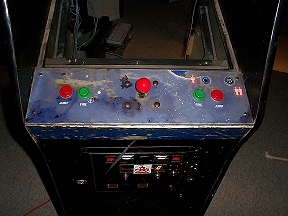
What a mess!
After finding some prices on replacement overlays, marquees, glass etc, I decided to have a pro print shop do up replacement graphics. Check out the quality of these! These snaps don’t do these prints justice, they look like a million bucks. Sure they’re done on thick paper, but they saved me a bit of money and hassle over dealing with a certain sideart supplier in the US. They cost about $225US for each set, which was well below the $295+$20 UPS shipping plus the criminal ‘brokerage fee’. and...well you get the idea... There is now a guy that says he can do them on the self-adhesive vinyl for $250US, but where was he when I was doing these up??? :)
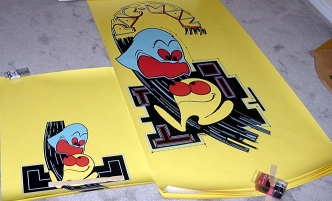
Full sideart and Kickplate!

Bezel (before cutting for monitor)

Control panel overlay.
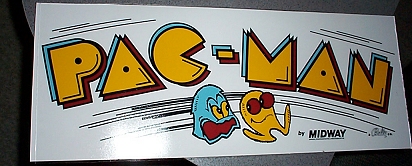
Marquee
Due to the overwhelming e-mail I continue to get over this project, I will tell you that almost all the artwork I used for this project I got here. However, I did clean up those graphics before I had them printed. The sideart graphics I did from this file, and if you notice, the graphic is the same on either side of the cabinet. You just have to add yellow filler to the graphic for right/left side.
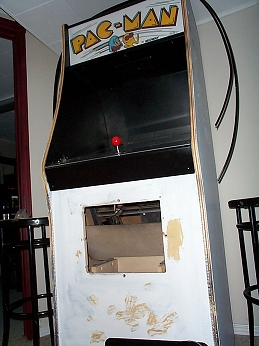
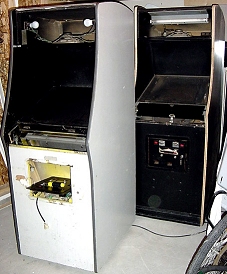
Okay, here’s three cabinets ready to be transformed. One is mine, and the other two are being done by my good friend Joff (The guy who got the sideart done, and made this project possible!). Makes you wonder what went on in the minds of those arcade owners when they painted all that black paint over good sideart? Oh well, we’re about to reverse the damage somewhat(?).
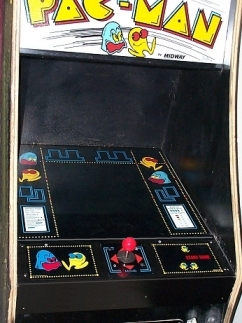
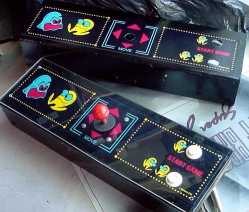
Joff’s two control panels getting the treatment. (Note the CPO’s are protected by a sheet of lexan).
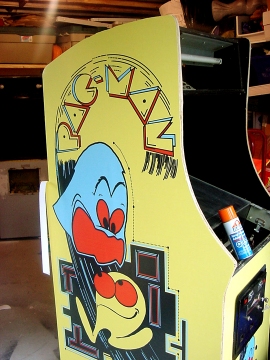
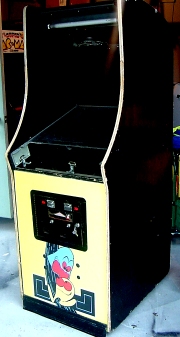
Joff’s fist cab gets the kickplate installed. (I’m letting him figure out the best way to apply the sideart before I try to do mine...I’m sneaky that way)
Ooooh man, I know that the original artwork was painted, but these things look F*N AWESOME! Note the can of spray adhesive. Just stick and trim. The protective coating we are going to apply will give it that shiny finish, and make sure these cabs STAY looking right-out-of-the-crate perfect for a long time to come!
Let me know if you’re interested in restoring your own pac cab (Or really you could do it with Galaga or any other cabinet) I can help you through the entire process... and it IS as easy as it looks!
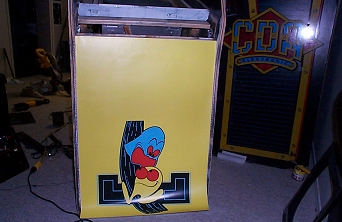
I ended up using a more expensive 3M 77 spray adhesive. If you use it, be sure you use it in a WELL ventilated area. The first bit of spraying gave me a 3 hour headache. I wore a spraypaint respirator mask when I did the sides, and felt better. I sprayed a strip at the top, applied the top edge of the graphic. I then sprayed the rest of the cabinet, and smoothed downwards from the center out. Ended up with a very nice finish.
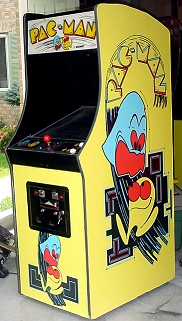

The one on the left is mine, the one on the right is Joff’s. Pretty slick if we don’t mind saying so ourselves!!
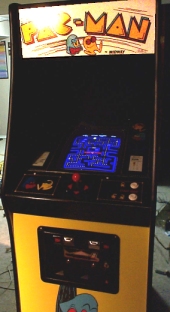

Ahh, a nice game of pac-man in a darkened room. This, people, is what it’s ALL about! :) The computer is a simple Pentium 133 with 64 meg of ram.
Finished!
|
(c)2003 MMP. All rights Reserved. No duplication without permission. |
