One of the most important parts of your new cabinet...and for some the most daunting.
Making a marquee look as good or better than an arcade one is easy! It surprised me at first when I got mail asking me what company I had make my custom marquee (thanks! :)), but then I got another...by the third one I decided that to some this doesnít look like a 1-2-3 project. (Let me assure you that it is!) All you need is a floppy disk, a phonebook and a little bit of cash.
First, we need the graphic that we are going to use. If you are good in Adobe photoshop, or Paint shop pro, youíre all set! Just do up the graphic and resize it to the size of your original marquee (or the size limit of the print-shopís printer). If you arenít so handy with graphics, there are some pre-made ones on the marquee download section for you, or ask me to do one up for you.
Now, you can always print out a half-decent looking one at home on the old bubble-jet. Iíve seen some that were quite good. However, for the deep colors, and black blacks, a laser print is best. If you do it at home, think about doing up two copies, and placing them together.
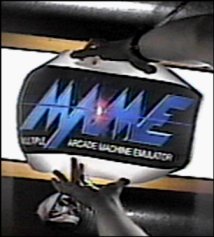
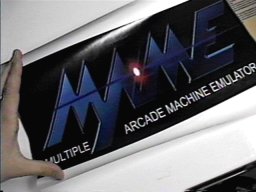
Once you have your graphic ready, get out that phone book and find the nearest print shop! Transfer the file to floppy disk, drive to the print shop and print Ďer up! My latest looked something like this:


I trimmed off the excess paper, and I was ready to cut up the lucite (lexan, Plexiglas etc). I used the old marquee as a template. Leave the protective paper on the plastic, if it is new, or place some masking tape along the cut lines, to keep scratches and cracks from developing.
Now I went with 3/16" sheets of this stuff (which is non-yellowing), because it was closest to the original marquee thickness. When I do my next one, I will use plastic half that thickness. On this marquee, I simply taped the print to the backside of the Lucite. Since then I have started pressing the prints between two thinner sheets. This keeps creases from developing, and makes it less likely to tear when putting it back in the cabinet. Also, if you decide to do your marquee in multiple pieces, this makes keeping them together just that much easier.
Now Iíve tried just about everything to get a good clean cut in plastic. Scroll saws, mitre saws, table saws, rip saws, hacksaws, axes (jk). What I find does the very best cut, is a nice sharp utility knife and a big wide aluminum ruler. Some say to scribe the cut once, like you would with glass, then set the cut by tapping the opposite side with a small tool, and then snapping it over the scribe in a long piece of wood dowel. Well, Iíve had that work, and Iíve had that not work. Ticker pieces seem to accept that method better. For thinner pieces, I like to scribe and scribe and scribe, then press the Ďgoodí side of the plastic between two sheets of plywood (or similar, and then snap off the garbage piece. I have yet to screw up with this method, but thereís always a first time... try your method on a practice chunk first if you can, and see what works best for you!
On my cabinet, the original florescent lamp was burned out. I replaced the bulb, but it still only worked if I fiddled with it a bit. Reading a while on the internet, I heard talk of a Ďstarterí. Well, I know what a transformer is supposed to look like, but a starter? I noticed that Bob Roberts sold starters quite cheap. So, I removed the lamp assembly and took a look. There isnít much to it! There is some wires, a transformer, and voila! A starter! I wiggled this fellow, and the light would come on. I pulled one out of my other uprights, and swapped it, and the light worked flawlessly! Oh, and the starter looks a whole lot like this:

You remove it by twisting it and pulling up.
I was about to send an order to Bob. However, Home Depot sells these things in packages of two for just a couple of bucks in the electrical section. I bought a pile and replaced all my starters. Rarely is a repair so easy! (Sorry Bob!)
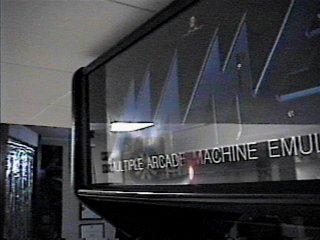
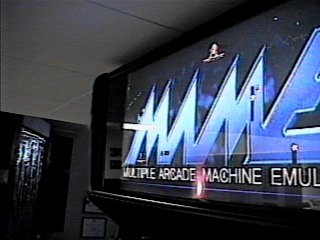
Well, with my light working, and my marquee built, it was time to rebuild and try it out! I think youíll agree that the result was worth it!!

Just a flick of the switch and...

Whamo! What a difference from what I started with!!!
Now the one thing I would try differently next time would be to use two thinner pieces of plexi, and sandwich the print in between them. I have plans for new marquees, and I will emply this technique when I do them.
(c)2002 Massmame Inc. All rights Reserved. No duplication without permission.