|
.: Build a cheap degaussing coil
NOTE: If you are not comfortable with hacking together some wires and plugging them into an electrical outlet, then DON'T! Naturally, I will not be held responsible if you attempt this and electrocute yourself.
Interested in building an extremely cheap degaussing coil? The below coil was made entirely from spare parts. If you have a dead PC monitor laying around, then you are almost there. Chances are very good that your dead monitor has a degaussing coil, all you need to do is remove it. If you don't know how to safely remove the degaussing coil, then just stop reading right now. :) Otherwise, you can build your own coil by purchasing some 24-22 gage magnet wire and loop it into about a 6"-9" diameter circle about 3/8" in diameter. If you loop your own coil, be sure to properly insulate any splices with electrical tape rated for at least 200V.
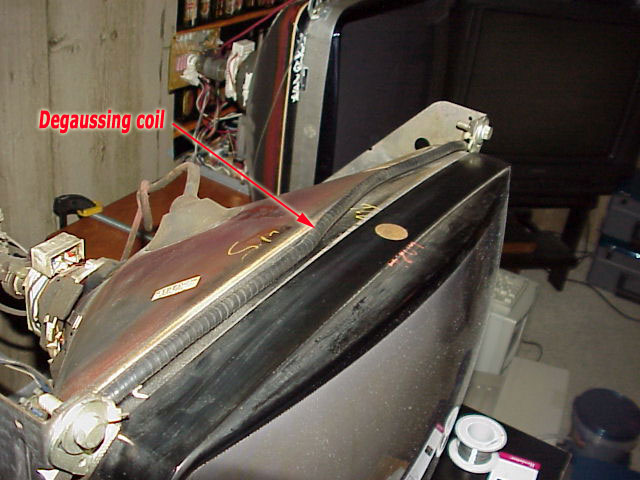
The PC degaussing coil is wrapped in black tape and surrounds the perimeter of the tube. It just so happens that my dead monitor was a 19", same as in the above photo of a 19" arcade monitor.. The below graphics are used because I lost the photos I took during the construction of my coil. :-(
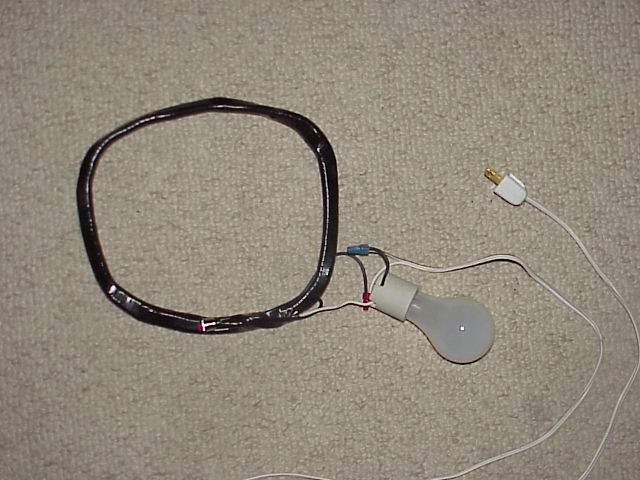
The degaussing coil is made into a smaller coil because I am going to add a light bulb to the circuit to limit the current. The original coil originally had circuitry onboard to limit current through the coil, but that has been removed. Because I am going to limit the current through the coil, by folding the coil in half we are increasing the strength of the EMF by essentially doubling the amount of turns on the coil. In other words, I'm reducing the current and increasing the turns. Be sure that the current in the multiple-coil circuit is going all in the same direction, that's how electromagnets work! If the coil is connected directly to 110VAC as is, it will get very hot, very quick. To control the current, a standard AC light socket is wired in series with the coil. You can vary the range and effect of the degaussing coil by changing to different wattage light bulbs. Low wattage bulbs create a more powerful field, and higher wattage bulbs create a narrower, less powerful field. I also added a momentary switch in series with the socket to turn the coil on and off. The original coil has a two wire connection for plugging into the monitor chassis. Cut off the plug and connect one wire to the momentary switch and the other will go straight to the white ground wire. A $0.99 general purpose extension cord can be cut for this. See the below illustration.
Here is my very ugly, semi-circle shaped degaussing coil. I will warn you in advance, do not bring this one out at parties, everyone will laugh at you! :) As shown, the coil is approximately 9" in diameter. NOTE: When you build your coil, move the light bulb socket closer to the outlet plug than I did. With the bulb this close to the coil, it will create a glare on the monitor and I like to watch the colors move on the screen when I wave the coil in front of the tube. It is not necessary to have the monitor powered on to degauss it.
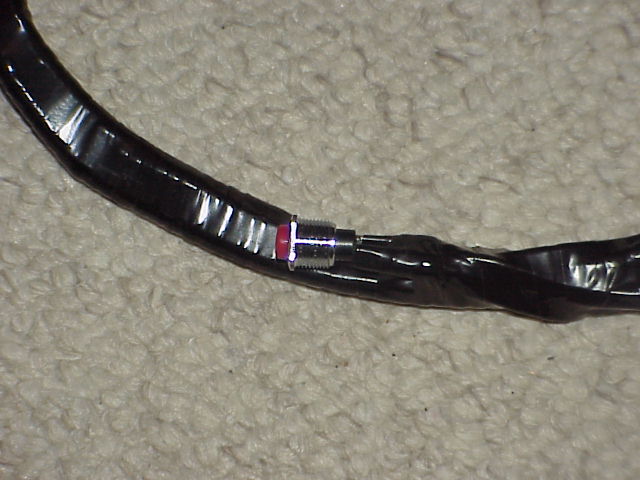
A close-up of the switch.
To degauss your monitor, start with the degaussing coil directly in front of your monitor and slowing start moving it clockwise while walking backwards. As a general rule, you should be making about a 2 foot radius by the time you are about 6 feet away from the face of the monitor. When you are about 6 feet away, release the button to turn off the coil.
Happy gaming!
|
|
|
Oscar Controls, LLC |