|
.: The Multi-Williams
project
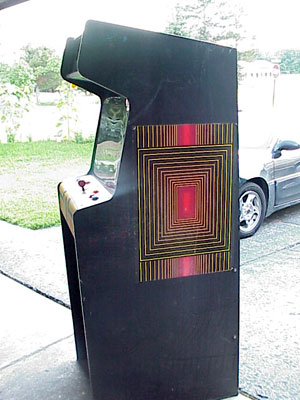
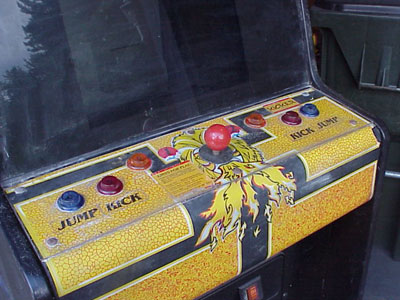
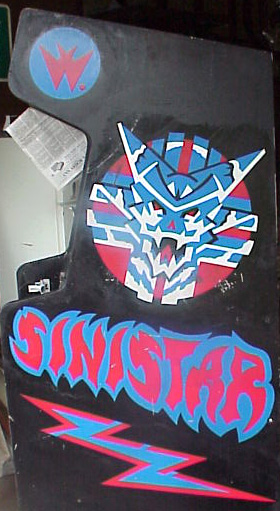
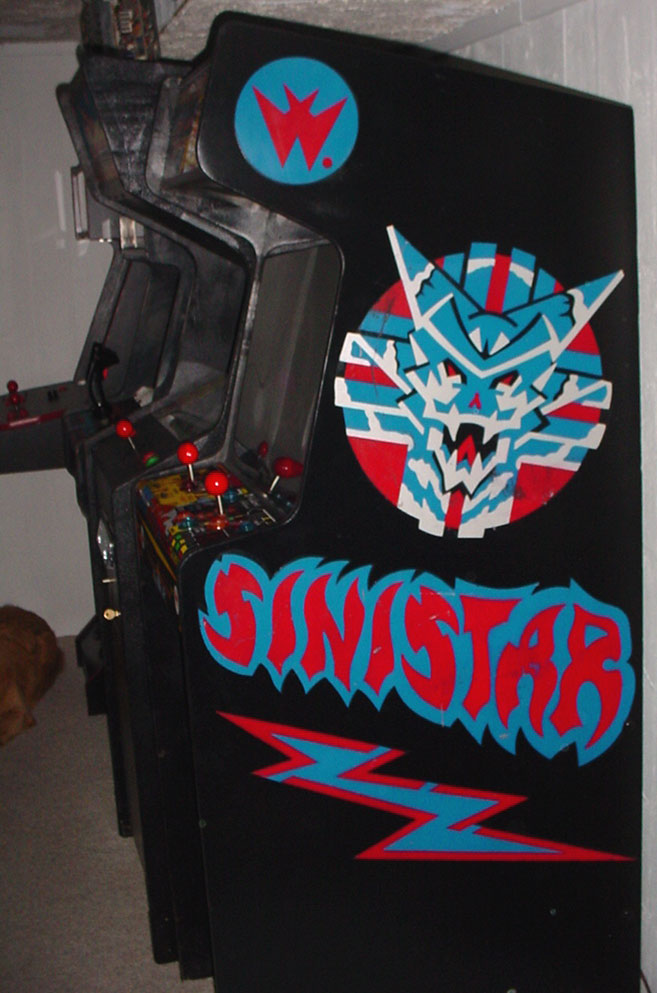
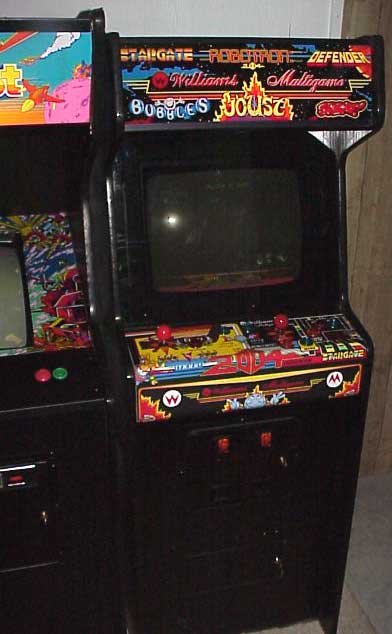
It started when I picked up an empty Sinistar cabinet for $30 in August 2003 to use for a Multi-Williams cabinet. The cabinet was in good shape, solid, and no water damage, however it had been converted to a Konami Kicker. Pics of the cabinet when I bought it:
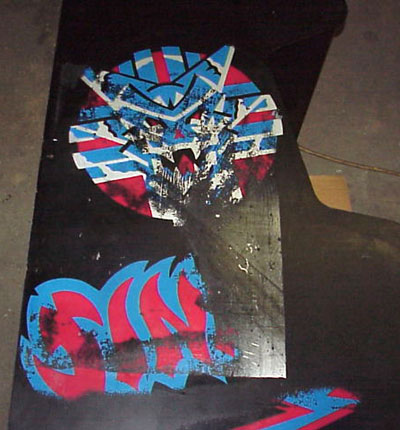
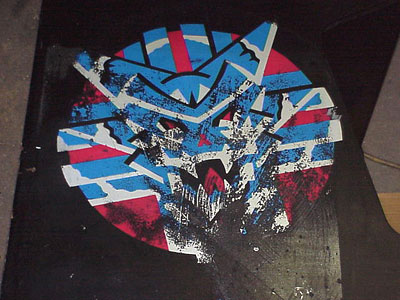
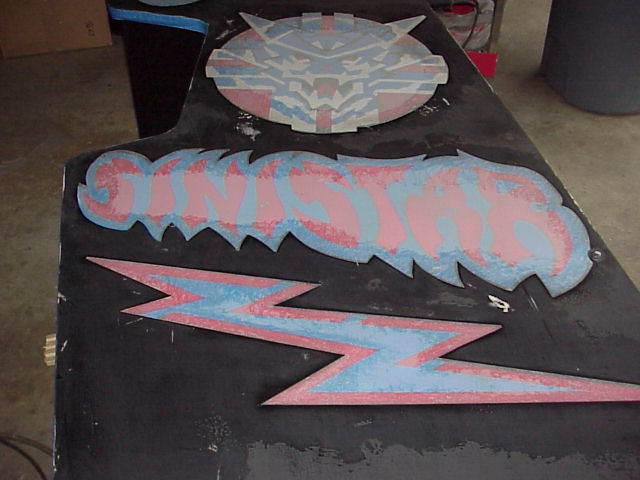
The Cabinet After the sideart was peeled off, the black paint came off fairly easily with Goof-Off and a scrub brush. The original Sinistar sideart appears to be in pretty good shape under the black paint, but the original black needs to be touched up in a few places:
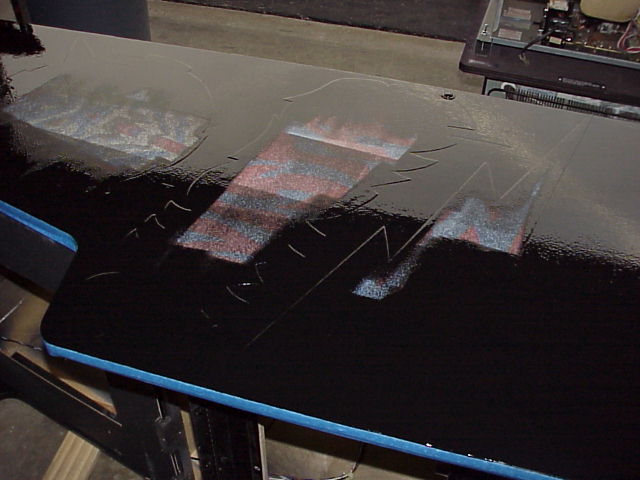
This is what I did to save the original sideart while repainting the sides with a fresh coat of black enamel... I had a few sheets of 10mil lexan film left over from a failed printing experiment, so I laid them over the sides and traced the artwork with a razor. Next I took the lexan cutouts and sprayed some contact adhesive (3M Super 77) and on the backside of the lexan (just around the edges) and let it dry until it was just a little tacky. After the adhesive dried a bit, I placed the lexan pieces over the sideart and used a hard roller to squeeze out the air bubbles around the edges. I taped the t-molding so it wouldn't get any paint drips on it. Then I just used a foam roller and painted the whole side of the cabinet. When the paint dried, I used a pocket knife to slip under the edge of the lexan and pulled it up. Worked like a charm!
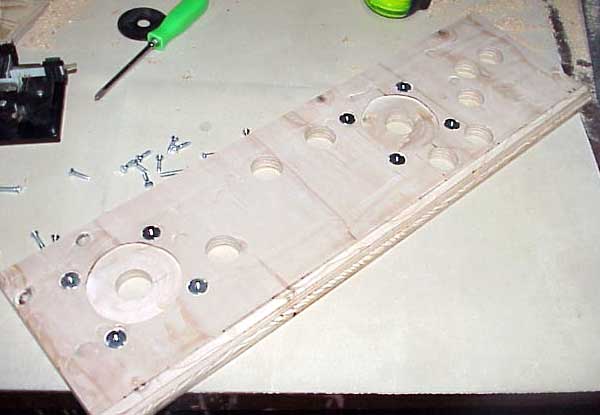
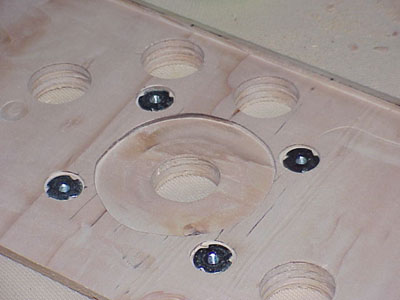
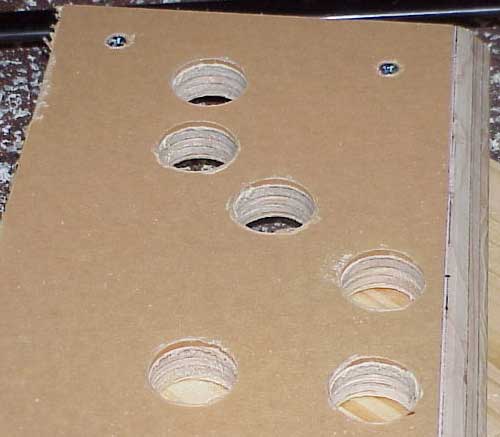
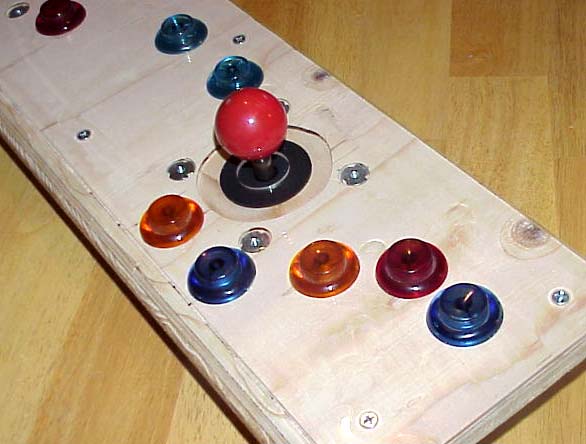
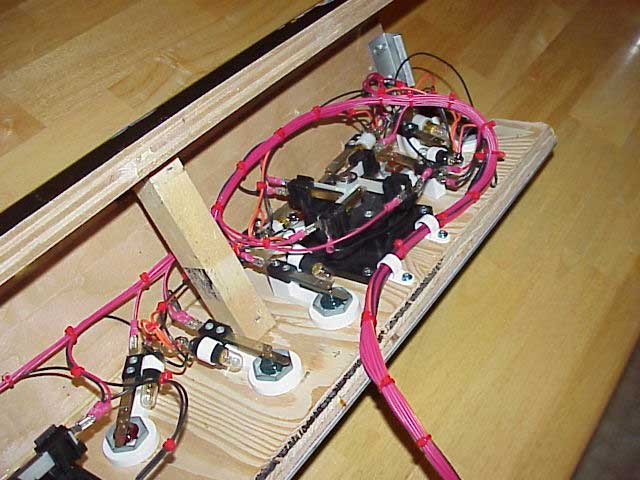
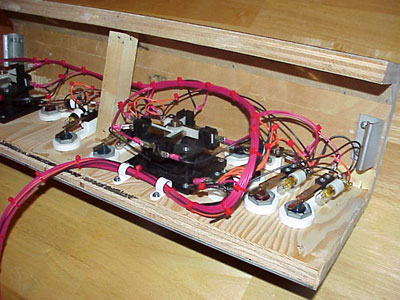
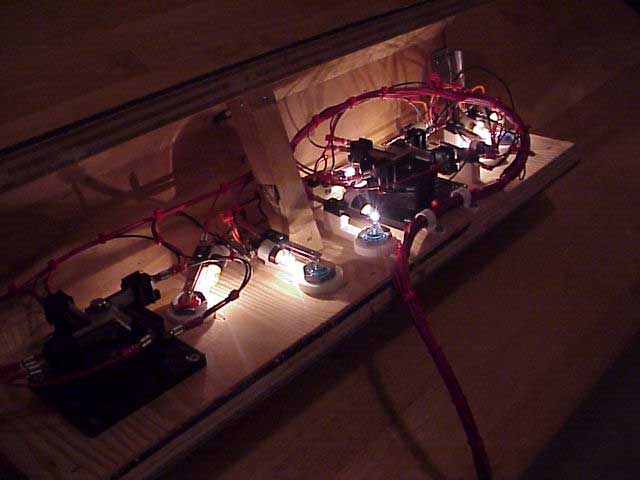
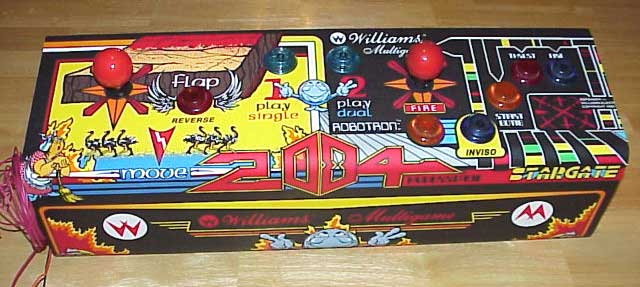
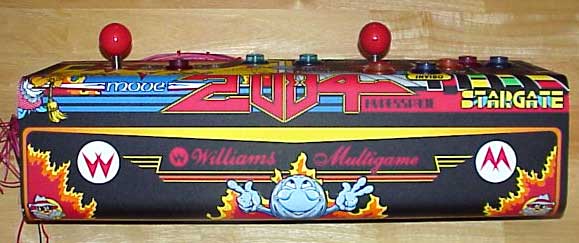
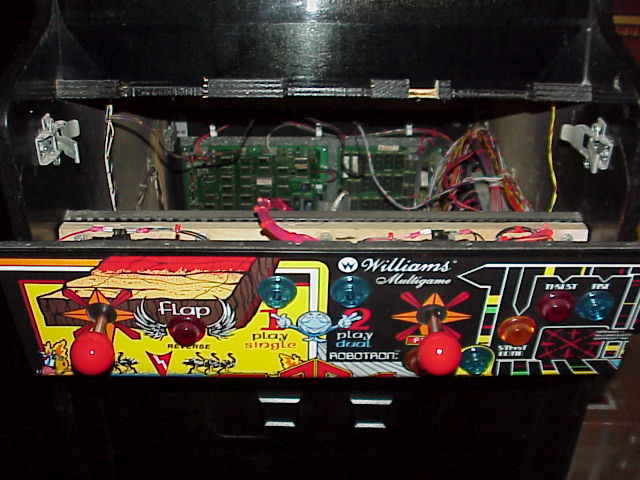
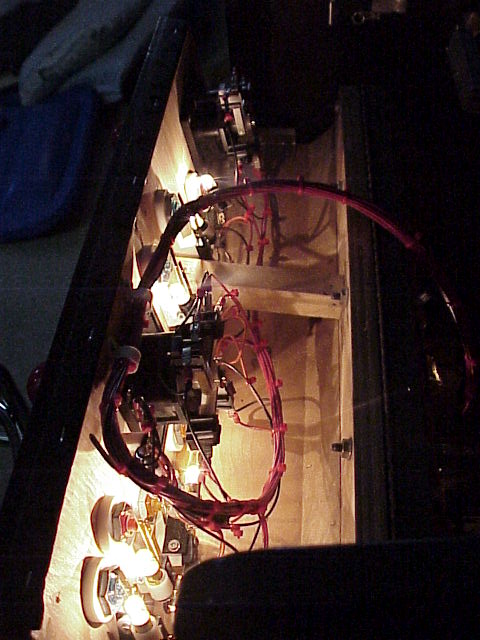
The Control Panel I rebuilt the Sinistar control panel by removing the original, converted top piece and constructed a new one from plywood and a sheet of acrylic (Plexiglas). I reused the original Sinistar buttons and added a couple more translucent leaf switch buttons that I had. The joysticks are Wico 8-way leaf joysticks.
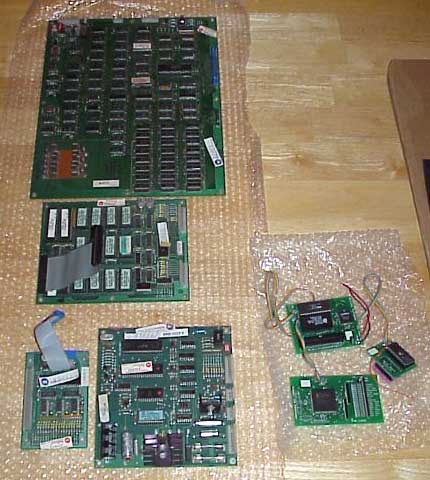
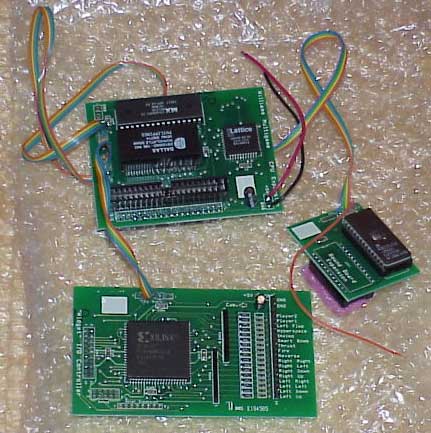
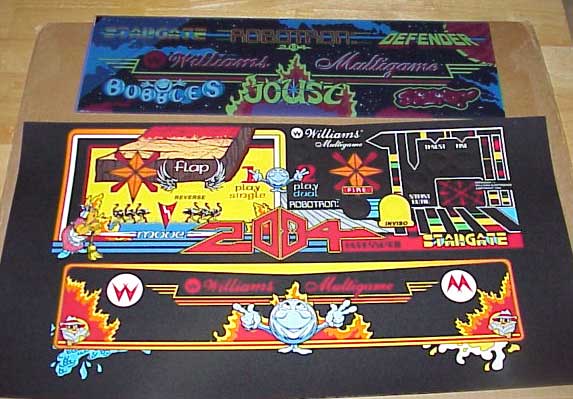
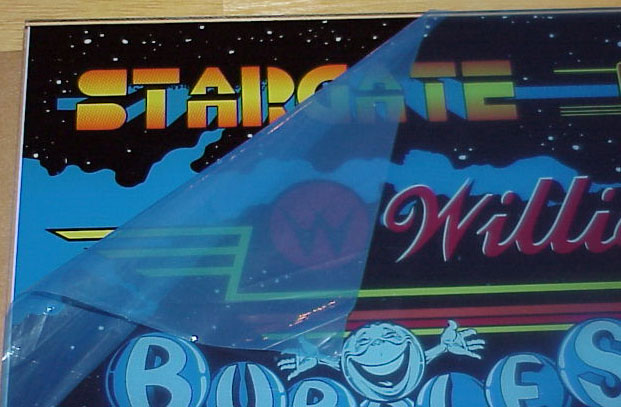
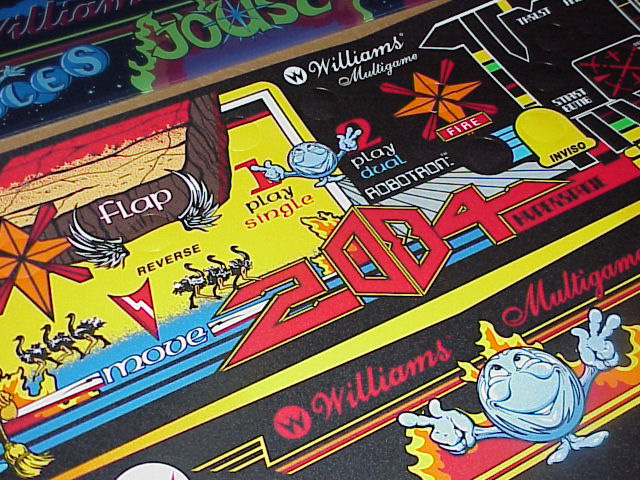
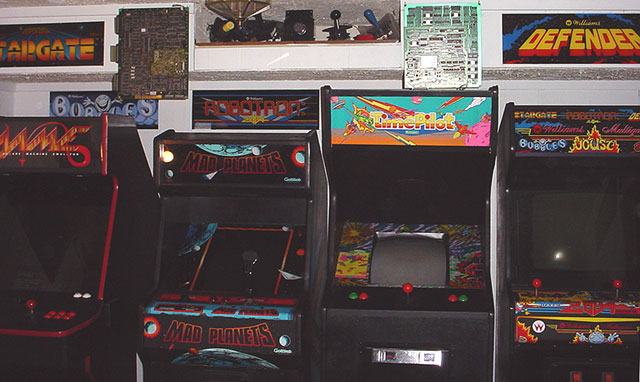
Multi-Williams parts and artwork
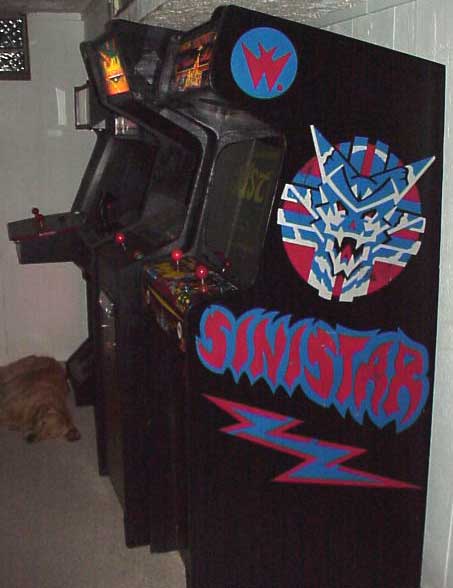
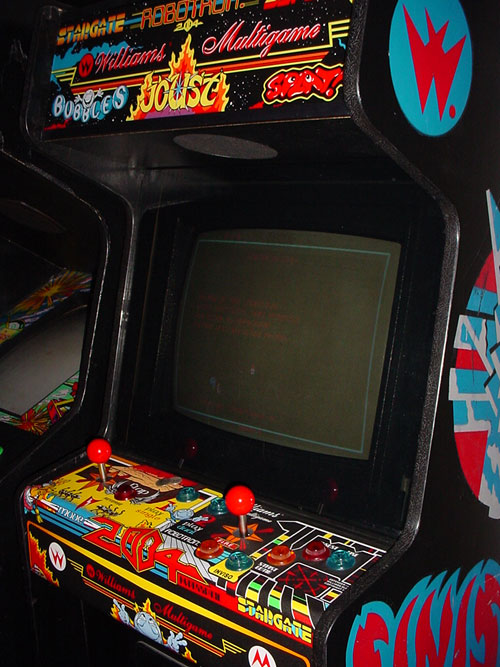
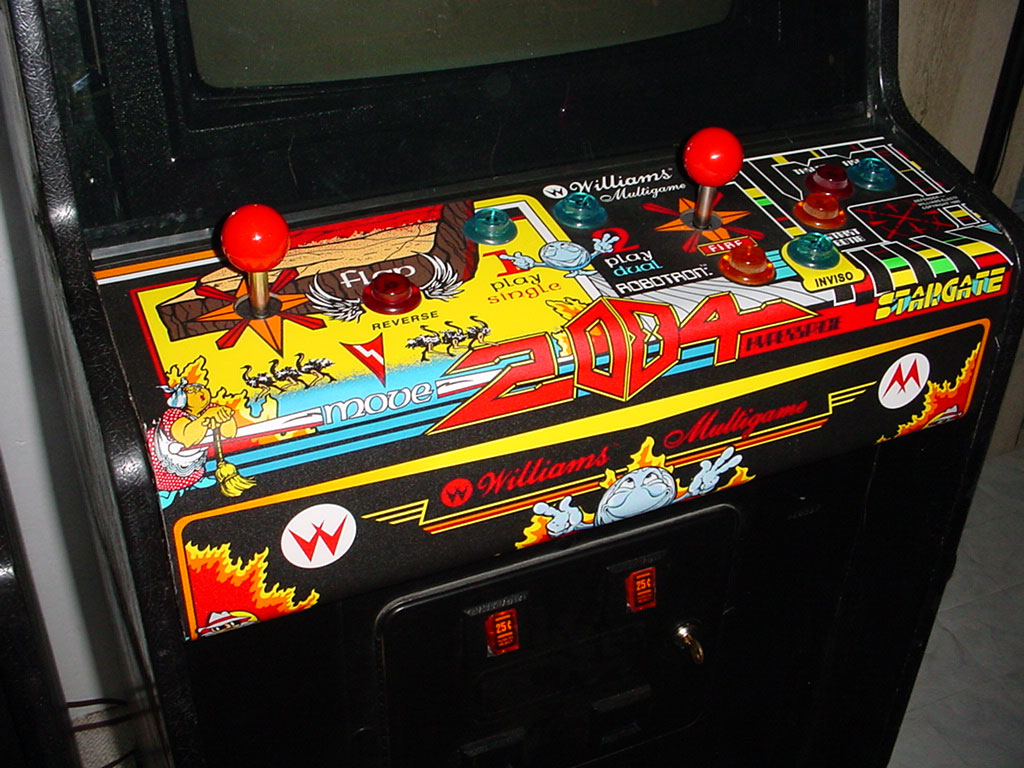
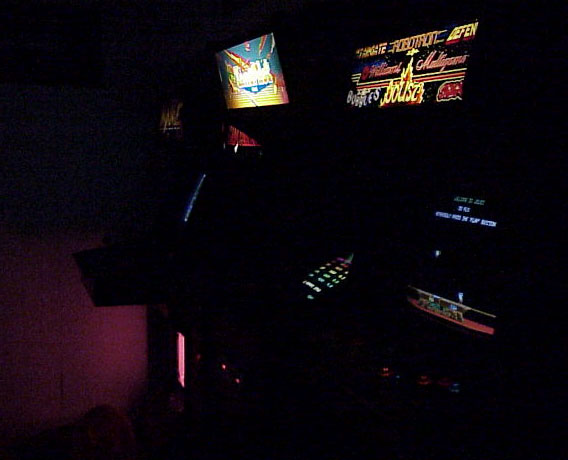
Finished Cabinet
Project Thanks Thanks to the following: - Clay Cowgill (www.multigame.com)
for the fantastic Williams Multigame kit.
|
||||||||||||||||||||||||||||||||||||
|
|
||||||||||||||||||||||||||||||||||||
|
|