Assembly


Assembling the Control Panel


I was lucky that my Hotrod SE conveniently fit snugly into my cabinet. I just needed to modify it so that the side "pinball flipper" buttons could be mounted on each side of the Star Wars cabinet.


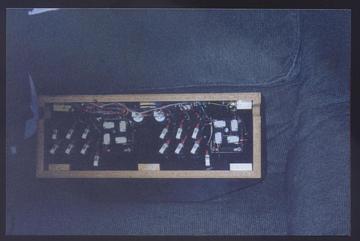
A picture of the underside of the hotrod with the bottom removed. Notice the slots cut for the side pinball flipprs.


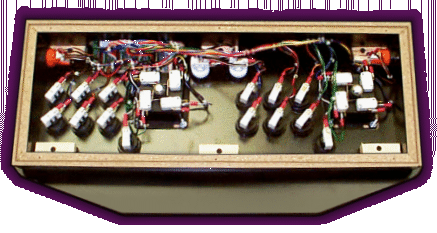
A better quality picture of the underside of the joystick panel.


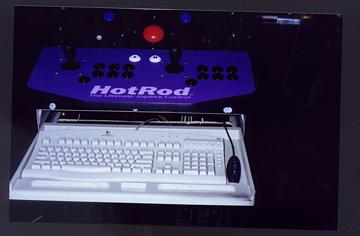
The next step was adding a keyboard tray. I took another shortcut and bought an above desk keyboard tray from Staples. All it took was a few modifications, a can a black spray paint and the additon of flap that covered the front.


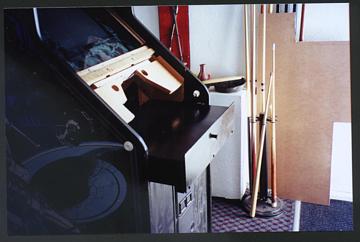
A nice view of the keyboard tray with the flap closed. Also note the side pinball flipper pushbuttons already mounted

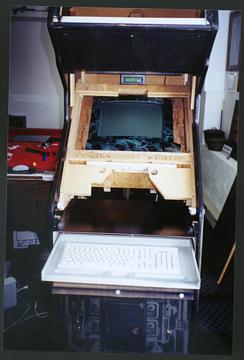
keyboard tray full out. I decided to go with black velcro strips to keep it closed after this pic was taken


Another Shot of the Keyboard tray out. Notice the Volume control on the right side.


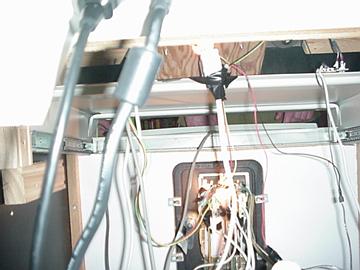
Nice view of the keyboard tray from the back.


Now onto the rest of the control panel assembly.

BACKNEXT
Site Meter
>>
<<
GameRoom.Com
 Sponsored Links

This site is hosted for free by GameRoom.Com

DISCLAIMER: GameRoom.Com is in no way responsible for content contained within this page. If you feel that this site contains offensive material or material that doesn't comply with our Publisher's Terms please contact us to report abuse.