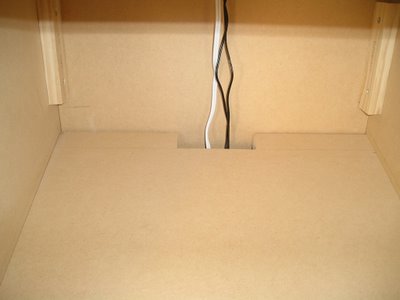
The following is a shot of the rear of the bezel panel showing the notch I cut for the wires. I just used my jigsaw to cut the notch freehand. I am going to be installing an additional panel between the marquee bottom panel and the bezel panel that will go in front of the wires and cover the notch.
 A while back I installed strips of pine on the interior of the cabinet so I would have a place to rest the bezel panel (which is also on the same plane as the control panel). However, after assembling the cabinet and placing a sheet of MDF in place where the bezel panel and control panel would go I realized that I hadn't allowed space for the black cardboard bezel and glass that would eventually cover the monitor.
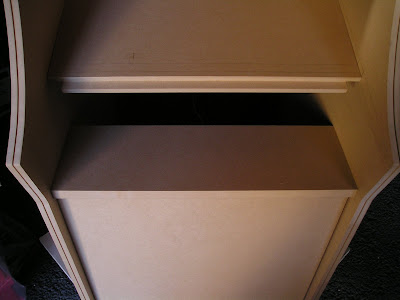
My solution for this was to cut a 3/8" rabbet on the sides on the bottom of the panel. This would allow the bezel panel to sit 3/8" lower than I had originally anticipated. However, since I didn't want the control panel to sit lower as well I created a 3/8" rabbet on the top of the bezel panel that the control panel could rest on. This would also create a lip between the control panel and the bezel panel so the black cardboard bezel and glass had a place to sit and the entire thing would be flush when finished. The picture below is a mock-up of what I am trying to accomplish.
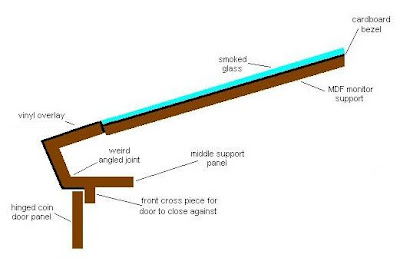
As you can see, I am going to use the control panel as a lip for the glass and cardboard bezel to rest on. Once they are installed the entire surface should be uniform.
The next pictures show how I cut the bezel panel. The close-ups are of the side showing the rabbet cut which allows the panel to sit 3/8" lower than I had originally planned (creating the space for the cardboard bezel and glass).
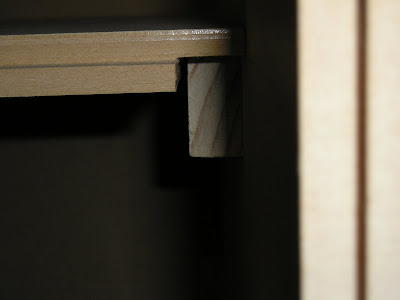
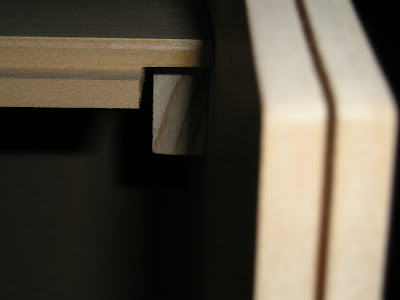 The next picture is a close-up of the front of the bezel panel with the rabbit I made in the front which the control panel will sit on. It is also 3/8" deep and as you can see removing 3/8" from the top and bottom of a 3/4" sheet of MDF completely removes the corners. This gap will be covered though so it's not a problem or anything.
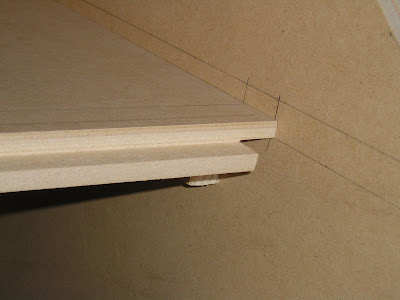
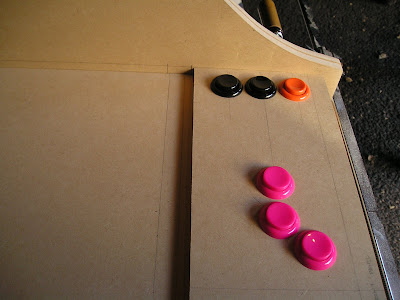
The next picture shows the front rabbet across the width of the cabinet.
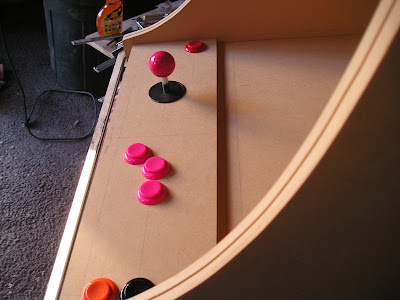
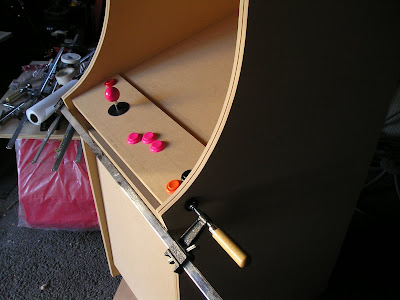
 Finally, these last shots show what the final installed control panel will look like as well as the lip that will support the cardboard bezel and glass that covers the monitor.
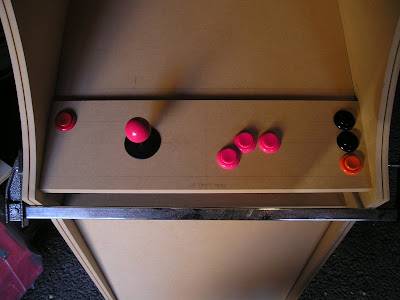
 Thanks for looking!!
0 comments:
Post a Comment