Easy, right? Wrong. It took over 2 hours to cut out the hole accurately. After laying out the hole I started by drilling out as much material as possible using a large drill bit in each corner. Then using a very small keyhole saw I connected the holes to remove most of the material. That wasn't so bad - what was excruciating was trying to square everything up to the lines. I ended up using a metal file because I couldn't get one of my chisels in there to really do anything due to the small size of the hole. I thought this would take 5 minutes!
Here's the hole pre-installation:
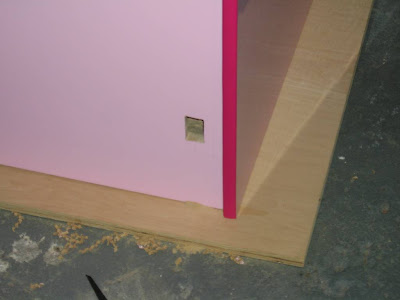 It's probably the ugliest part of the entire cabinet - I've tried to plan each cut out and make the lines as clean as possible but this is just a mess. Thankfully there is a bezel around the plug recepticle that will hide everything.
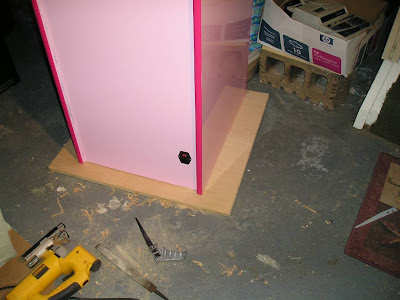
And here's the hole post-installation - I secured the plug recepticle to the cabinet using two screws and then added some screw caps for a "finished" look:
 Here's a close-up without the screws holding it in place:
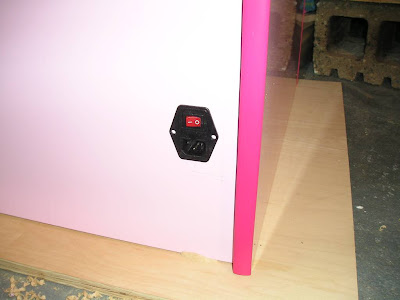 And here's a super close-up of the finished installation. I still have to erase the layout lines that I made since I couldn't decide where to put the thing and still leave room on the inside to mess around:
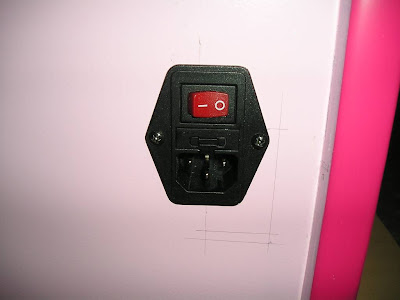 It looks pretty nice.... or at least nicer than a round hole with a plug hanging out.
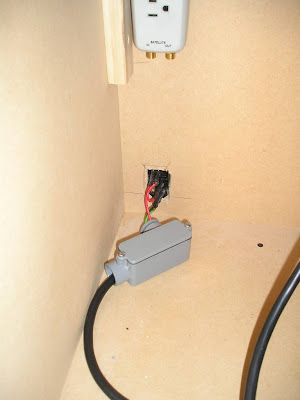
The only thing left to do was crawl inside and connect the wires. I reversed the black and white wires from my previous post - this is what all the discussion over at BYOAC was about. We were having a hard time figuring out which wire was "hot" and which was the negative one. Turns out U.S. Electrical Code mandates that "hot" wires are black, white wires are neutral and green wires are ground.
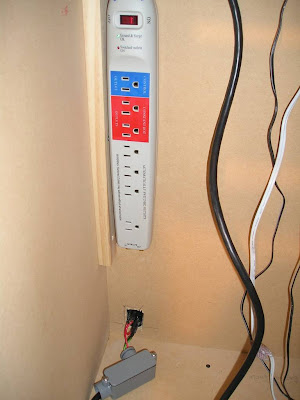
Finally, here are some shots of the inside - as you can see it's quite a mess. I mounted the Smart Strip on the inside of the cabinet - it's ready for the computer! I also used some velcro to hold the plastic box containing the wire hack against the side panel.
 Maybe I'll paint the interior of the next cabinet I build to really give it a professional look but that's probably crazy talk.
I did take the time to test everything - I hooked up the computer and played a few games of Ms. Pac-Man and Galaga. I have never been more excited about this hobby than I was when I fired it up for the first time and everything worked like it should - with the press of a button, the marquee light, speakers and monitor came on and the computer booted straight to a random game on my gamelist - the cab is fully playable and it's awesome. I still have some software tweaking to do and I have to hook up the coin door but I'm 99.9% done. What a feeling!
0 comments:
Post a Comment