How to Replace Rear Axle Carrier Arm Bushings
1990-1994 Lexus LS400
The rear carrier arm is located behind the rear rotor and is part of the rear axle carrier assembly. The carrier arm holds one side of the strut rod on. The main symptom of worn carrier arm bushings is a brake pulsation, this pulsation can even be felt in the shifter. These bushings are sold by the dealer but they're not OEM parts. The bushings will run you around $75 each at the dealer, but you may be able to find them cheaper. This is about a 2 hour job if you have the right tools, if you don't have these tools don't even attempt this!
Tools Needed:
- Breaker bar or impact wrench, for loosening the strut rod nuts
- 19mm socket
- 2 jaw puller, to push out the old bushings
- 33mm punch (anything that's 33mm in diameter should work), to push out the old bushings
- Torque wrench
Parts/Supplies Needed:
- Bushings
- Grease
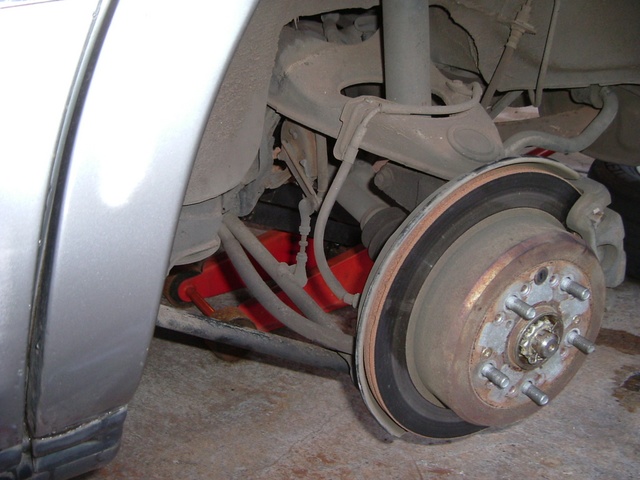
1) Jack up the car and take the wheel off.
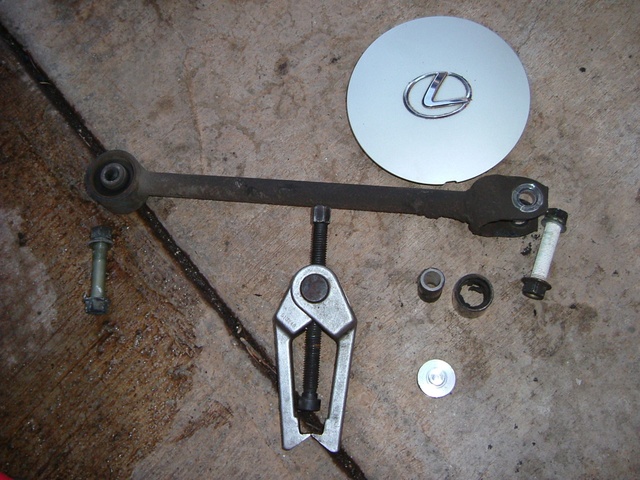
2) Remove the strut rod. Use a breaker bar (or impact wrench) and 19mm socket to remove the two 19mm nuts. Then pop out the two bolts and the strut rod comes off.
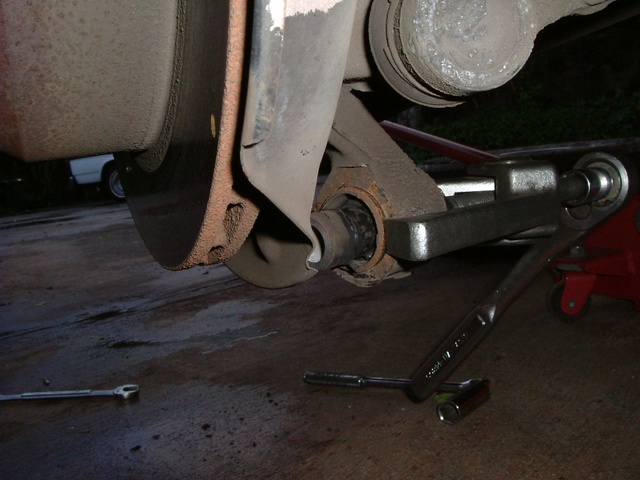
3) Push the old bushing out using a 2 jaw with a 33mm diameter punch.
As an alternative to pressing out the bushing, you can do the following:
a) Press or cut out the inner/rubber part of the bushing so that all you are left with is the metal sleeve inside the rear carrier.
b) Using a Sawzall or similar cutting tool, carefully cut just the sleeve in two places about an inch a part (close enough is fine).
The "careful" part comes into play because the sleeve is only about 1/16" thick so you won't be cutting for very long or deep.
c) Once you have made the two cuts, pry up the sleeve between the two cuts with a screwdriver and the whole thing will pop right out.
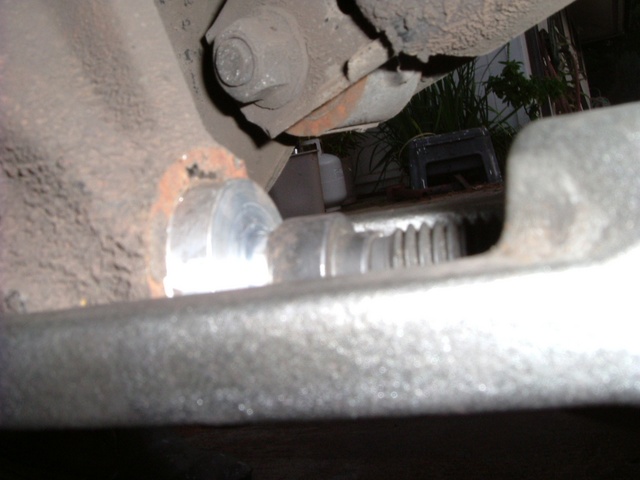
Here's another pic of the bushing being pressed out.
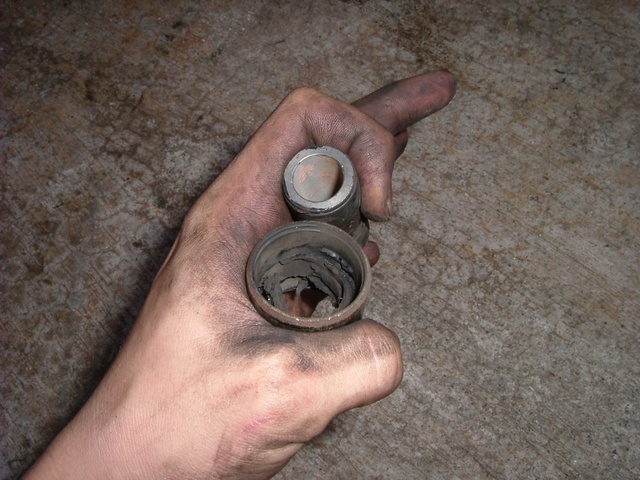
Both the inner sleeve and outer part of the bushing need to come out. You can see here how deteriorated the rubber has become over the years, the bushing broke in two.
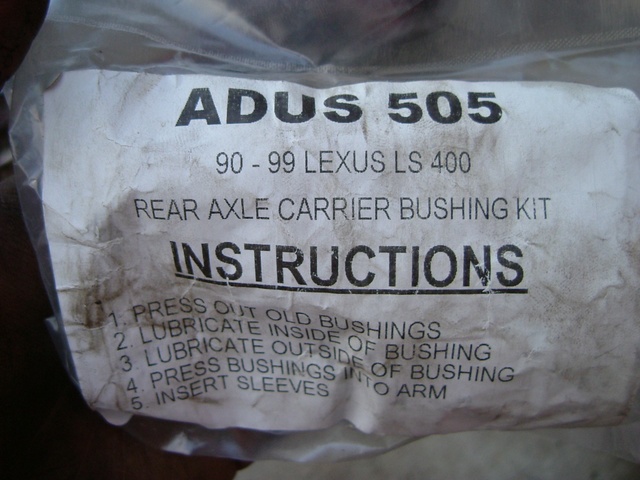
Here's the new bushing kit from the dealer.
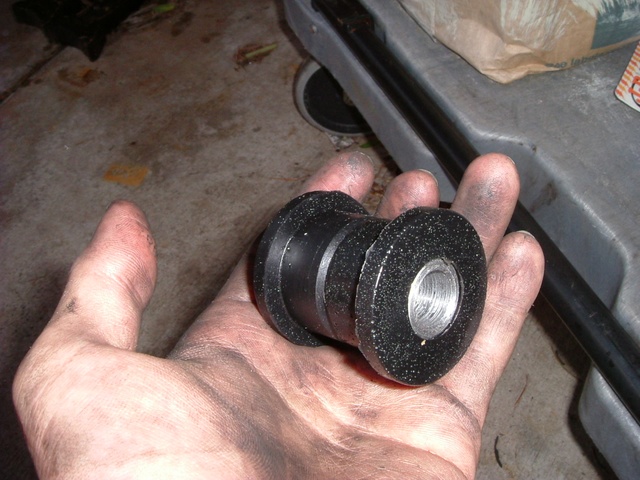
What the new bushing looks like when assembled but not greased.
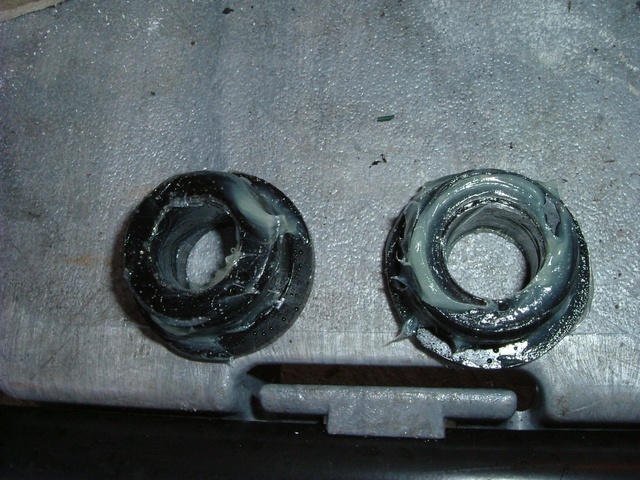
4) Grease both the inside and outside of the new bushing.
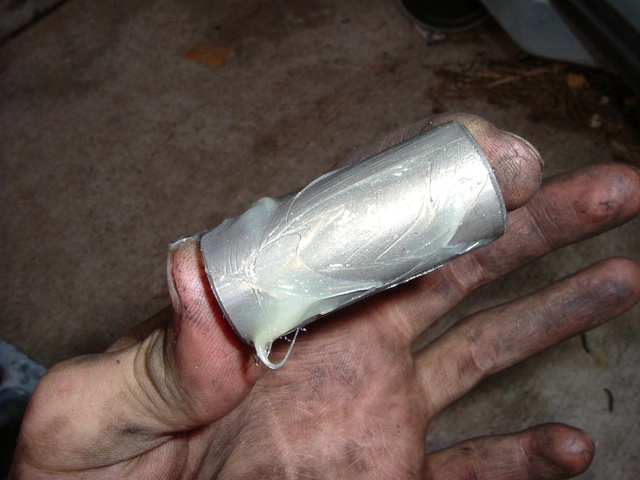
5) Grease the bushing shaft.
6) Push in the new bushing.
7) Install the strut bar and torque the nuts to 136 ft lbs (184 N m, 1880 kg cm).
8) Put the tire back on and move on to the other side. Then take a test drive!
Lexls.com notes: Thanks for contributing the great pictures jzz30! I have added the instructions for this tutorial based on the original posting of this tutorial on LOC. It seems there is a typo in this forum posting regarding the torque setting of the strut rod nuts, my 91 & 95 repair manuals both say the torque should be 136 ft lbs, not 163. I highly recommend consulting the repair manual for your particular year because the torque setting may be different.
If you found this information useful please support the site by clicking the button below and making a donation. Thank you.
