ARTWORK ARTWORK
Considering the amount of time and
money that goes into a project like Pac-Mamea, I wanted to design a cabinet that not only
played all my favorite arcade games with authentic controls, but also looked
fairly authentic. The artist in me won out, and I decided to spend some money on
the look of the cab.

To begin with, most classic cabinets
were not boring black boxes, so I used yellow Wilsonart laminate (D341-60 Marigold) on the
outside of the cabinet, in keeping with the Pac-ish theme. It was more expensive
than the stock black color, but it looks better to my eye!
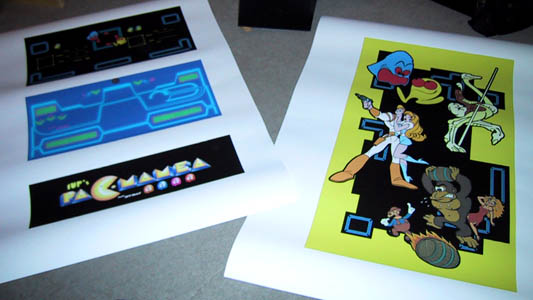
Next, I put together some custom
sideart and control panel overlays from various hi-res images found on the web, using
Photoshop and working full-size at 300 dpi. These were printed at Kinko's, on their
oversize inkjet printers. For the sideart, I sprayed about 5 coats of Krylon
crystal-clear acrylic to keep the ink from smudging easily, and to give it a sheen similar
to the vinyl sideart used on real cabs.
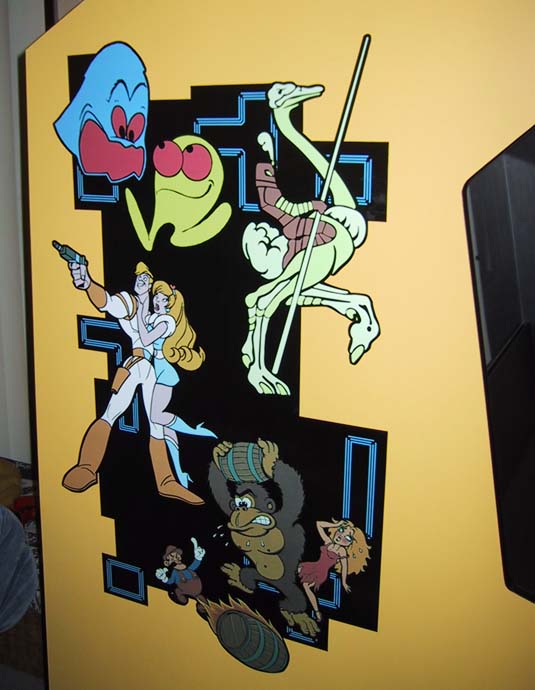
The sideart was then carefully cut out
from the printed sheet using a utility knife, and mounted on the cabinet using Krylon
spray adhesive. This adhesive wasn't quite strong enough, so after a few days the
edges started to peel in certain places. This was fixed by using regular Elmer's
white glue squeezed under the edges to fix them down.
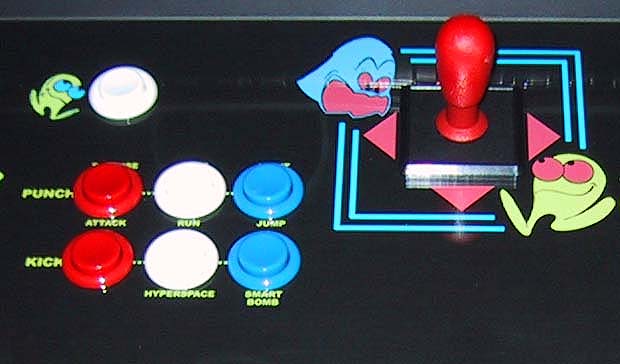
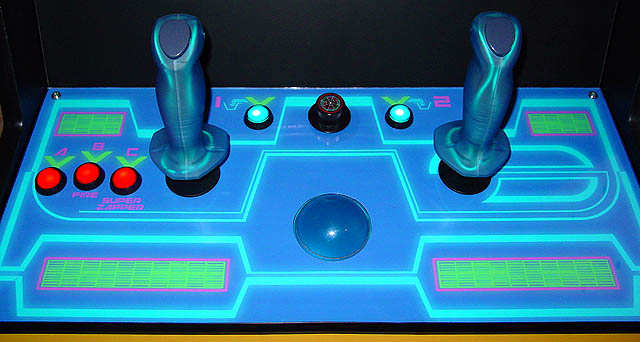
Artwork has been a major consideration on this
project. I wanted everything to have a real arcade feel. I've attempted to
label buttons for common games (like Asteroids and Defender) in as close to the original
positions as possible, while maintaining a generic Street Fighter layout. The CPOs
were cut to size and mounted to the panels with double-sided tape around the edges.
The holes for the buttons and sticks were cut out by hand, using an X-acto knife in a
sawing motion along the edges of the drilled holes. 1/8" Lexan was mounted over
the top to protect the artwork.
For the Tron control panel, I created artwork based on
the DOT CP overlay, adding a glow effect in Photoshop to enhance the bright colors of the
lines.
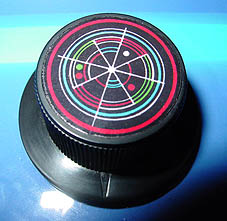
For the spinner knob, I printed a scaled-down version of the original Tron
spinner knob overlay, then had it laminated at Kinko's.
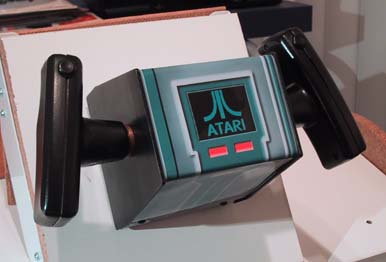
Oh, and I can't forget the Star Wars yoke overlay!
I couldn't find a good replacement image on the web, so I made my own!
Printed and laminated by Kinko's, and cemented with spray adhesive.
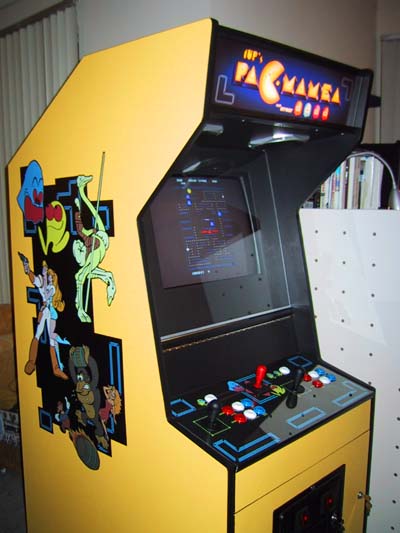
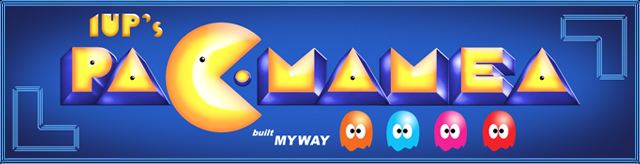
Last, what would a custom cab be without a custom
marquee? The artwork was created by cleaning-up images from the Pac-Mania flyer in
Photoshop, then it was printed on backlit film at Kinko's. This took a couple days,
as they had to special order the film. The marquee artwork was sandwiched between 2
panes of Lexan left over from the monitor glass, and mounted using Happ's plastic marquee
retainers.
As finishing touches, I will be adding laminated
instruction cards for the frontend to the "back-splash" above each panel, and
possibly some artwork around the monitor bezel.
Thanks go to the following sites, without which I would not
have been able to put these finishing touches on my cab:
DESIGN = CONSTRUCTION = ARTWORK
= HARDWARE
= SOFTWARE
= DOWNLOADS |
| The
information on this site is for the purposes of education and
entertainment only. The owner of this site makes no warantees as to
the accuracy of the information, and takes no responsibility for any
damage or injury sustained due to the use of information herein. The
design of the Pac-Mamea cabinet and all photos, computer renderings,
drawings, schematics, and printed information relating to such are
Copyright © 2002-2004 Robert Meyers. No ownership of other
copyrighted material found on this site is implied. |