|
.: Centipede restoration
project
February 18th, 2004
This Centipede was converted to
an SNK Victory Road and the conversion added a lot holes to the control
panel. This page shows how I restored it back to a Centipede
cp.
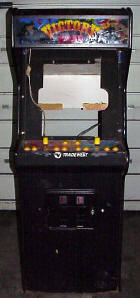
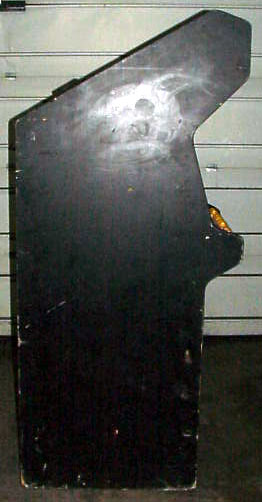
Full cabinet with monitor removed. |
|
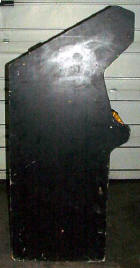
The camera flash makes the Centipede sideart visible under
the black paint. |
 |
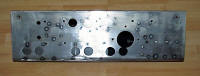
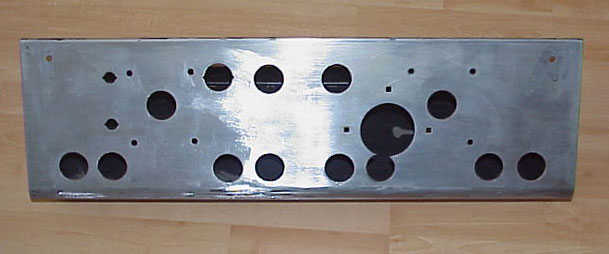
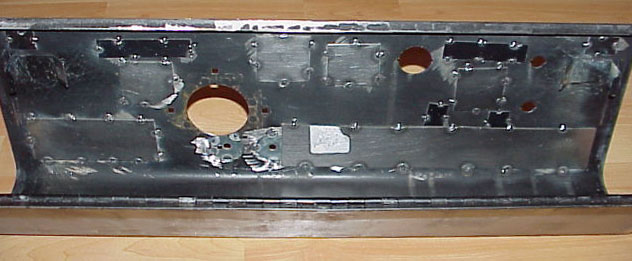
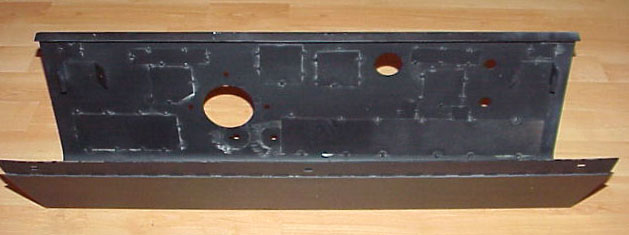
After I removed the overlay,
I stripped the cp down to bare metal using Citristrip paint remover.
This remover literally melts the adhesive and paint right off
and you just wipe it off with a rag. |
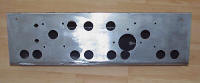
Lots
of holes! The extra button hole overlapping the trackball
hole will be a little tricky to fix, but it’s doable. |
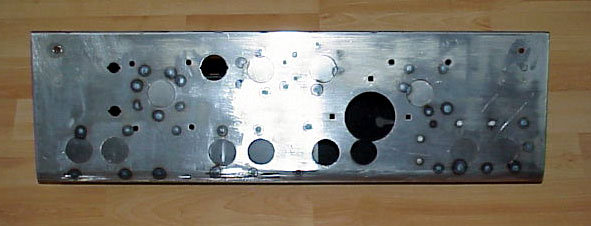
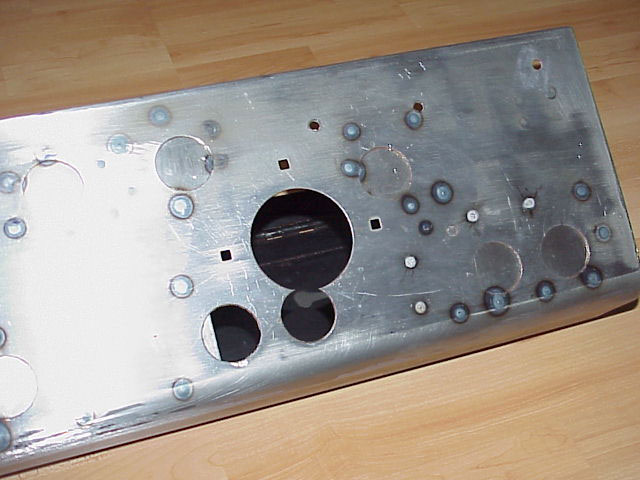
The hole edges had a lot of tear-out,
most likely caused by a hole saw used in the conversion. After
the control panel was stripped, I cleaned up the hole
edges with an angle grinder. |

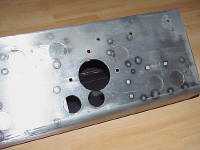
Once that was done, I cut some pieces of 16ga sheet metal to
cover the unwanted holes. The metal strips were welded in
place behind the holes.
|
There were two holes very close to where the trackball will be
installed, and putting a piece of metal behind them would
interfere with the trackball housing.
|
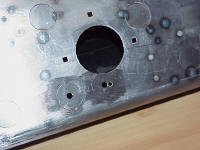
For these two holes, I found some fender washers in my hardware
chest that fit perfectly. I welded them in and ground the
welds flush. Then I used a Dremel tool to grind away the washer where it overlapped
the trackball hole. |
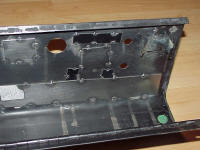
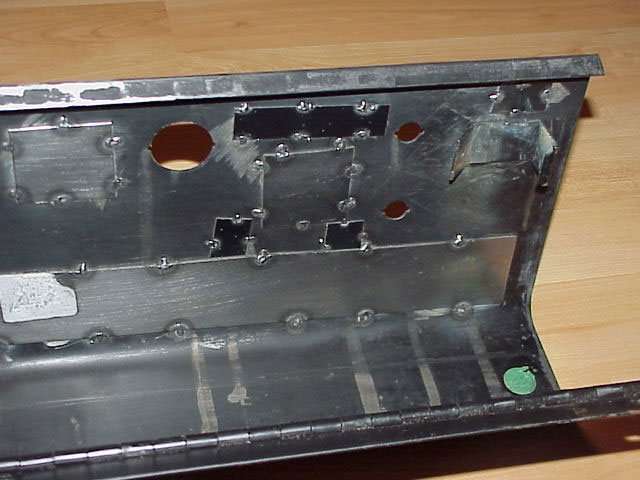
A close-up of the metal strips welded to the backside of the
cp. |
 |
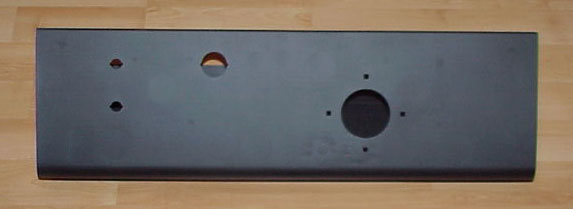
With the sheet metal plugging
the holes, now they can be filled in. I used fiberglass-reinforced
Bondo (#272) to fill in all the holes. The #272 hardens in about
10 minutes, and about 15 minutes after it is applied it is safe
to sand down. Then I went back with some Bondo spot putty (#907)
to fill any small voids. The spot putty takes longer to harden
and will shrink as it dries, so it shouldn't be used on large
holes unless you are ready for multiple applications. |
 |
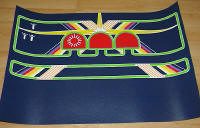
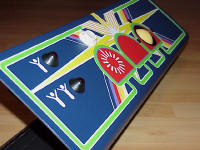
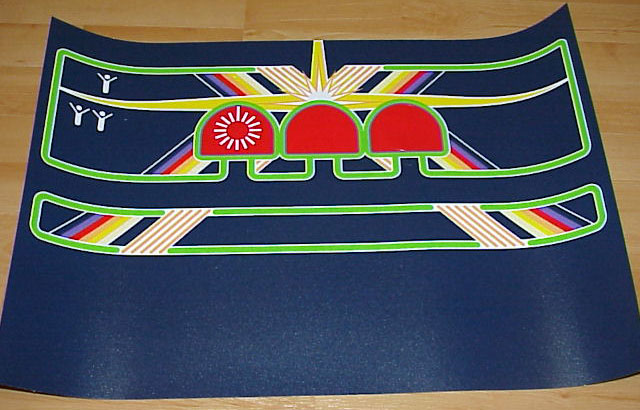
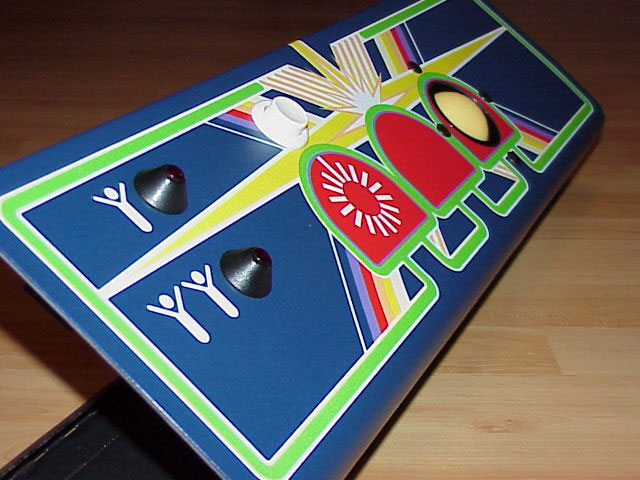
New Centipede overlay from Arcadeshop. |

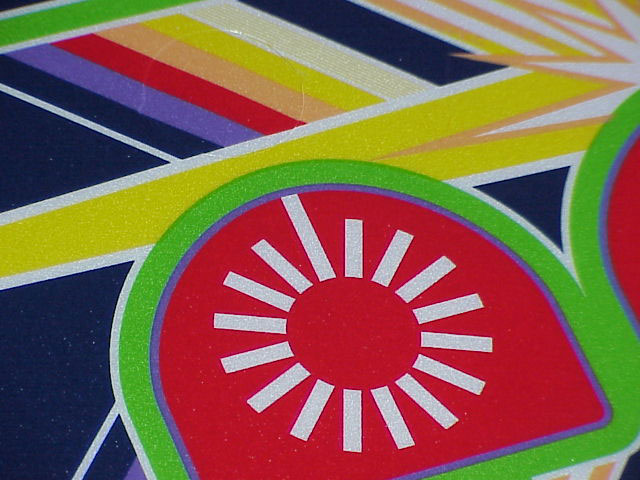
Close-up of overlay. Fantastic detail! |
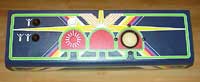
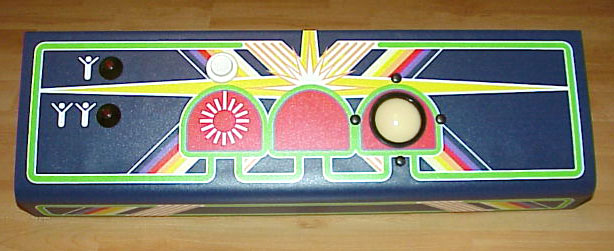
The control panel was sprayed with window cleaner (Windex)
before the overlay was applied. This allows the overlay to
be shifted around so the button holes line up before it is
permanently stuck down. A squeegee is then used to remove
any air bubbles. |
Parts & controls installed. An original Centipede off-white
ball was used. |
 |

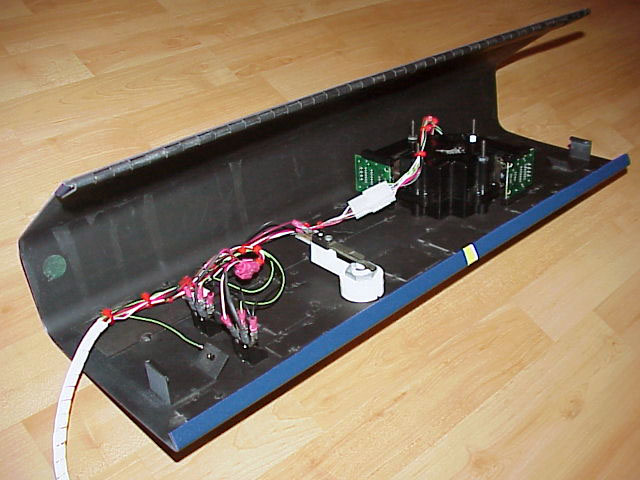
I made a wire harness and connected up the controls. |
NEXT - Cabinet restoration
[ 1
2
3
4 ]
|


 I am Centipede.