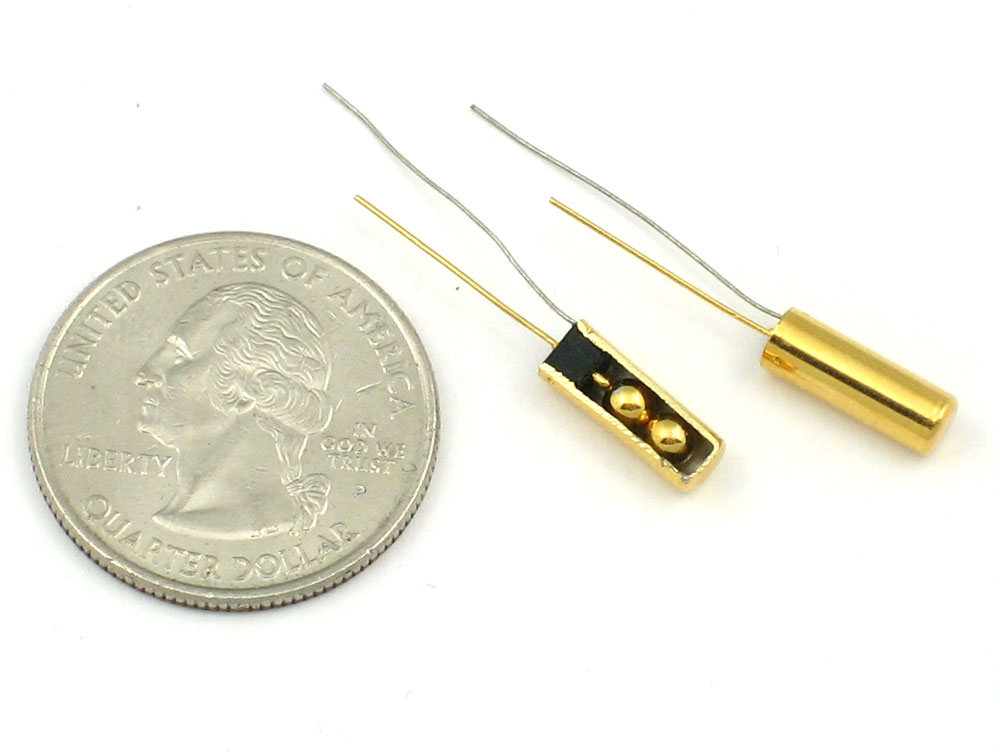
Cutaway of rolling-ball type tilt sensor
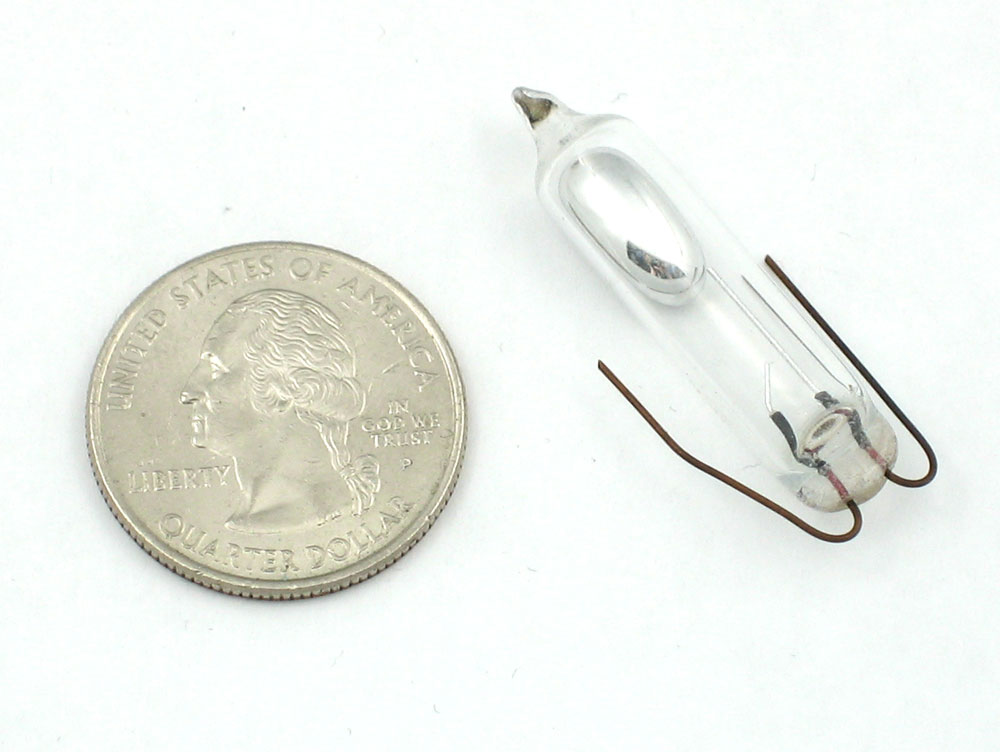
Mercury type tilt sensor
Tilt sensors allow you to detect orientation or inclination. They are small, inexpensive, low-power and easy-to-use. If used properly, they will not wear out. Their simplicitiy makes them popular for toys, gadgets and appliances. Sometimes they are referred to as "mercury switches", "tilt switches" or "rolling ball sensors" for obvious reasons.
They are usually made by a cavity of some sort (cylindrical is popular, although not always) and a conductive free mass inside, such as a blob of mercury or rolling ball. One end of the cavity has two conductive elements (poles). When the sensor is oriented so that that end is downwards, the mass rolls onto the poles and shorts them, acting as a switch throw.
Tilt switches used to be made exclusively of mercury, but are rarer now since they are recognized as being extremely toxic. The benefits of mercury is that the blob is dense enough that it doesnt bounce and so the switch isnt susceptible to vibrations. On the other hand, ball-type sensors are easy to make, wont shatter, and pose no risk of pollution.
While not as precise or flexible as a full accelerometer, tilt switches can detect motion or orientation simply. Another benefit to them is that the big ones can switch power on their own. Accelerometers, on the other hand, output digital or analog voltage that must then be analyzed with extra circuitry.
These stats are for the tilt sensor in the Adafruit shop which is very much like the 107-2006-EV. Nearly all will have slightly different sizes & specifications, although they all pretty much work the same. If there's a datasheet, you'll want to refer to it
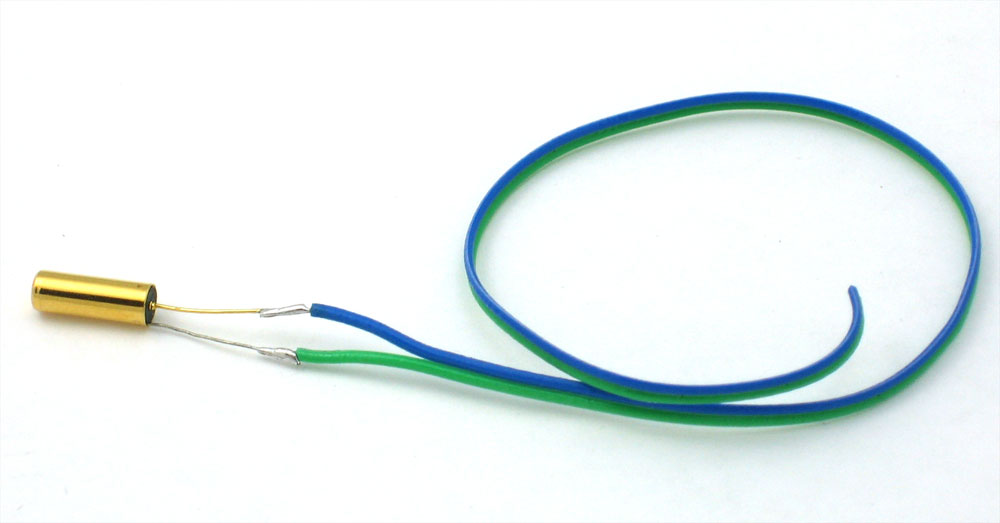
- Size: Cylindrical, 4mm (0.16") diameter & 12mm (0.45") long.
- Price: $2.00 at the Adafruit shop
- Sensitivity range: > +-15 degrees
- Lifetime: 50,000+ cycles (switches)
- Power supply: Up to 24V, switching less than 5mA
- Datasheet
Testing your sensor is simple. Put your multimeter into continuity-test mode and touch the probes to the two leads. Then tilt to determine the angle at which the switch opens and closes
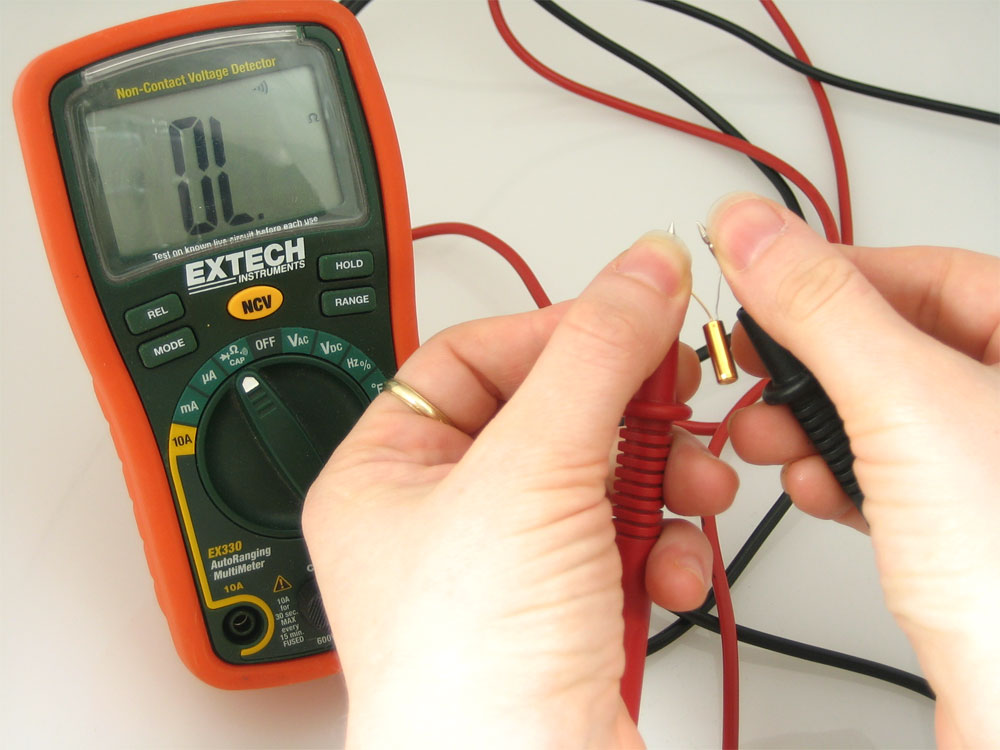
When pointing down, the switch is Open Loop (no continuity)
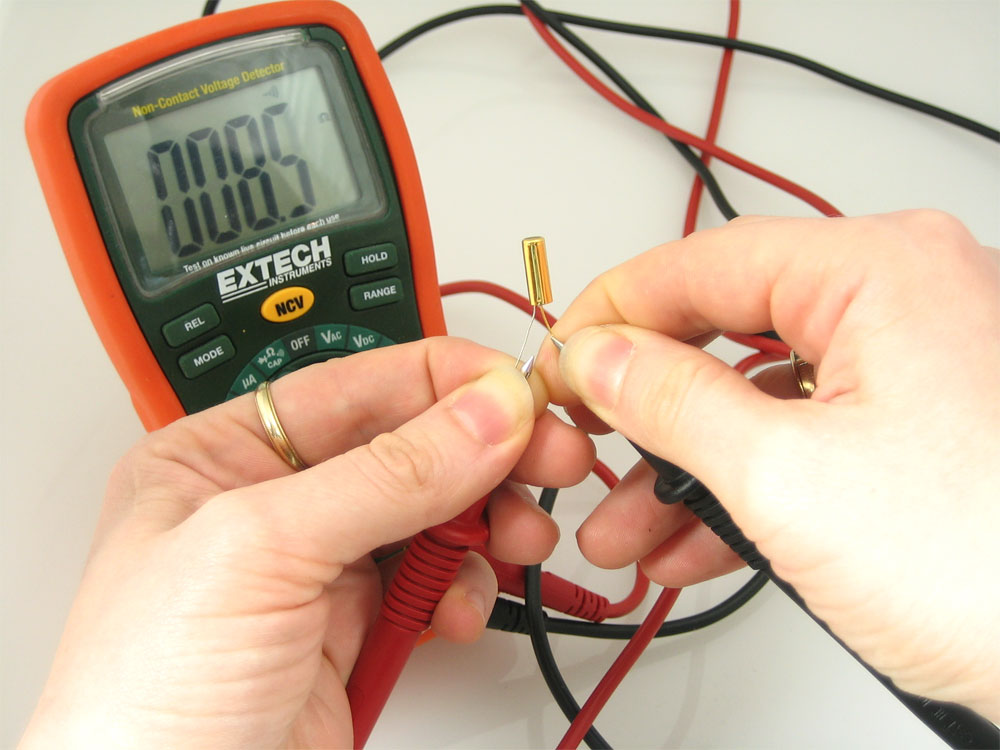
When pointing up, the switch is closed (low resistance / continuous)
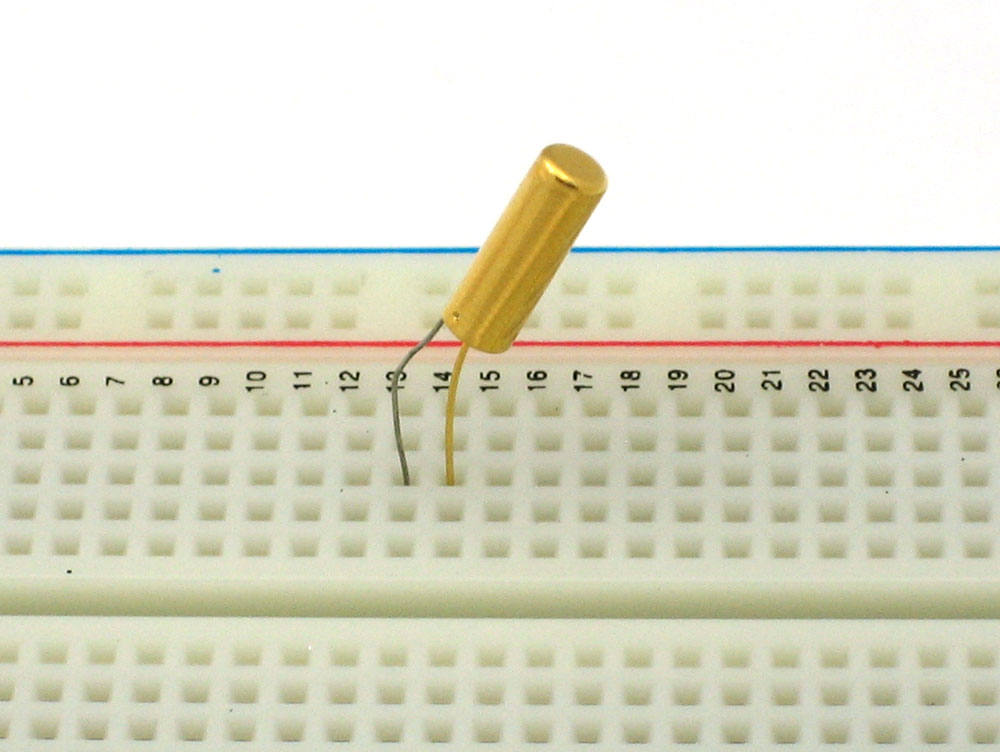
Tilt switches are pretty hardy, you can easily solder to them, clip the leads, plug them into breadboards, use alligator clips, etc. The only care you should take is to avoid bending the leads too much as they may break off.
Simple video showing a mercury type tilt sensor
Another basic video, this one shows a tilt sensor connected to an Arduino which then controls a servo

This clock uses a tilt sensor to set the alarm. To snooze, tilt it over.
Jiggle-ometer, a Arduino->Pachube->SecondLife conduit for motion
This project uses an accelerometer, but a simple game controller could be made with tilt switches
This is the most basic way of connecting to a tilt switch, but can be handy while one is learning about them. Simply connect it in series with an LED, resistor and battery. Tilt to turn on and off.

Note that the layout above shows a 10K pullup resistor but for the code I use the 'built-in' pullup resistor that you can turn on by setting an input pin to HIGH output (its quite neat!) If you use the internal pull-up you can skip the external one.
/* Better Debouncer
 *
 * This debouncing circuit is more rugged, and will work with tilt switches!
 *
 * http://www.ladyada.net/learn/sensor/tilt.html
 */

int inPin = 2;         // the number of the input pin
int outPin = 13;       // the number of the output pin

int LEDstate = HIGH;      // the current state of the output pin
int reading;           // the current reading from the input pin
int previous = LOW;    // the previous reading from the input pin

// the follow variables are long's because the time, measured in miliseconds,
// will quickly become a bigger number than can be stored in an int.
long time = 0;         // the last time the output pin was toggled
long debounce = 50;   // the debounce time, increase if the output flickers

void setup()
{
  pinMode(inPin, INPUT);
  digitalWrite(inPin, HIGH);   // turn on the built in pull-up resistor
  pinMode(outPin, OUTPUT);
}

void loop()
{
  int switchstate;

  reading = digitalRead(inPin);

  // If the switch changed, due to bounce or pressing...
  if (reading != previous) {
    // reset the debouncing timer
    time = millis();
  }

  if ((millis() - time) > debounce) {
     // whatever the switch is at, its been there for a long time
     // so lets settle on it!
     switchstate = reading;

     // Now invert the output on the pin13 LED
    if (switchstate == HIGH)
      LEDstate = LOW;
    else
      LEDstate = HIGH;
  }
  digitalWrite(outPin, LEDstate);

  // Save the last reading so we keep a running tally
  previous = reading;
}