|
|

| Hardware & Controls | Interface | [Construction] |
| Software | Finish | Downloads |
Finish - click on a thumbnail for a larger picture
|
||
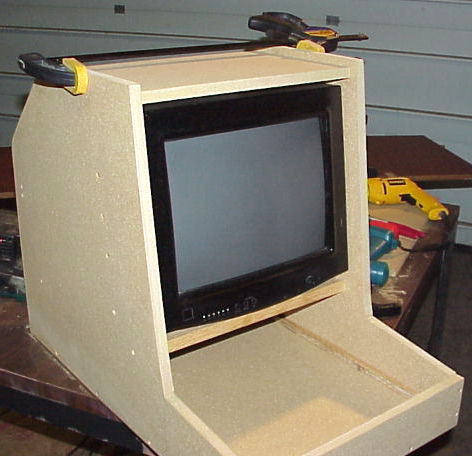
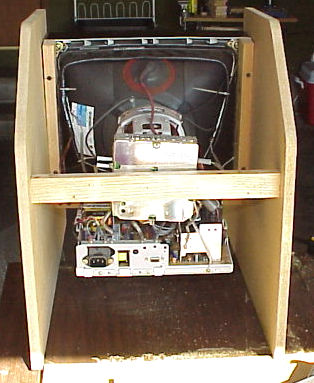
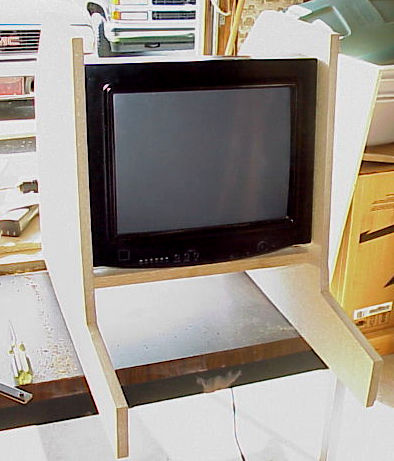 Monitor screwed into cabinet sides to set up internal cabinet width. |
|
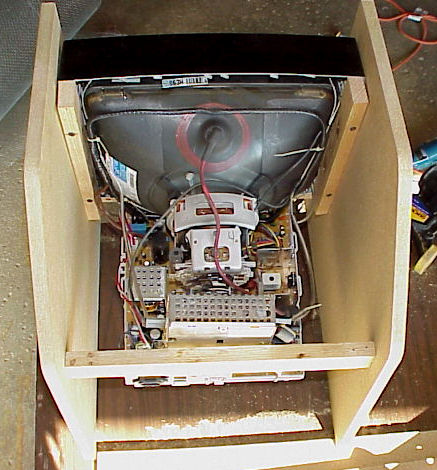 Monitor is secured to cabinet sides with 1"x2" hardwood strips. Original bezel screw locations are used to connect monitor bezel to hardwood braces, and then the braces are screwed into the cabinet sides. |
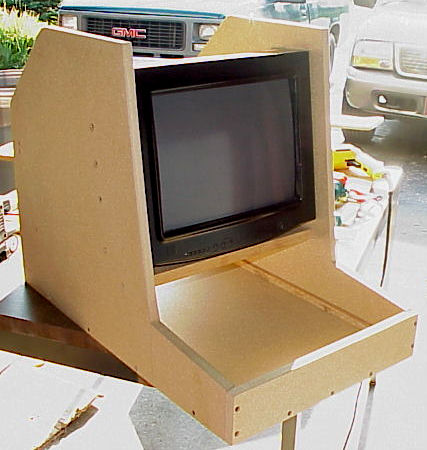 Bottom and front panels added. |
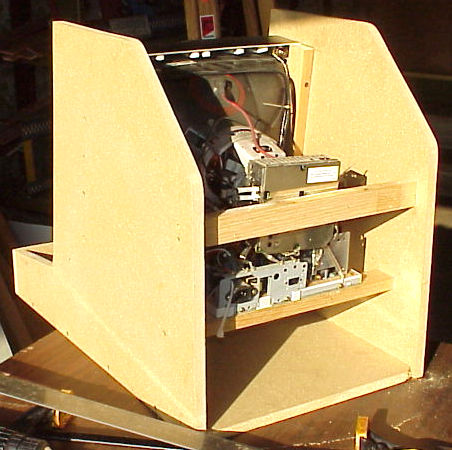 Rear monitor braces. |
 Top panel installed. |
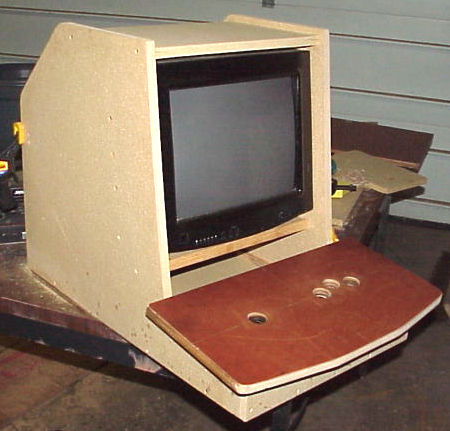 Control panel made from 5/8" MDF. |
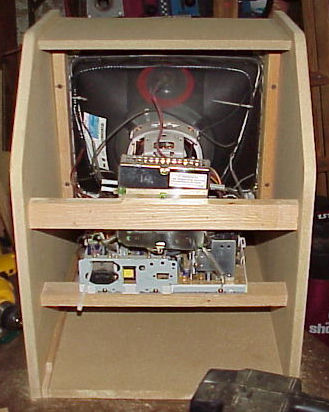 Another picture from the rear after top panel added. |
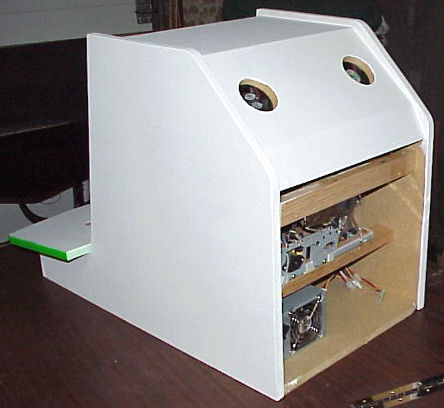
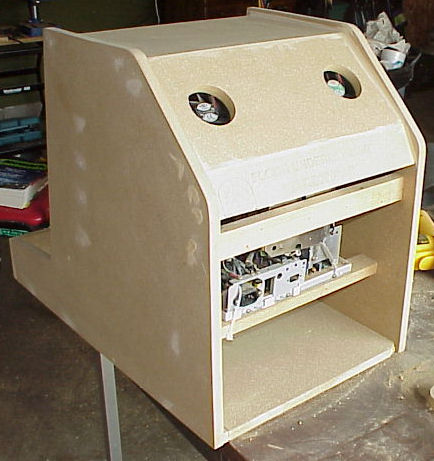 Fan panel and hinge panel secured in place. It's a good idea to mount the fans before installing the fan panel. Doing so after may be difficult. |
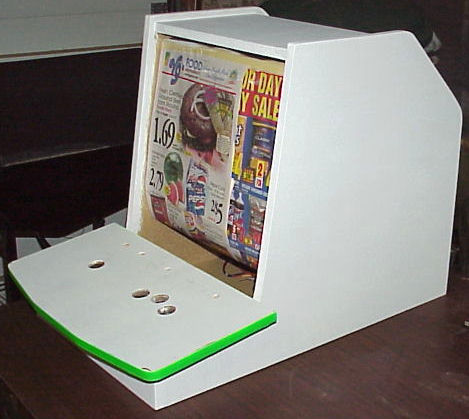 Together and in primer. |
 Another shot in primer. |
 Cutting plexi for monitor with a router. A plastic/laminate bit was used. It makes a very smooth cut as long as you always work right to left or clockwise. A board was clamped to the table to act as a fence for a straight cut. |
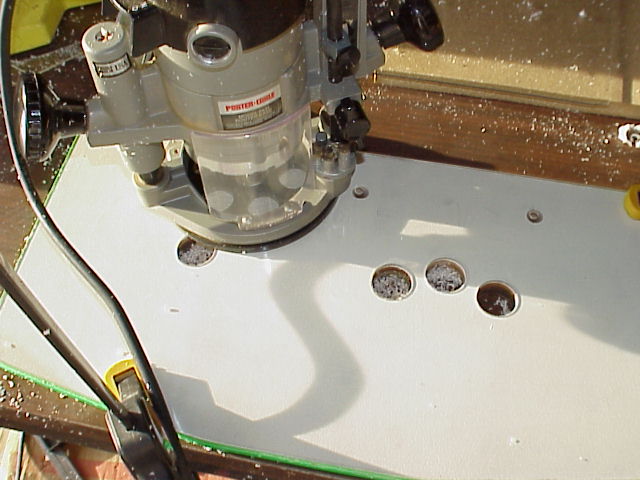 Cutting the control panel plexi. Plexi was clamped directly to the panel, and the perimeter was followed for a flush fit. Small holes were drilled first in the button holes so the bit could be inserted. |
||
| back :: next :: home | ||
A MAME cabinet project by: OSCAR