|
|

| Hardware & Controls | [Interface] | Construction |
| Software | Finish | Downloads |
Finish - click on a thumbnail for a larger picture
|
||
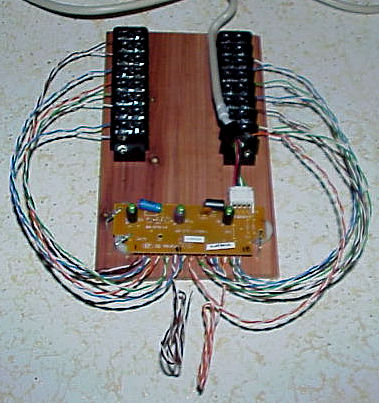
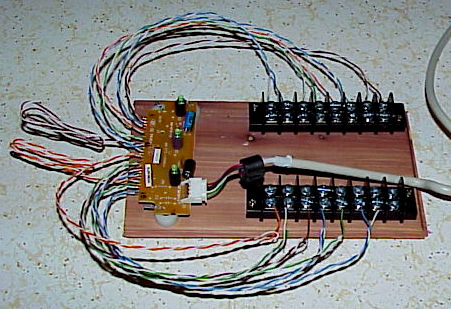 PCB mounted to 1/4" cedar panel with nylon standoffs. Two 8-position barrier strips are used for making the connection to the controls. |
"Flux
Capacitor"
Keyboard hack - Logitech PS/2 OEM version. The pcb on this keyboard is the smallest one I've seen. The traces were very easy to follow. It has an 8 x 18 matrix, and it took me about 1.5 hours to map all the keys I needed for the cabinet. I followed the tutorial on Dragon's Den website. I didn't actually use the 'VCR box' technique, but I applied the same methodology for mapping the matrix. |
Cat 5 (ethernet) cable used for the hack. A wire was soldered to every contact on the PCB. Unused wires were just folded back in case they are to be used for future connections. |
| |
||
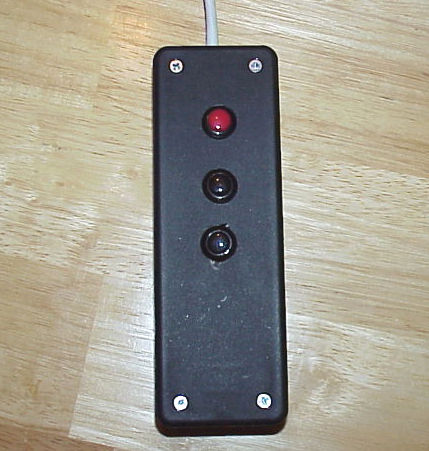 Radio shack project box and mini buttons. Perfect size for a remote. Project Enclosure # 270-1804 |
Admin Remote Because I chose not to go with a keyboard encoder, like the I-PAC, I needed additional keyboard functions to configure MAME. In an attempt to preserve the clean look of the cabinet and not add more buttons to it, the remote idea was born. The buttons on the remote are wired with cat 5 again and connected with a db9 connector to the cabinet. The cabinet power switch is also on the remote. As I used an atx motherboard, the momentary switch on the remote was wired to the motherboard power header. An added feature is that others will not be able to change the game settings or configurations when the remote is not connected. |
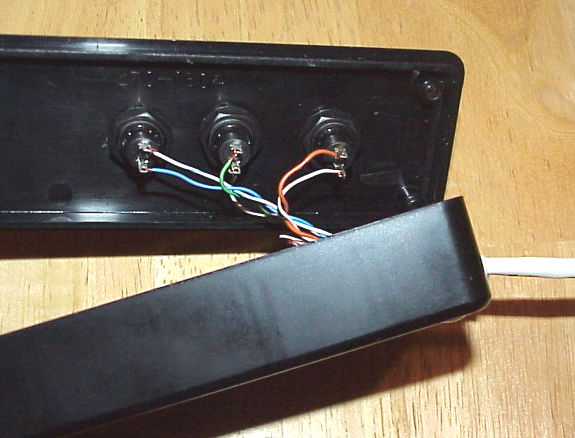 The buttons are wired with cat 5 to the keyboard hack and motherboard power switch. Red Buttons - #755-646 Black Buttons - #755-644 |
| back :: next :: home | ||
A MAME cabinet project by: OSCAR