|
The Cabinet
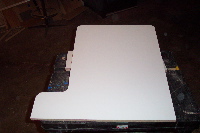 The cabinet is made of melamine covered chipboard. This gives a nice white surface that does not need painting. The part list is simple: The cabinet is made of melamine covered chipboard. This gives a nice white surface that does not need painting. The part list is simple:
- Two sides: 24" x 23 7/8"
- Top and TV shelf: 18" x 18"
- Control panel 6" x 18"
- Front Kick Panel 3" x 18"
- Marquee Panel 3" x 18"
There is also an 18" x 22" piece of pegboard for the back.
The two sides were cut with a hand jigsaw to shape the sides.
|
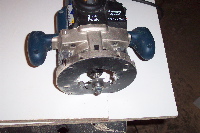 Visible edges are covered with plastic T-shaped molding that I had left over from an older project. Every edge of the sides except for the bottom must be covered, one edge each of the top, TV shelf, control panel, and marquee panel must be covered. Visible edges are covered with plastic T-shaped molding that I had left over from an older project. Every edge of the sides except for the bottom must be covered, one edge each of the top, TV shelf, control panel, and marquee panel must be covered.
You use a special router bit to cut a slot in the edges.
The molding is actually one of the more expensive parts of the project. If I did not have the molding in storage, I'd have gotten melamite edging material (or white masking tape) to cover the edges.
|
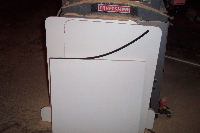 The molding must be cut slightly larger than planned and then pushed into the slot, going from one end to the other. A hammer or mallet is usually needed to get the molding into place. The molding must be cut slightly larger than planned and then pushed into the slot, going from one end to the other. A hammer or mallet is usually needed to get the molding into place.
The corners of the sides need some additional persuading to get into place.
|
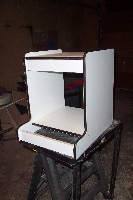 Once the edging is on, the pieces are put together. The top is one inch below the top of the edges, the TV shelf is three and a half inches from the bottom. The control panel is not attached yet. Once the edging is on, the pieces are put together. The top is one inch below the top of the edges, the TV shelf is three and a half inches from the bottom. The control panel is not attached yet.
The pieces are fastened with 1 1/4" screws. The holes are countersinked, but with a shallow countersink. The goal is to have the screw head just at the surface of the wood.
The screws are then covered with white plastic screw covers, that lock into the screw head and hide well on the melanine surface.
|
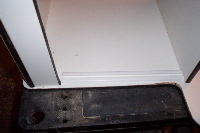 I cut a piece of plexiglass to cover the front of the TV area. The plexiglass is held by pieces of white molding that are attached to the main unit by brad nails. I cut a piece of plexiglass to cover the front of the TV area. The plexiglass is held by pieces of white molding that are attached to the main unit by brad nails. |
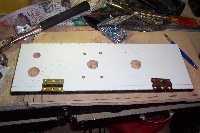 The control panel needs to have holes drilled in it. There are two push buttons, one hole for the power switch, and a joystick. The power switch hole is 3/4" wide, the push buttons and joystick main holes are 1 1/8" wide. Holes are also drilled for the bolts that will hold the joystick box. The holes are 5/16" wide, 1 3/4" apart on the width, 3 1/8" apart on the depth. The control panel needs to have holes drilled in it. There are two push buttons, one hole for the power switch, and a joystick. The power switch hole is 3/4" wide, the push buttons and joystick main holes are 1 1/8" wide. Holes are also drilled for the bolts that will hold the joystick box. The holes are 5/16" wide, 1 3/4" apart on the width, 3 1/8" apart on the depth.
Normally, I drill holes for my control panels from the back. I discovered that with melamine, that can lead to ugly punch-outs, even when there is another piece of wood below the melamine. So, lay out your holes and drill from the front.
Hinges are also mounted on the control panel to mount it to the front kick panel. Place the control panel before drilling to see where the control panel goes.
|
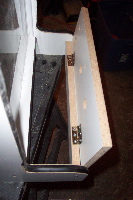 Attach the hinges to the front kick panel.. The panel is hinged so that you can attach the controls easily when that step comes. Attach the hinges to the front kick panel.. The panel is hinged so that you can attach the controls easily when that step comes. |
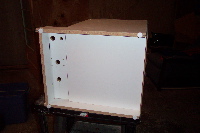 Finally, feet are nailed to the base. Finally, feet are nailed to the base. |
|
Expenses on the cabinet were $17.98 for two pieces of 2' x 4' 3/4" melamine, $2.28 for a piece of 2' x 4' melamine covered pegboard, $2.97 for the hinge, $2.77 for the feet, $25.99 for 50' of plastic T-molding, $18.00 for the plexiglass, and $2.00 for the white screw covers, totalling $71.99. All parts were purchased from the local Home Depot, with the exception of the T-molding.
|
|


