|
Putting It Together
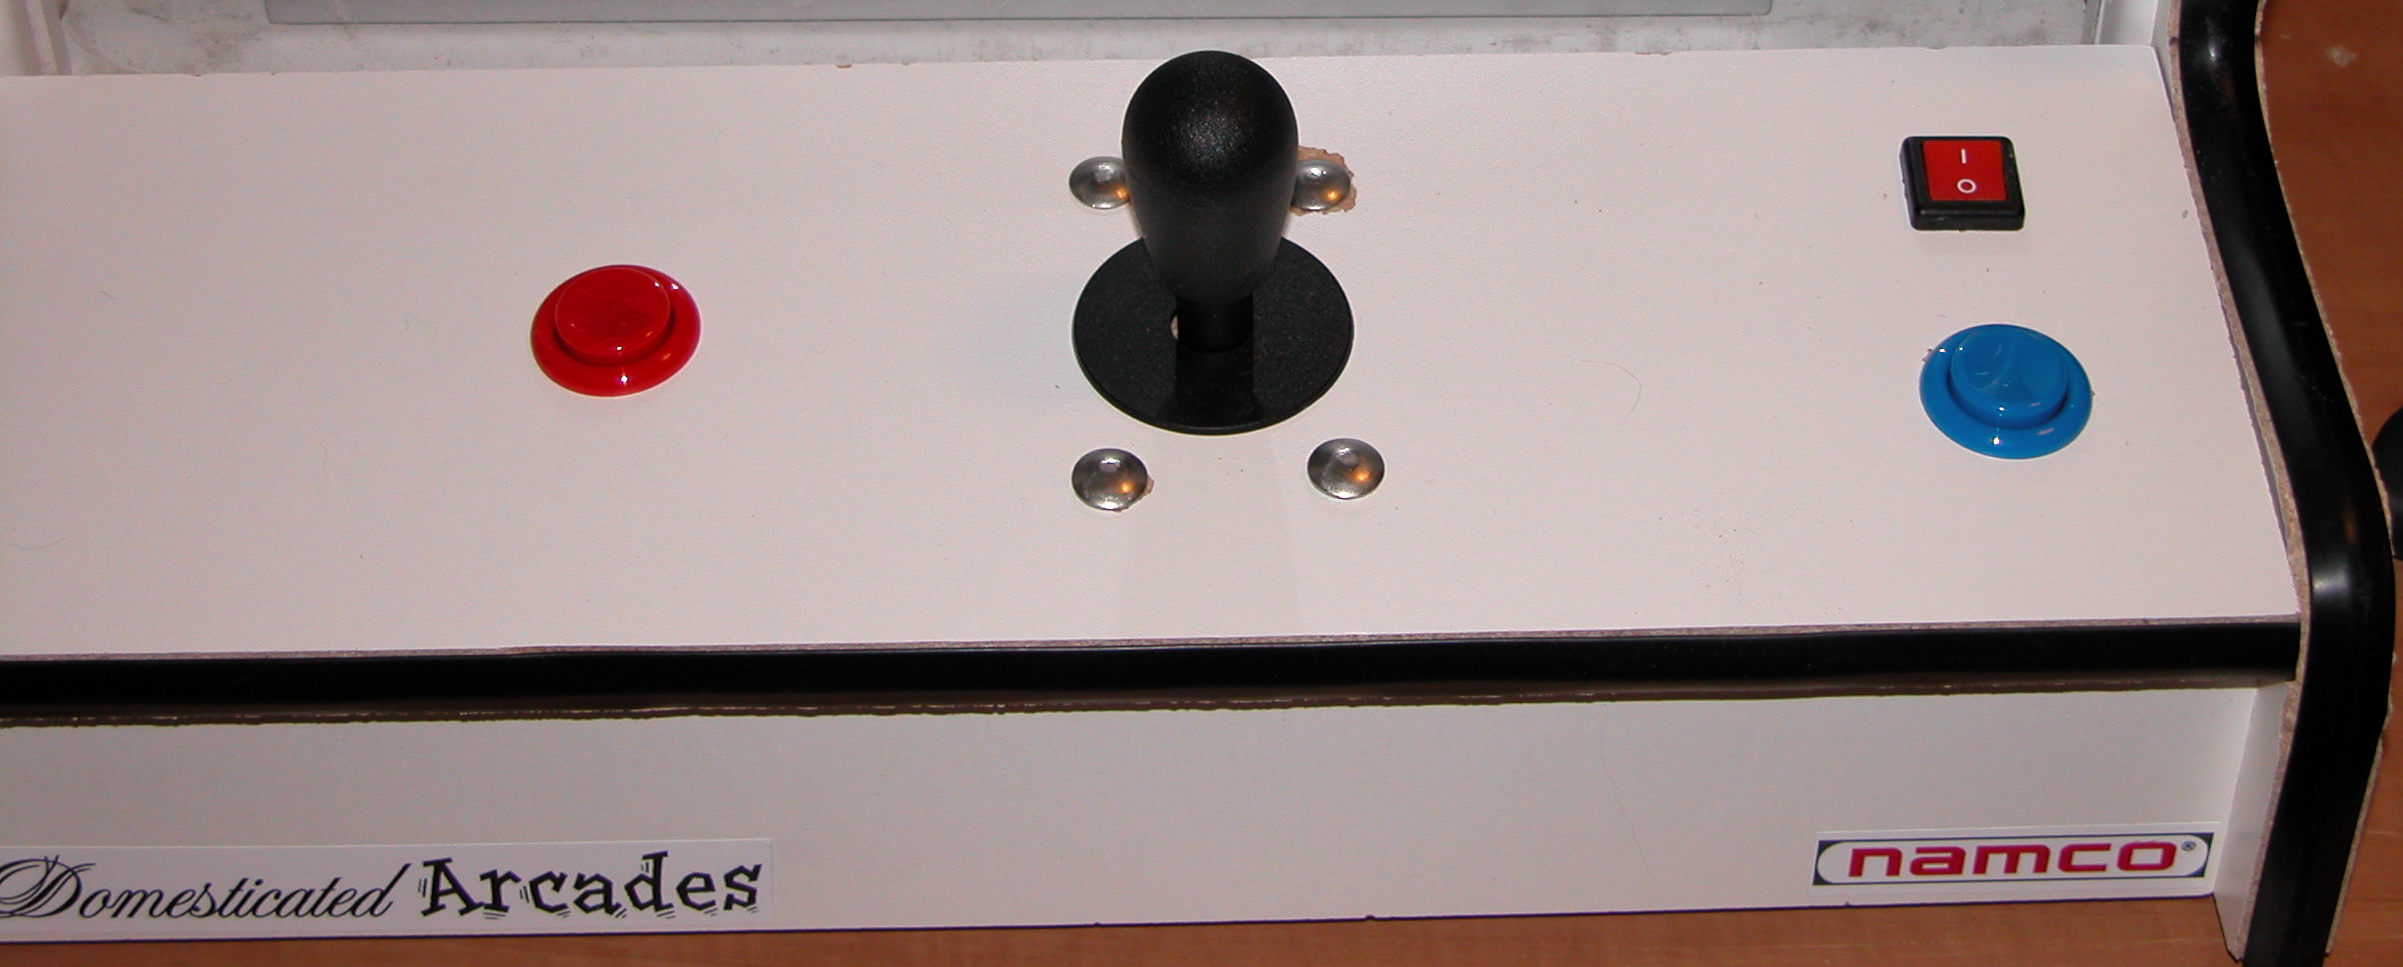
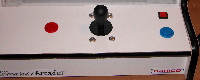 The buttons, joystick, and power switch are mounted to the control panel. The power switch's bolt doesn't extend through the board, so it is held in place with superglue. The buttons, joystick, and power switch are mounted to the control panel. The power switch's bolt doesn't extend through the board, so it is held in place with superglue.
The electronics are then placed under the control panel, and solderless connectors are pushed onto the controls. The main circuit board is attached to the wood with a single screw (through the hole conveniently left in the circuit board). The power cable and TV a/v cables are run under the cabinet to come out the back.
|
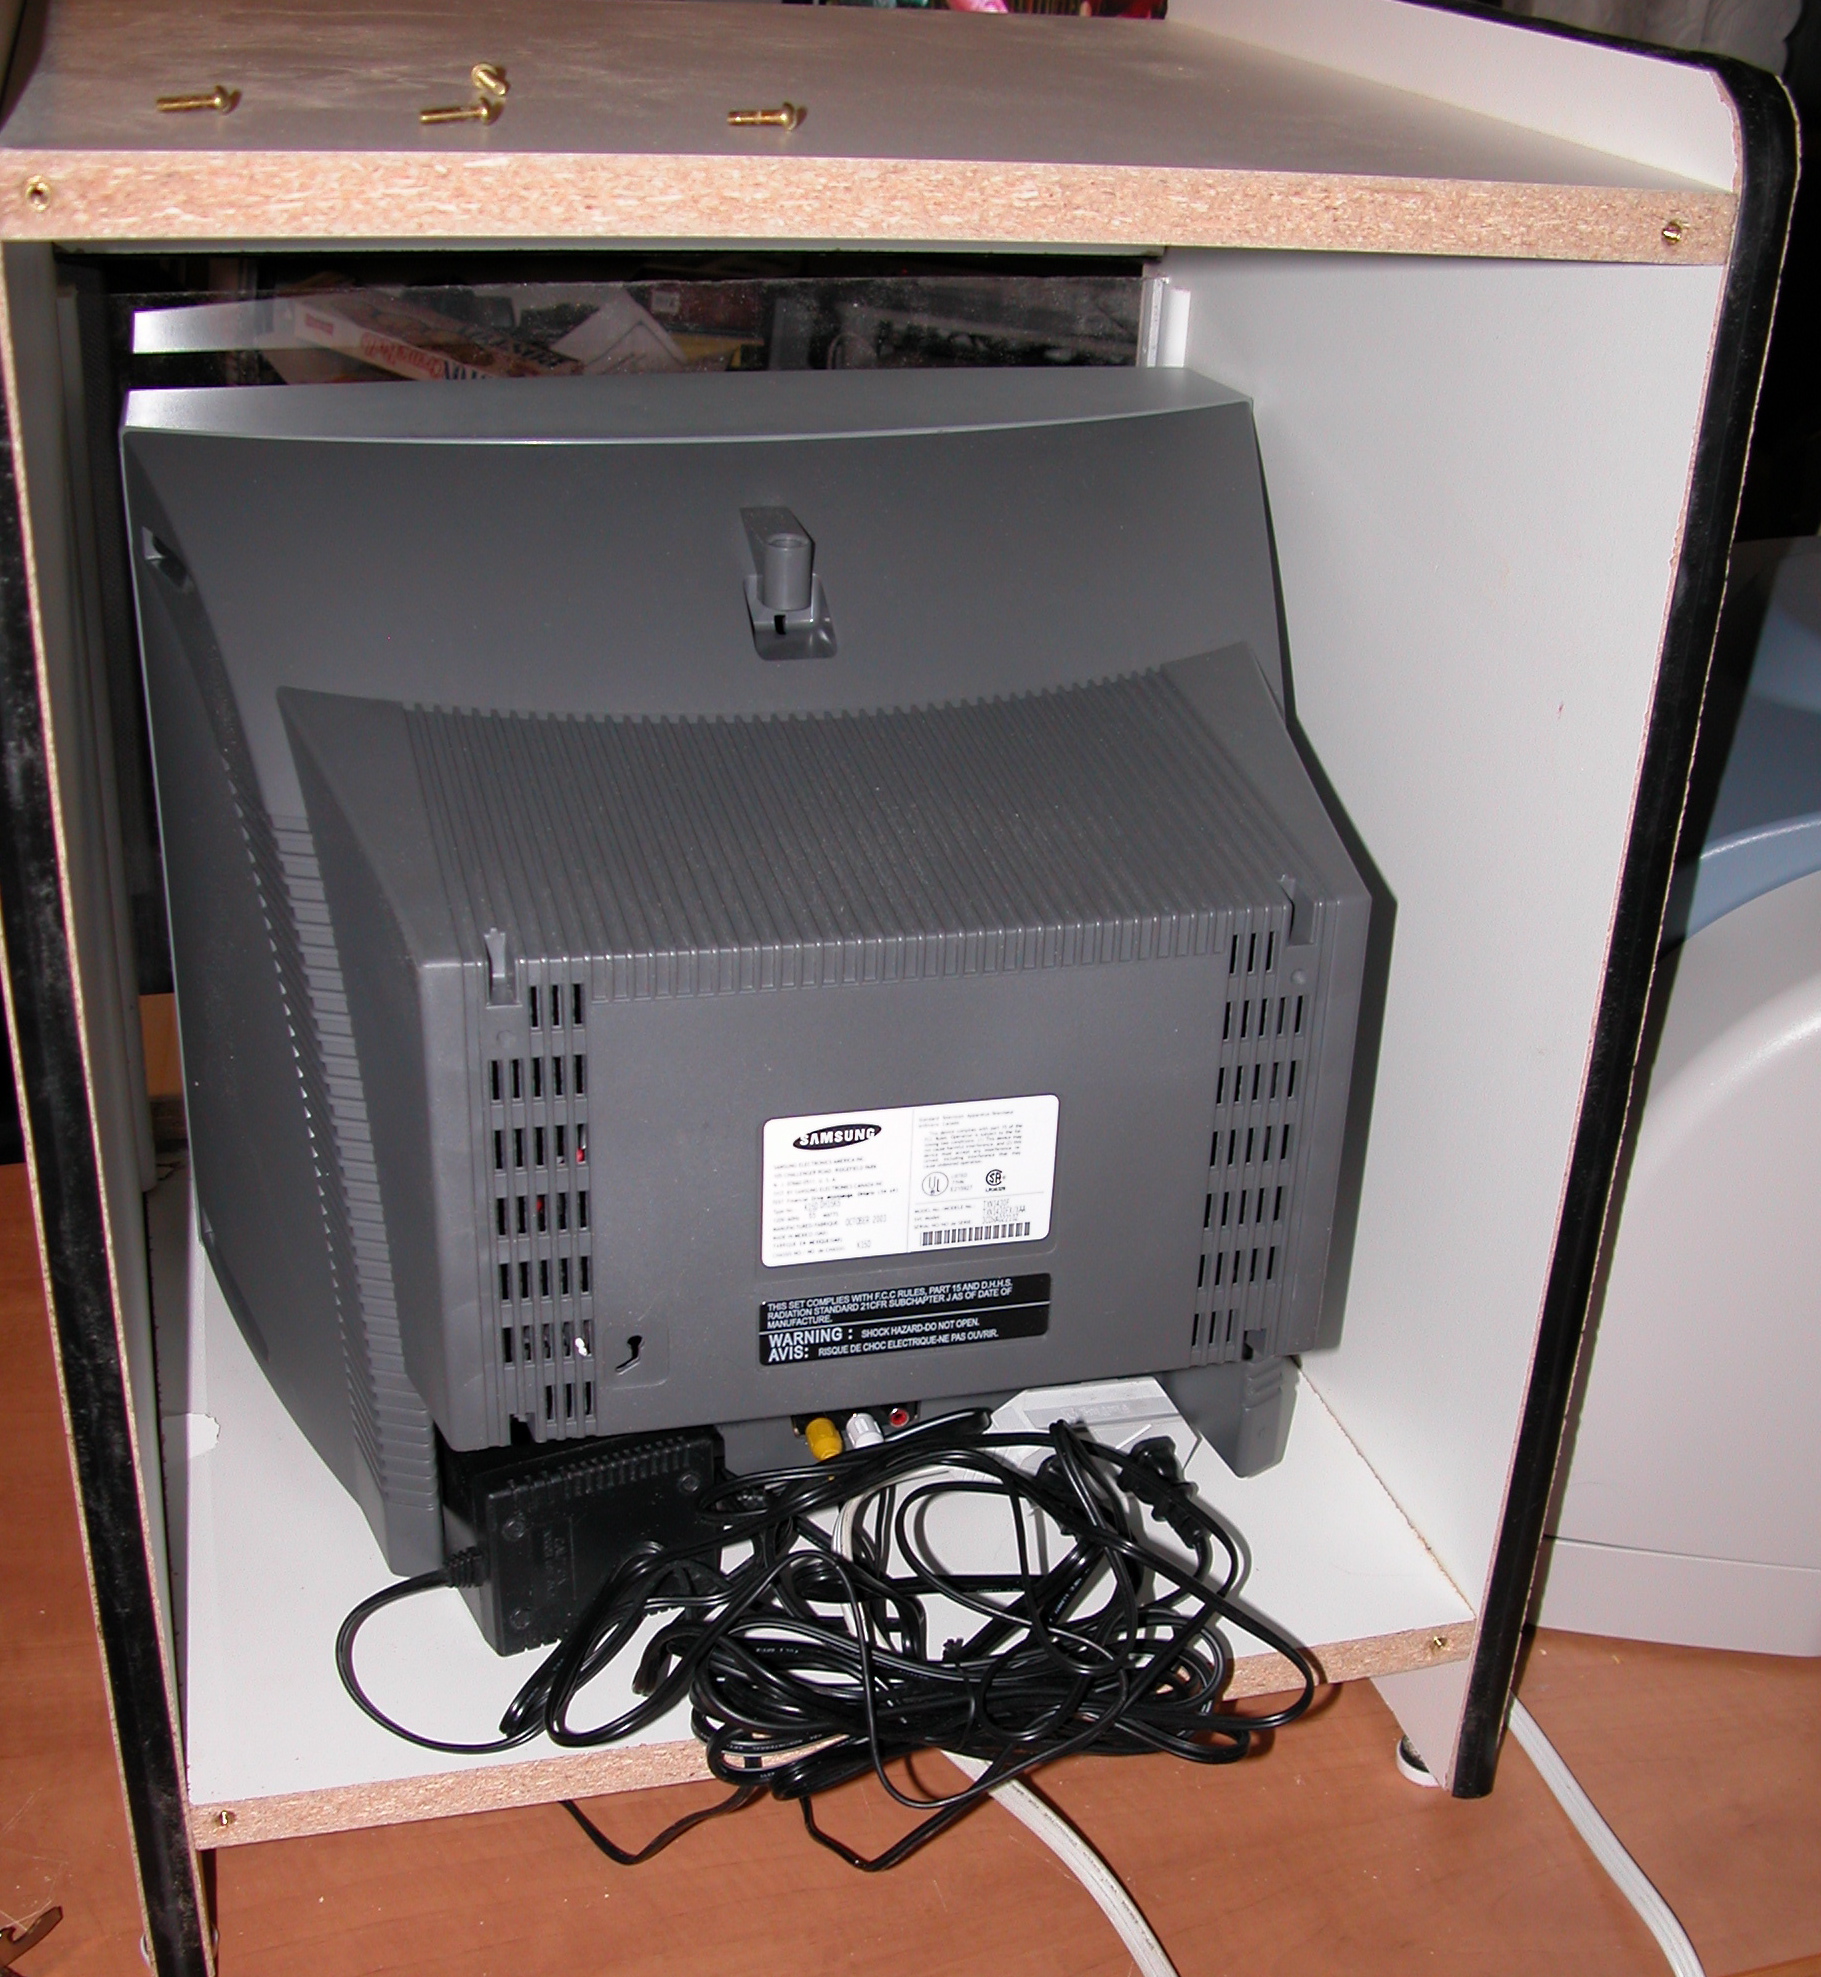
 The TV fits into the cabinet, with room for the power adapter, an extension cord with two plugs for the power adapter and the TV's power, and the excess cables. Yes, it's an awful mess, but because it's going to be covered up, who cares? The TV fits into the cabinet, with room for the power adapter, an extension cord with two plugs for the power adapter and the TV's power, and the excess cables. Yes, it's an awful mess, but because it's going to be covered up, who cares?
(Writing that makes me feel guilty, I'm going to tie things up when I get this posted.)
|
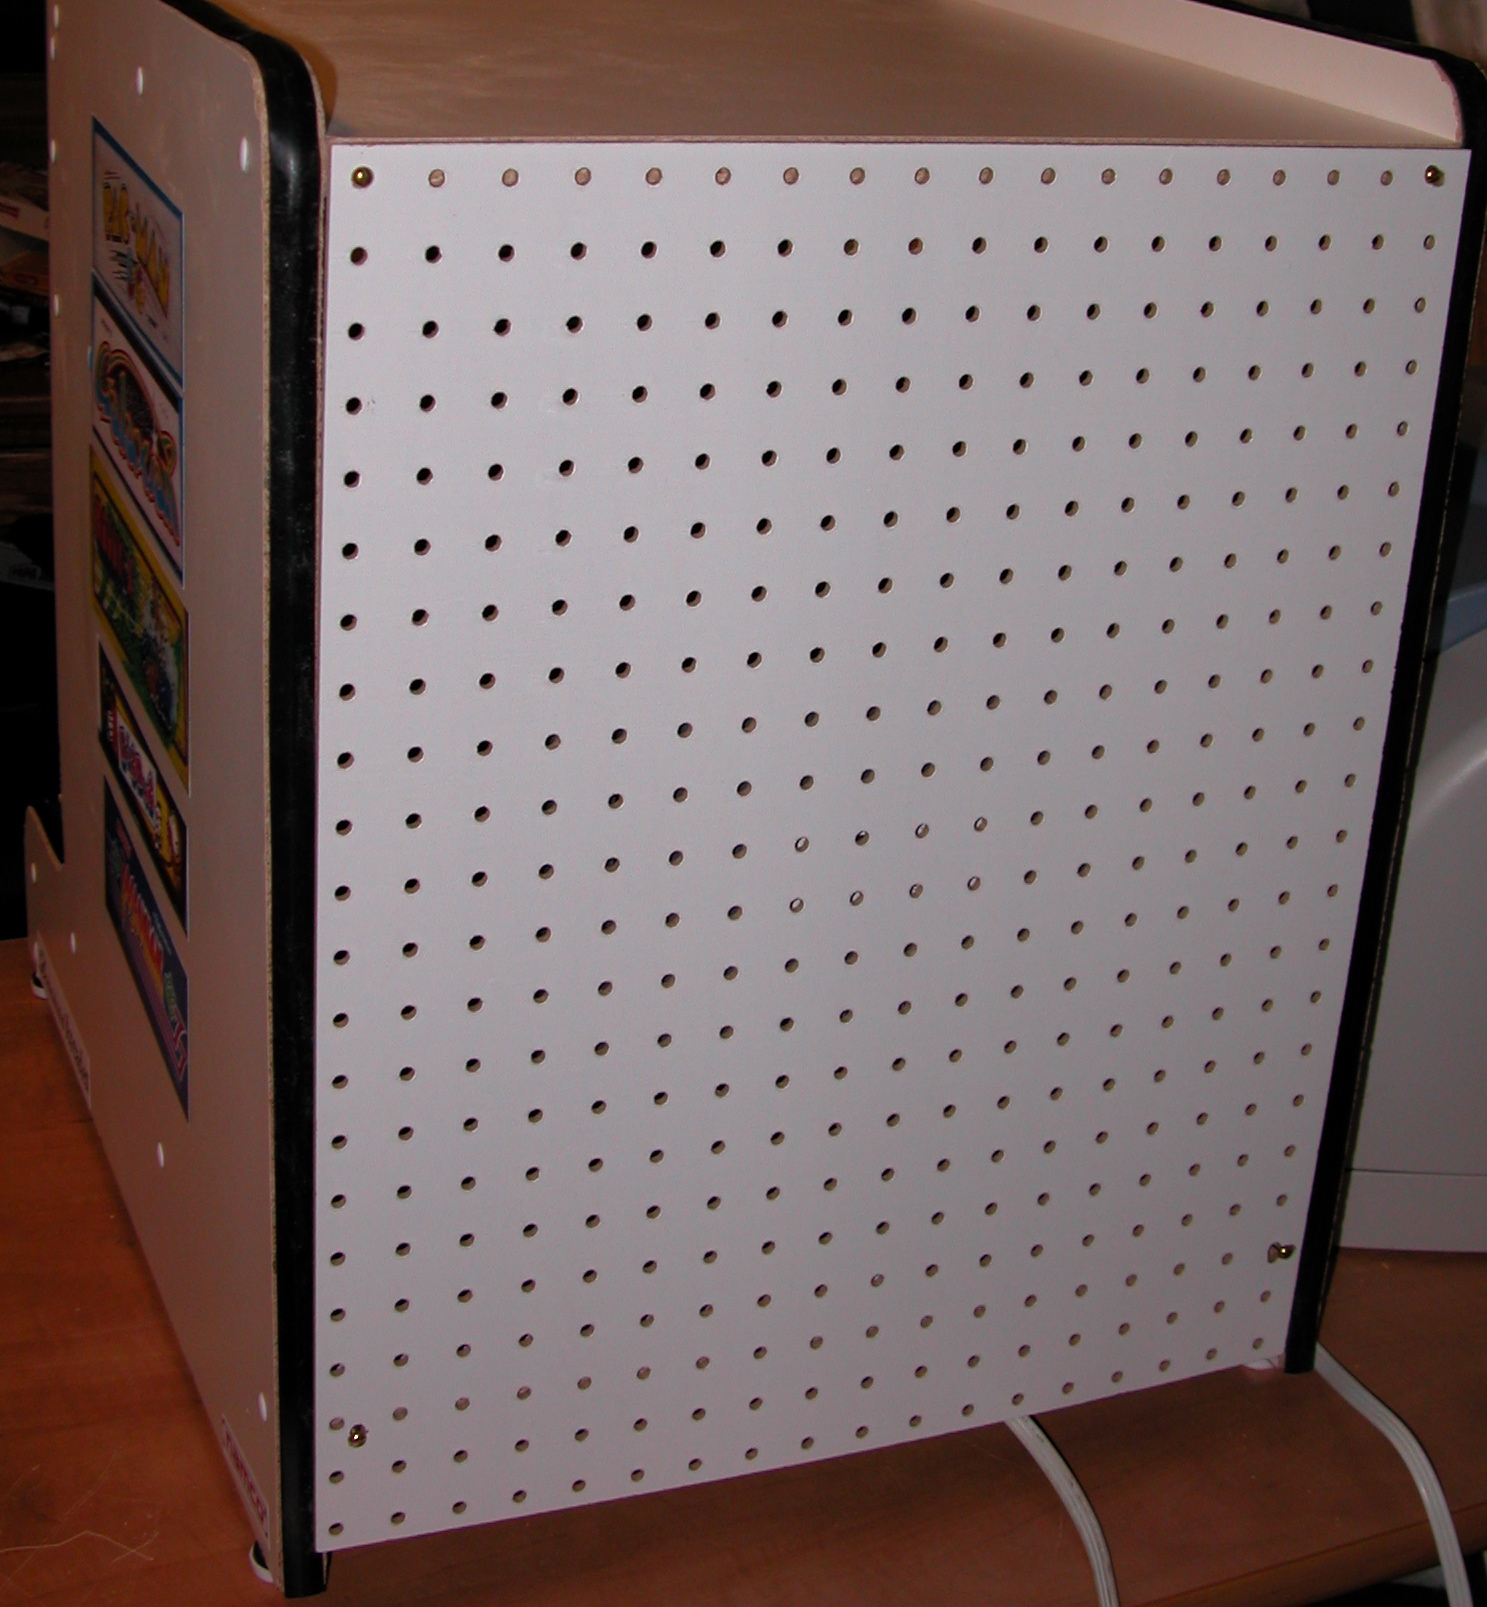
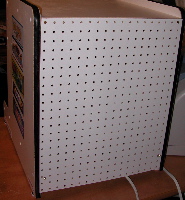 The back is pegboard, giving great ventilation to the TV. The back is pegboard, giving great ventilation to the TV.
It is held in place with four screws. The cabinet has four threaded inserts. These are great for panels that you may have to get into from time to time but not often enough for a door. Threaded Inserts are cylindrical shaped items, with threads on the outside and inside. A hole is drilled in the wood, and the inserts is screwed into the hole (using the outer threads), locking it solidly into the wood. The inner threads will hold a machine screw, and the screw can be screwed in and screwed out again and again and again.
|
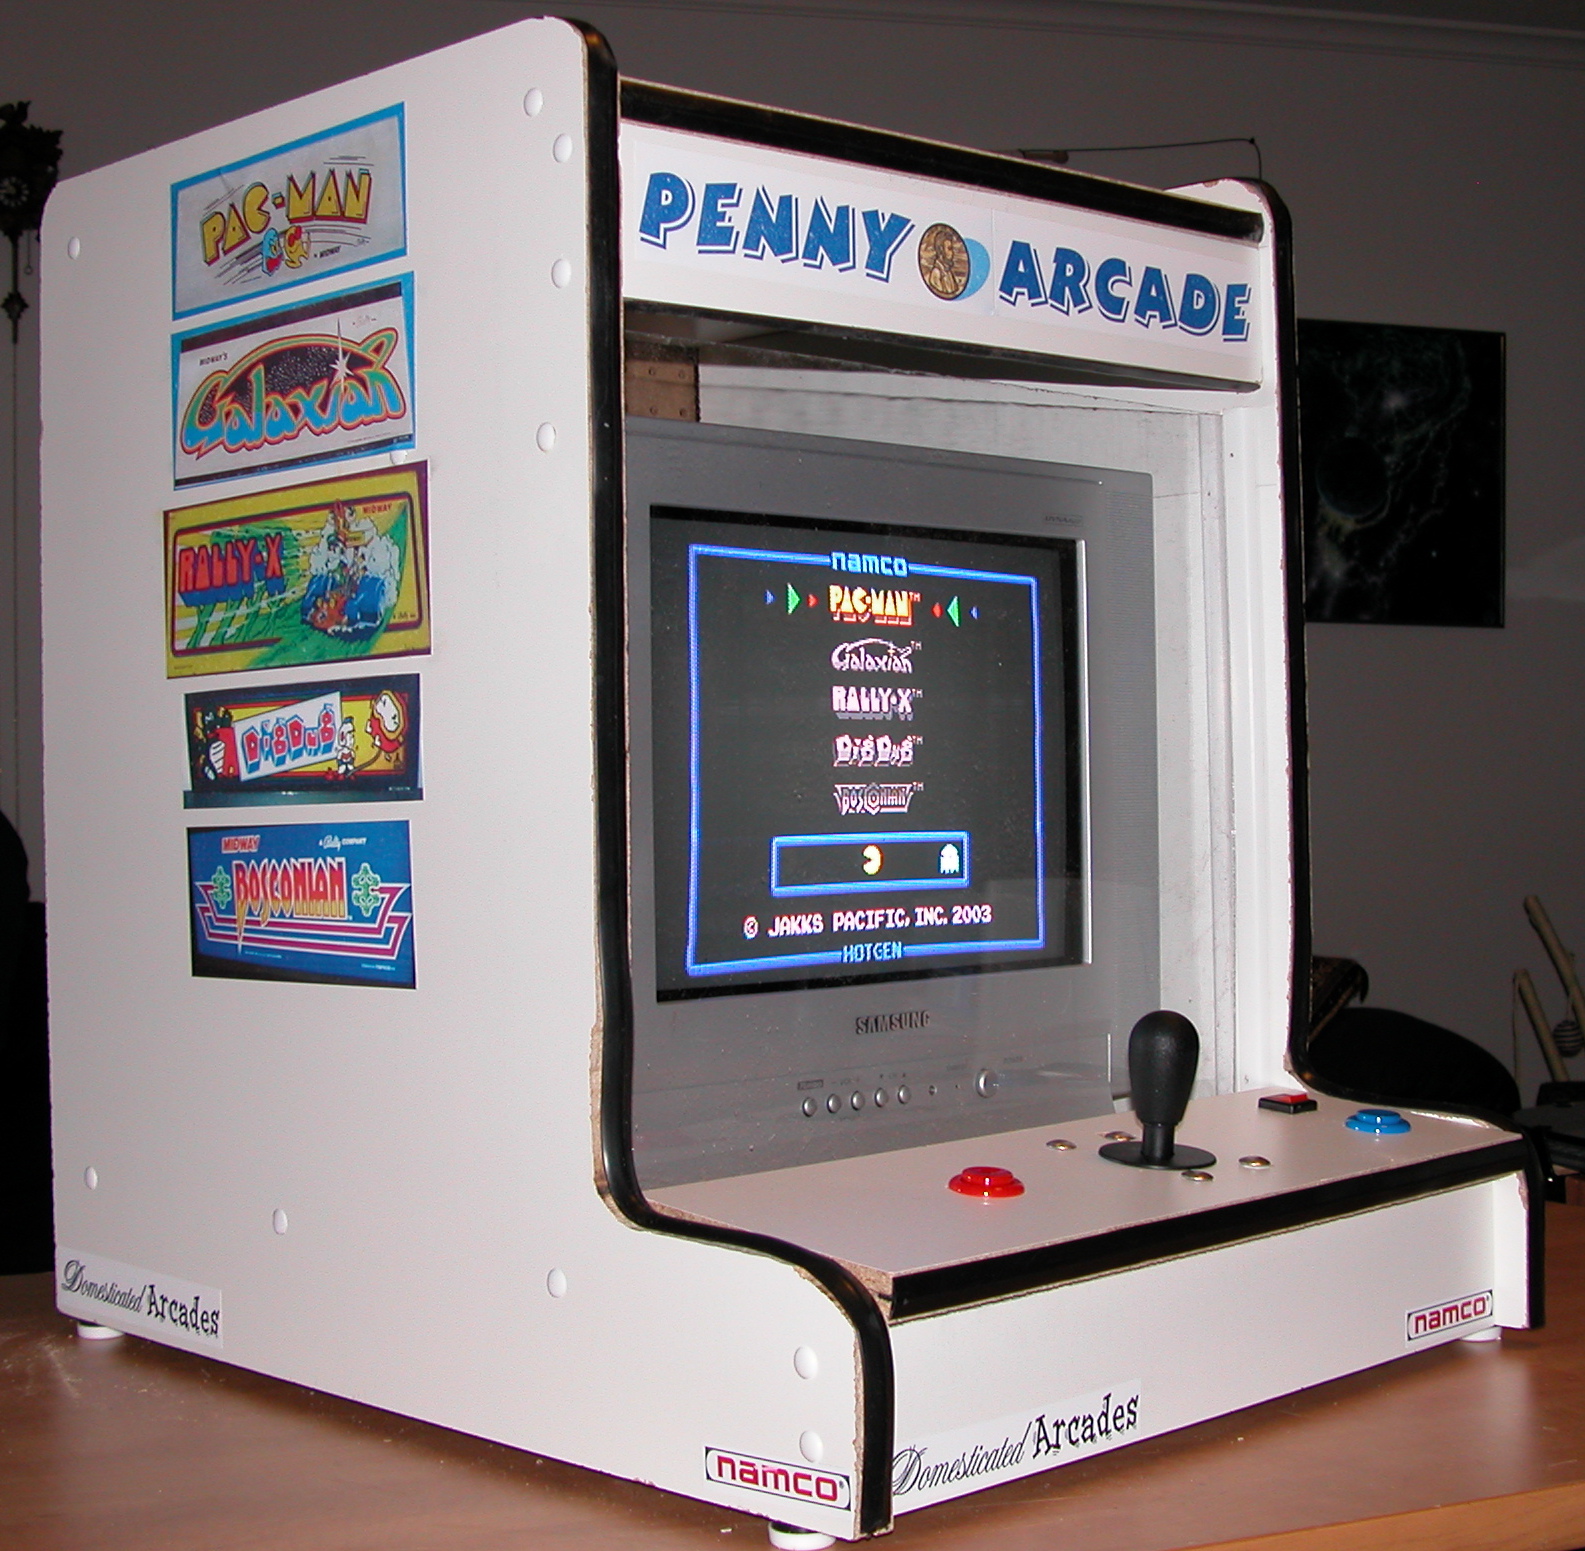
 The cabinet is covered with stickers, printed on Bumper Sticker stock I received from Office Depot. The logo was created in Photoshop Elements, the penny came from ClipArt.com, and the marquee images on the sides came from Build Your Own Arcade Controls. The cabinet is covered with stickers, printed on Bumper Sticker stock I received from Office Depot. The logo was created in Photoshop Elements, the penny came from ClipArt.com, and the marquee images on the sides came from Build Your Own Arcade Controls. |
|
The TV is listed at Best Buy for $150, the bumper sticker stock cost $23.98 for a total of $173.98
|
|