|
The Electronics
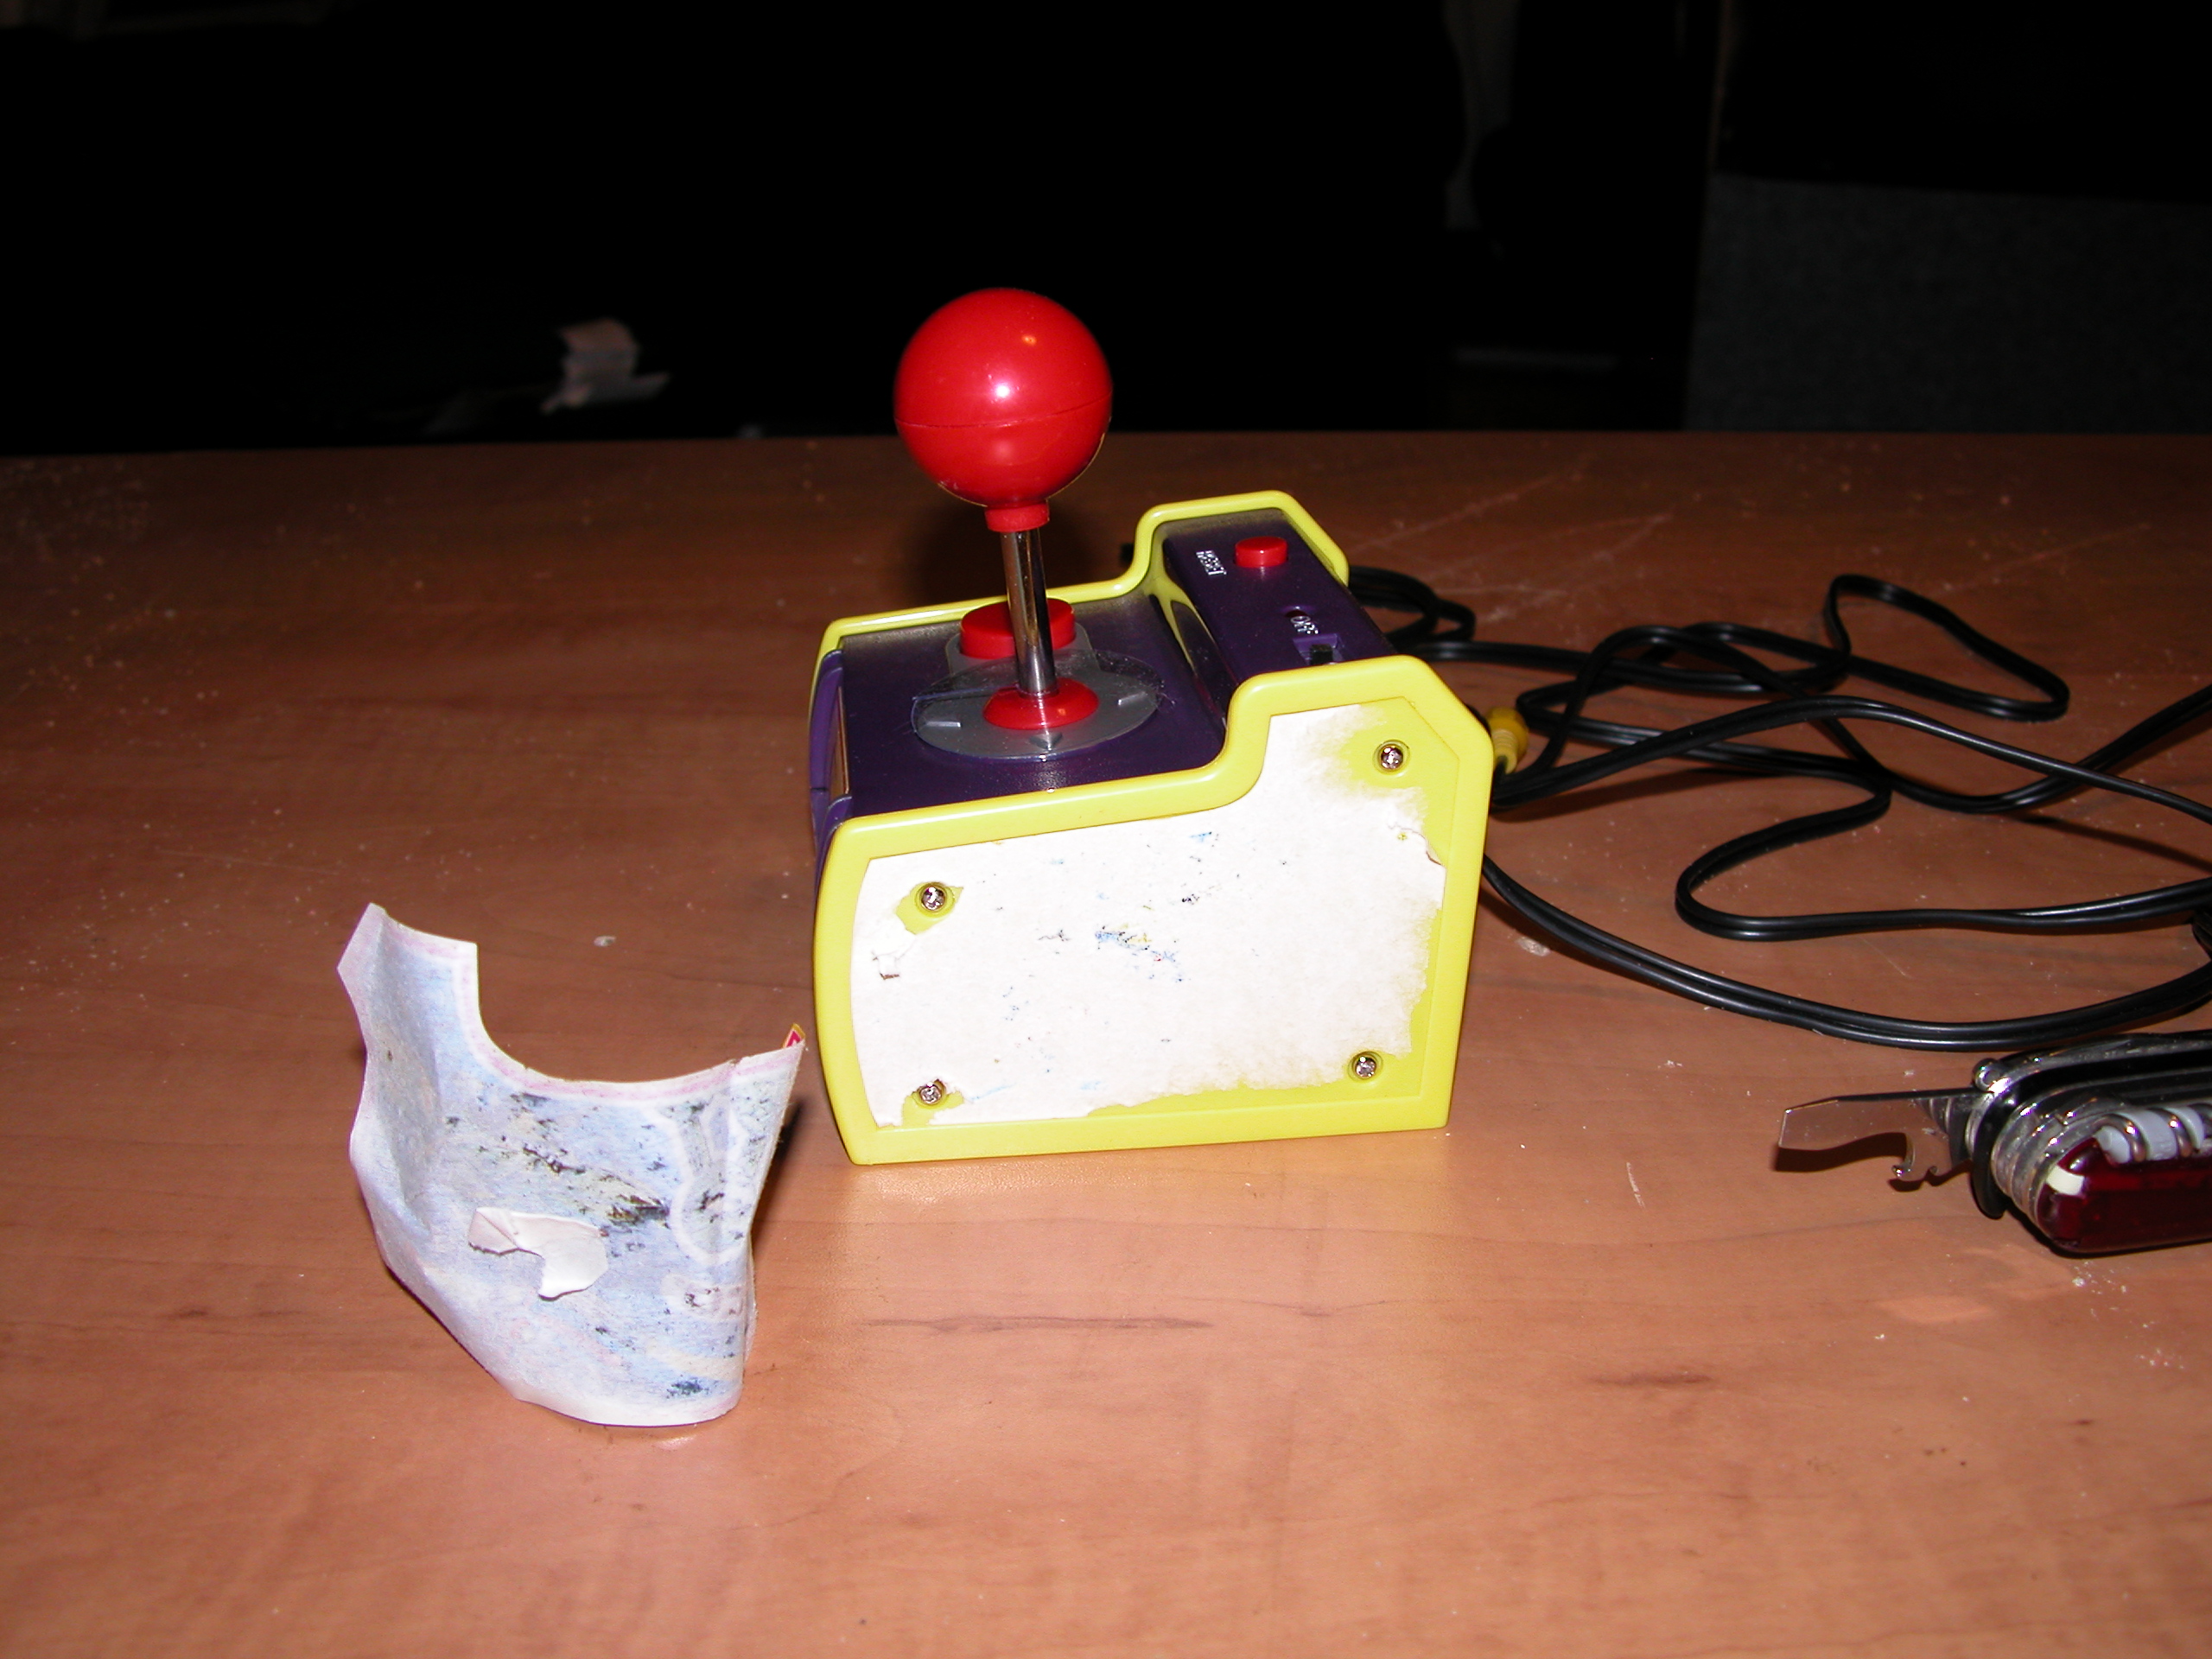
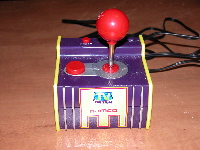 This is the box with the games, a Namco TV Game controller. $20. Sold out at the local Toys 'R Us, sold out at the local Best Buy, sold out at the local Kay-Bee Toys, sold out at Amazon.com, found it at CircuitCity.com This is the box with the games, a Namco TV Game controller. $20. Sold out at the local Toys 'R Us, sold out at the local Best Buy, sold out at the local Kay-Bee Toys, sold out at Amazon.com, found it at CircuitCity.com |
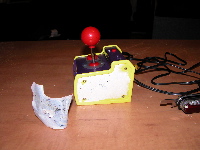 The case comes apart fairly easily. Each side panel is connected to the case with four screws, hidden under a label. The case comes apart fairly easily. Each side panel is connected to the case with four screws, hidden under a label. |
 With the sides off, pull one plastic part and it opens up. With the sides off, pull one plastic part and it opens up. |
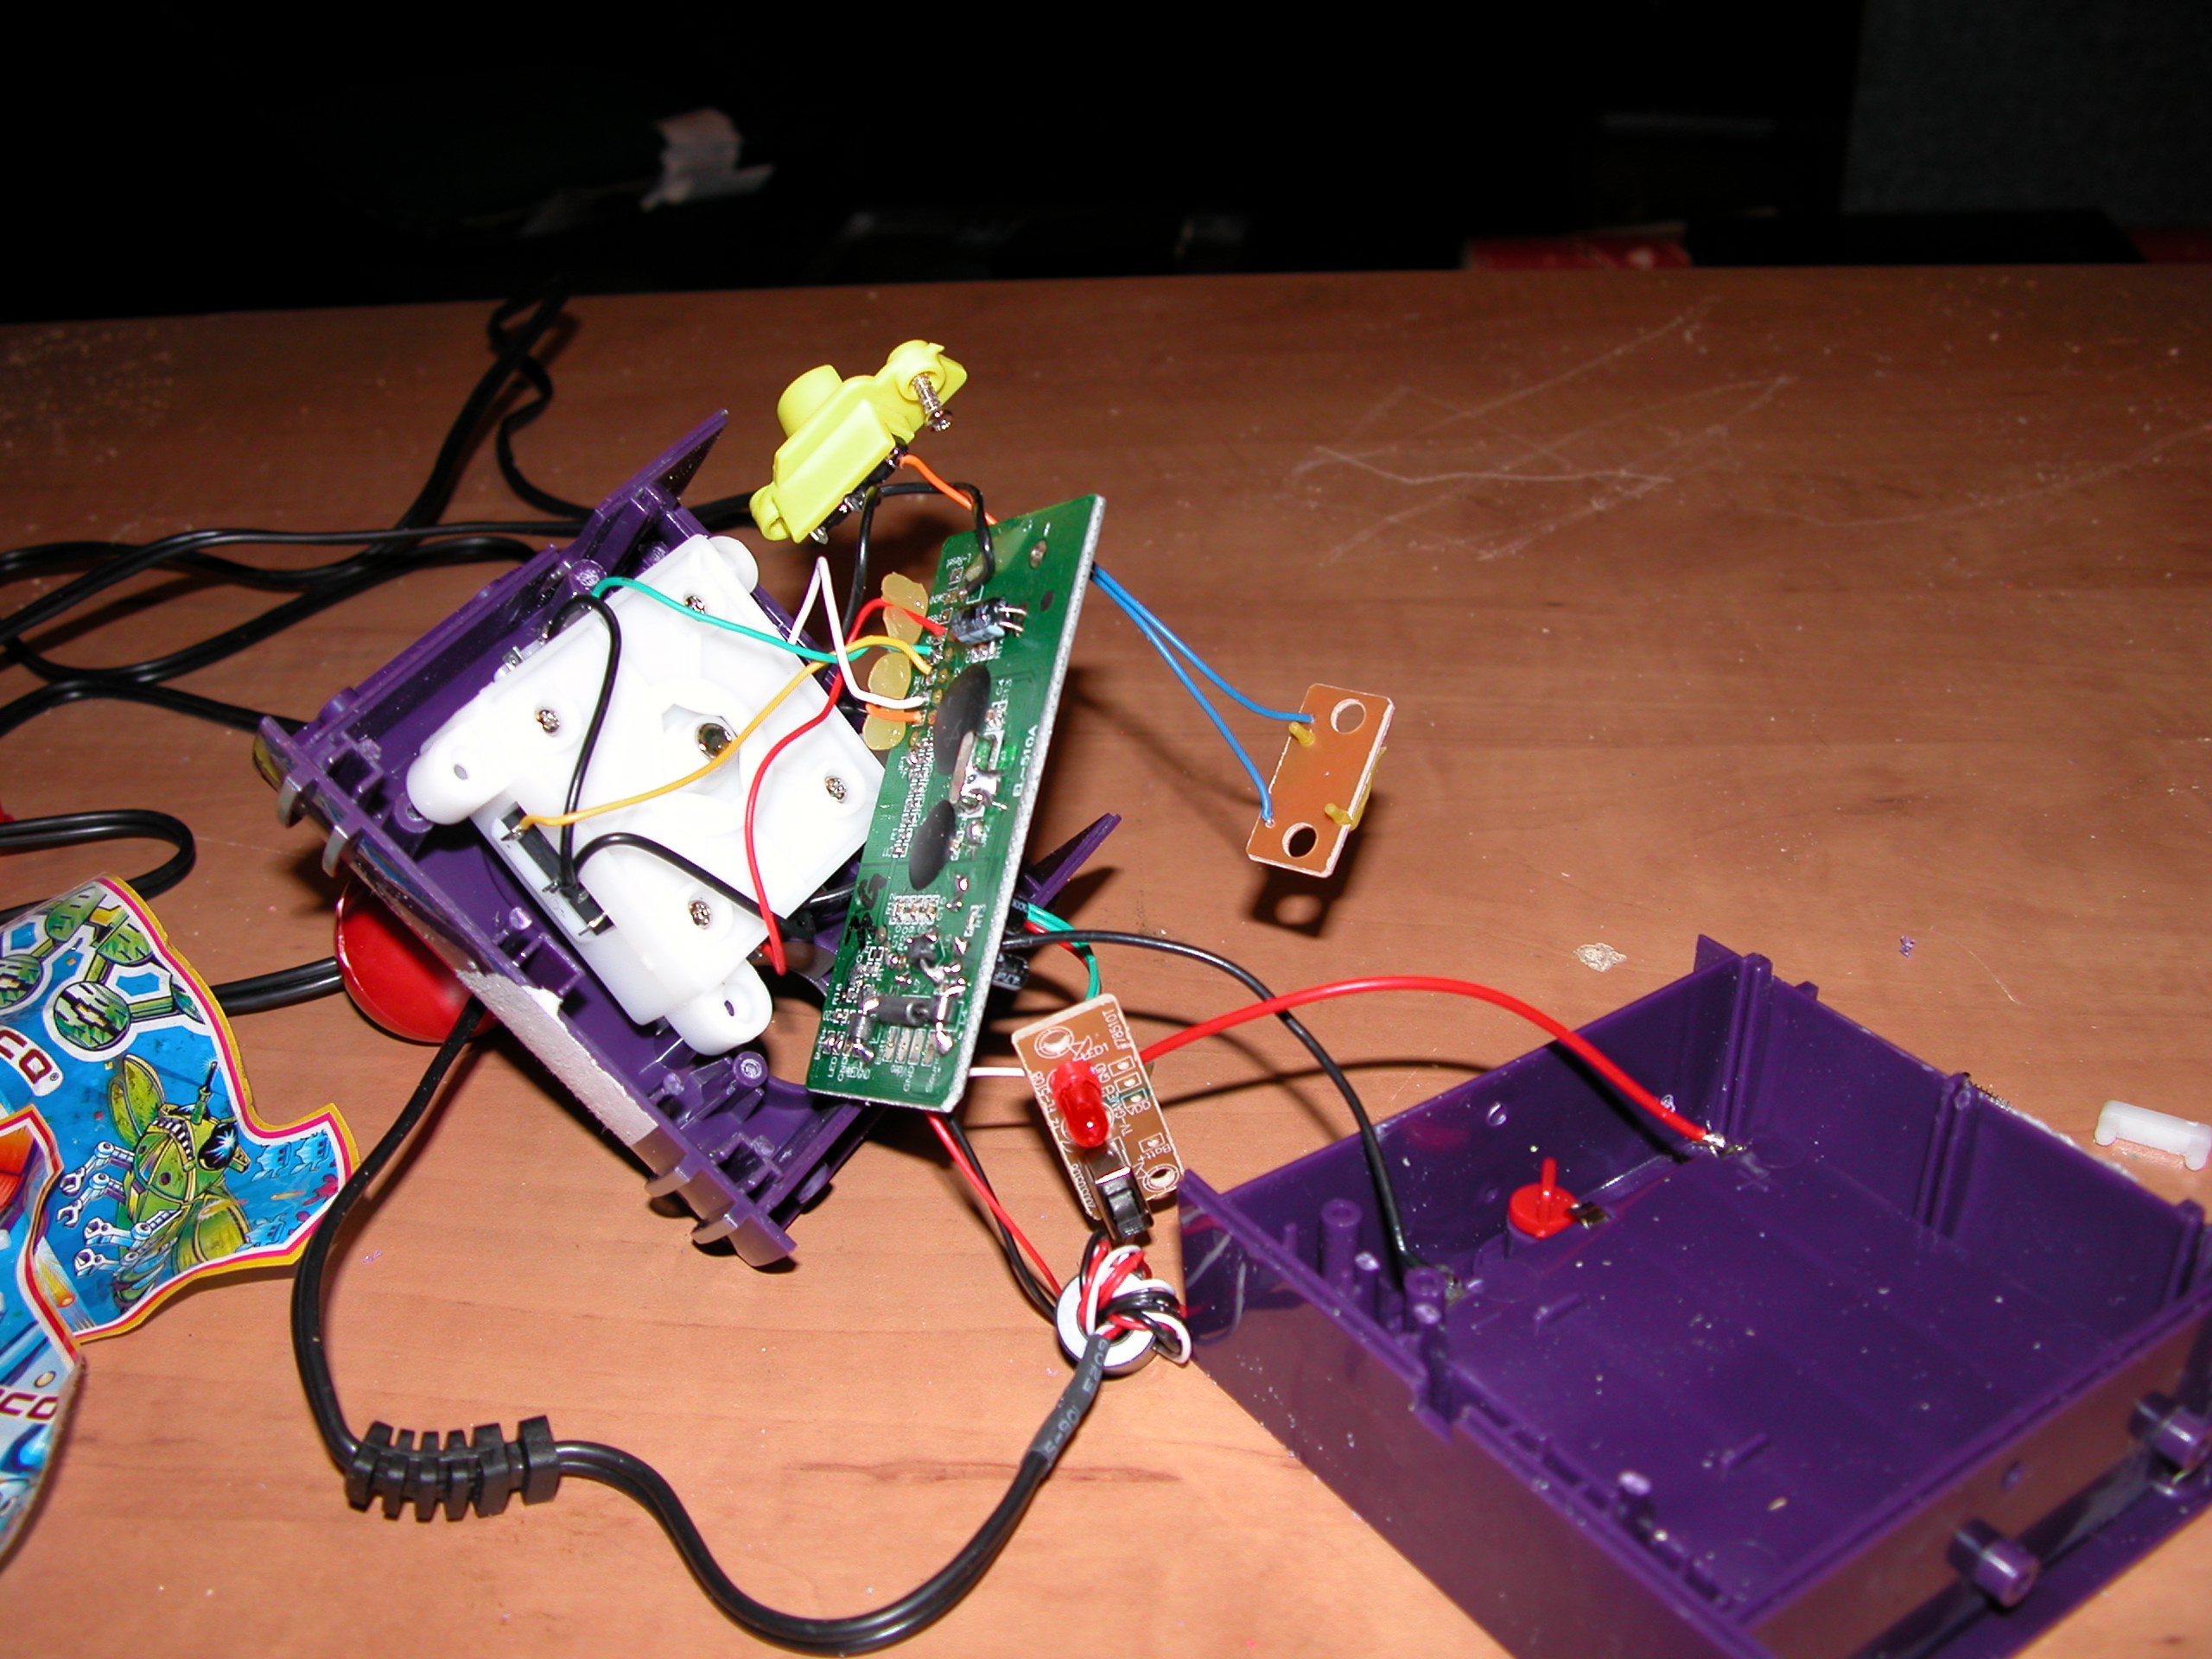
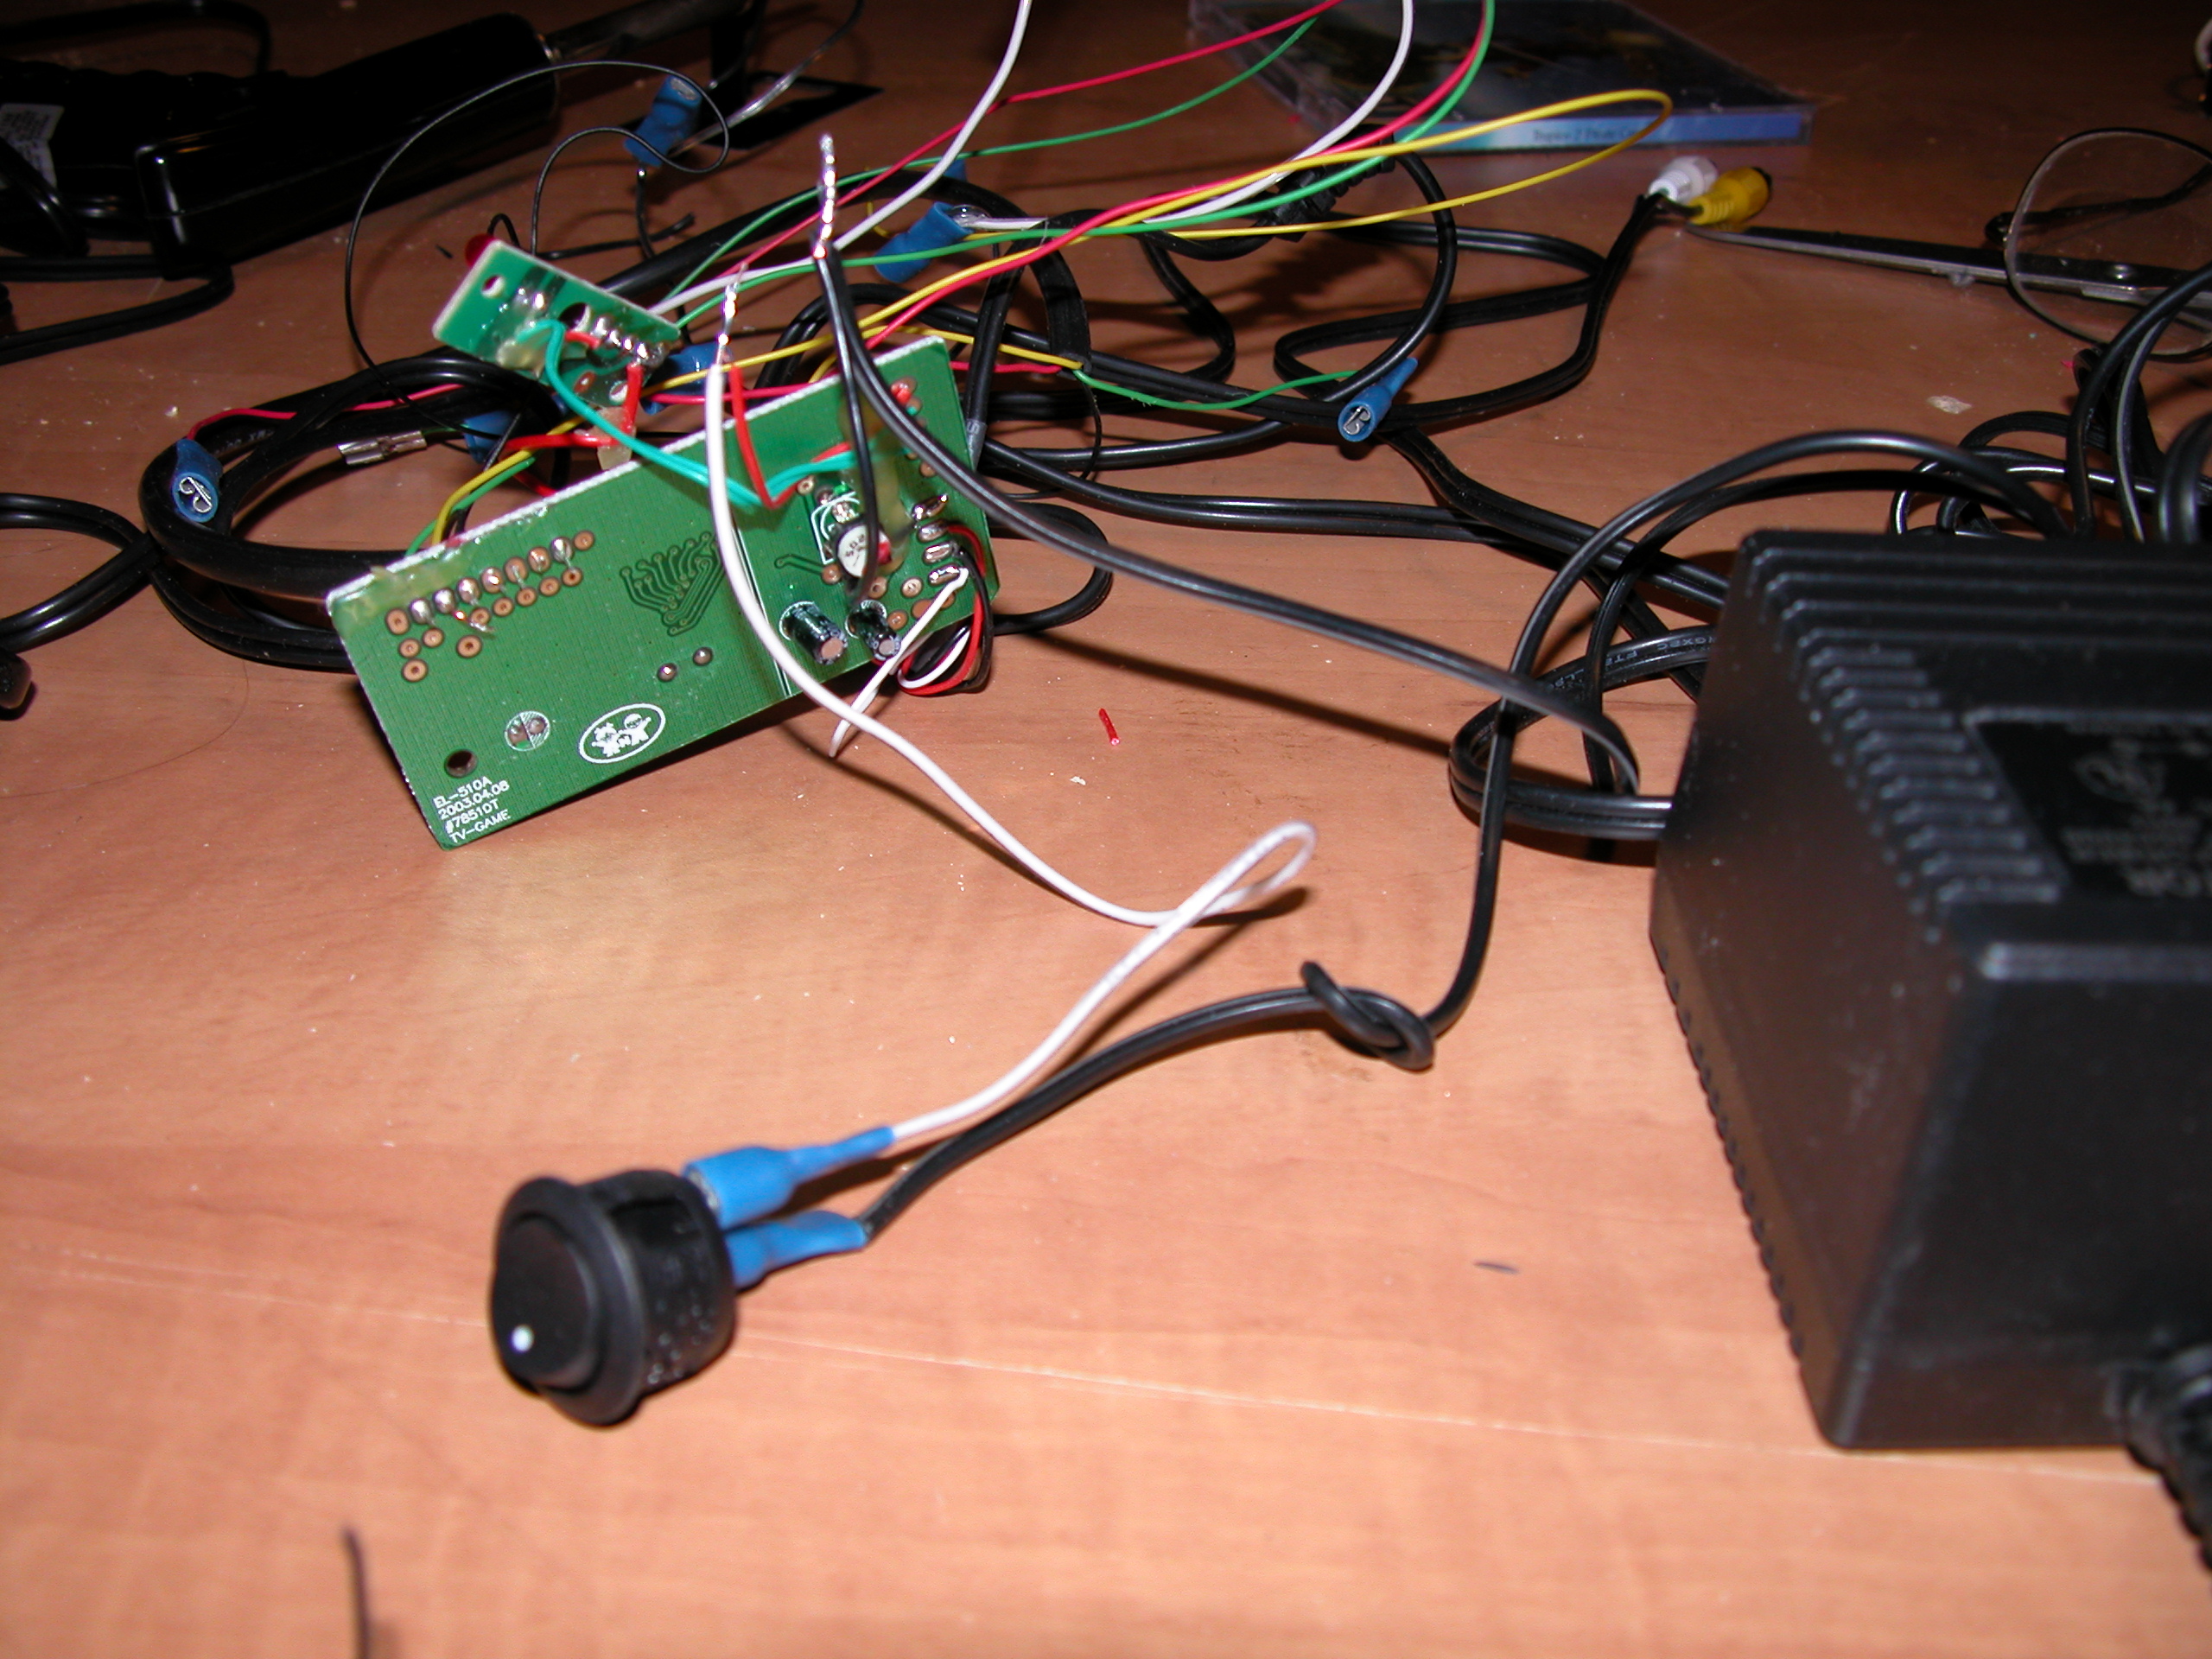
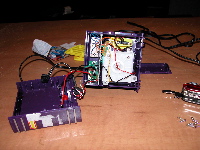 Everything is connected with nice wires that can be cut, twisted together, or resoldered. Everything is connected with nice wires that can be cut, twisted together, or resoldered. |
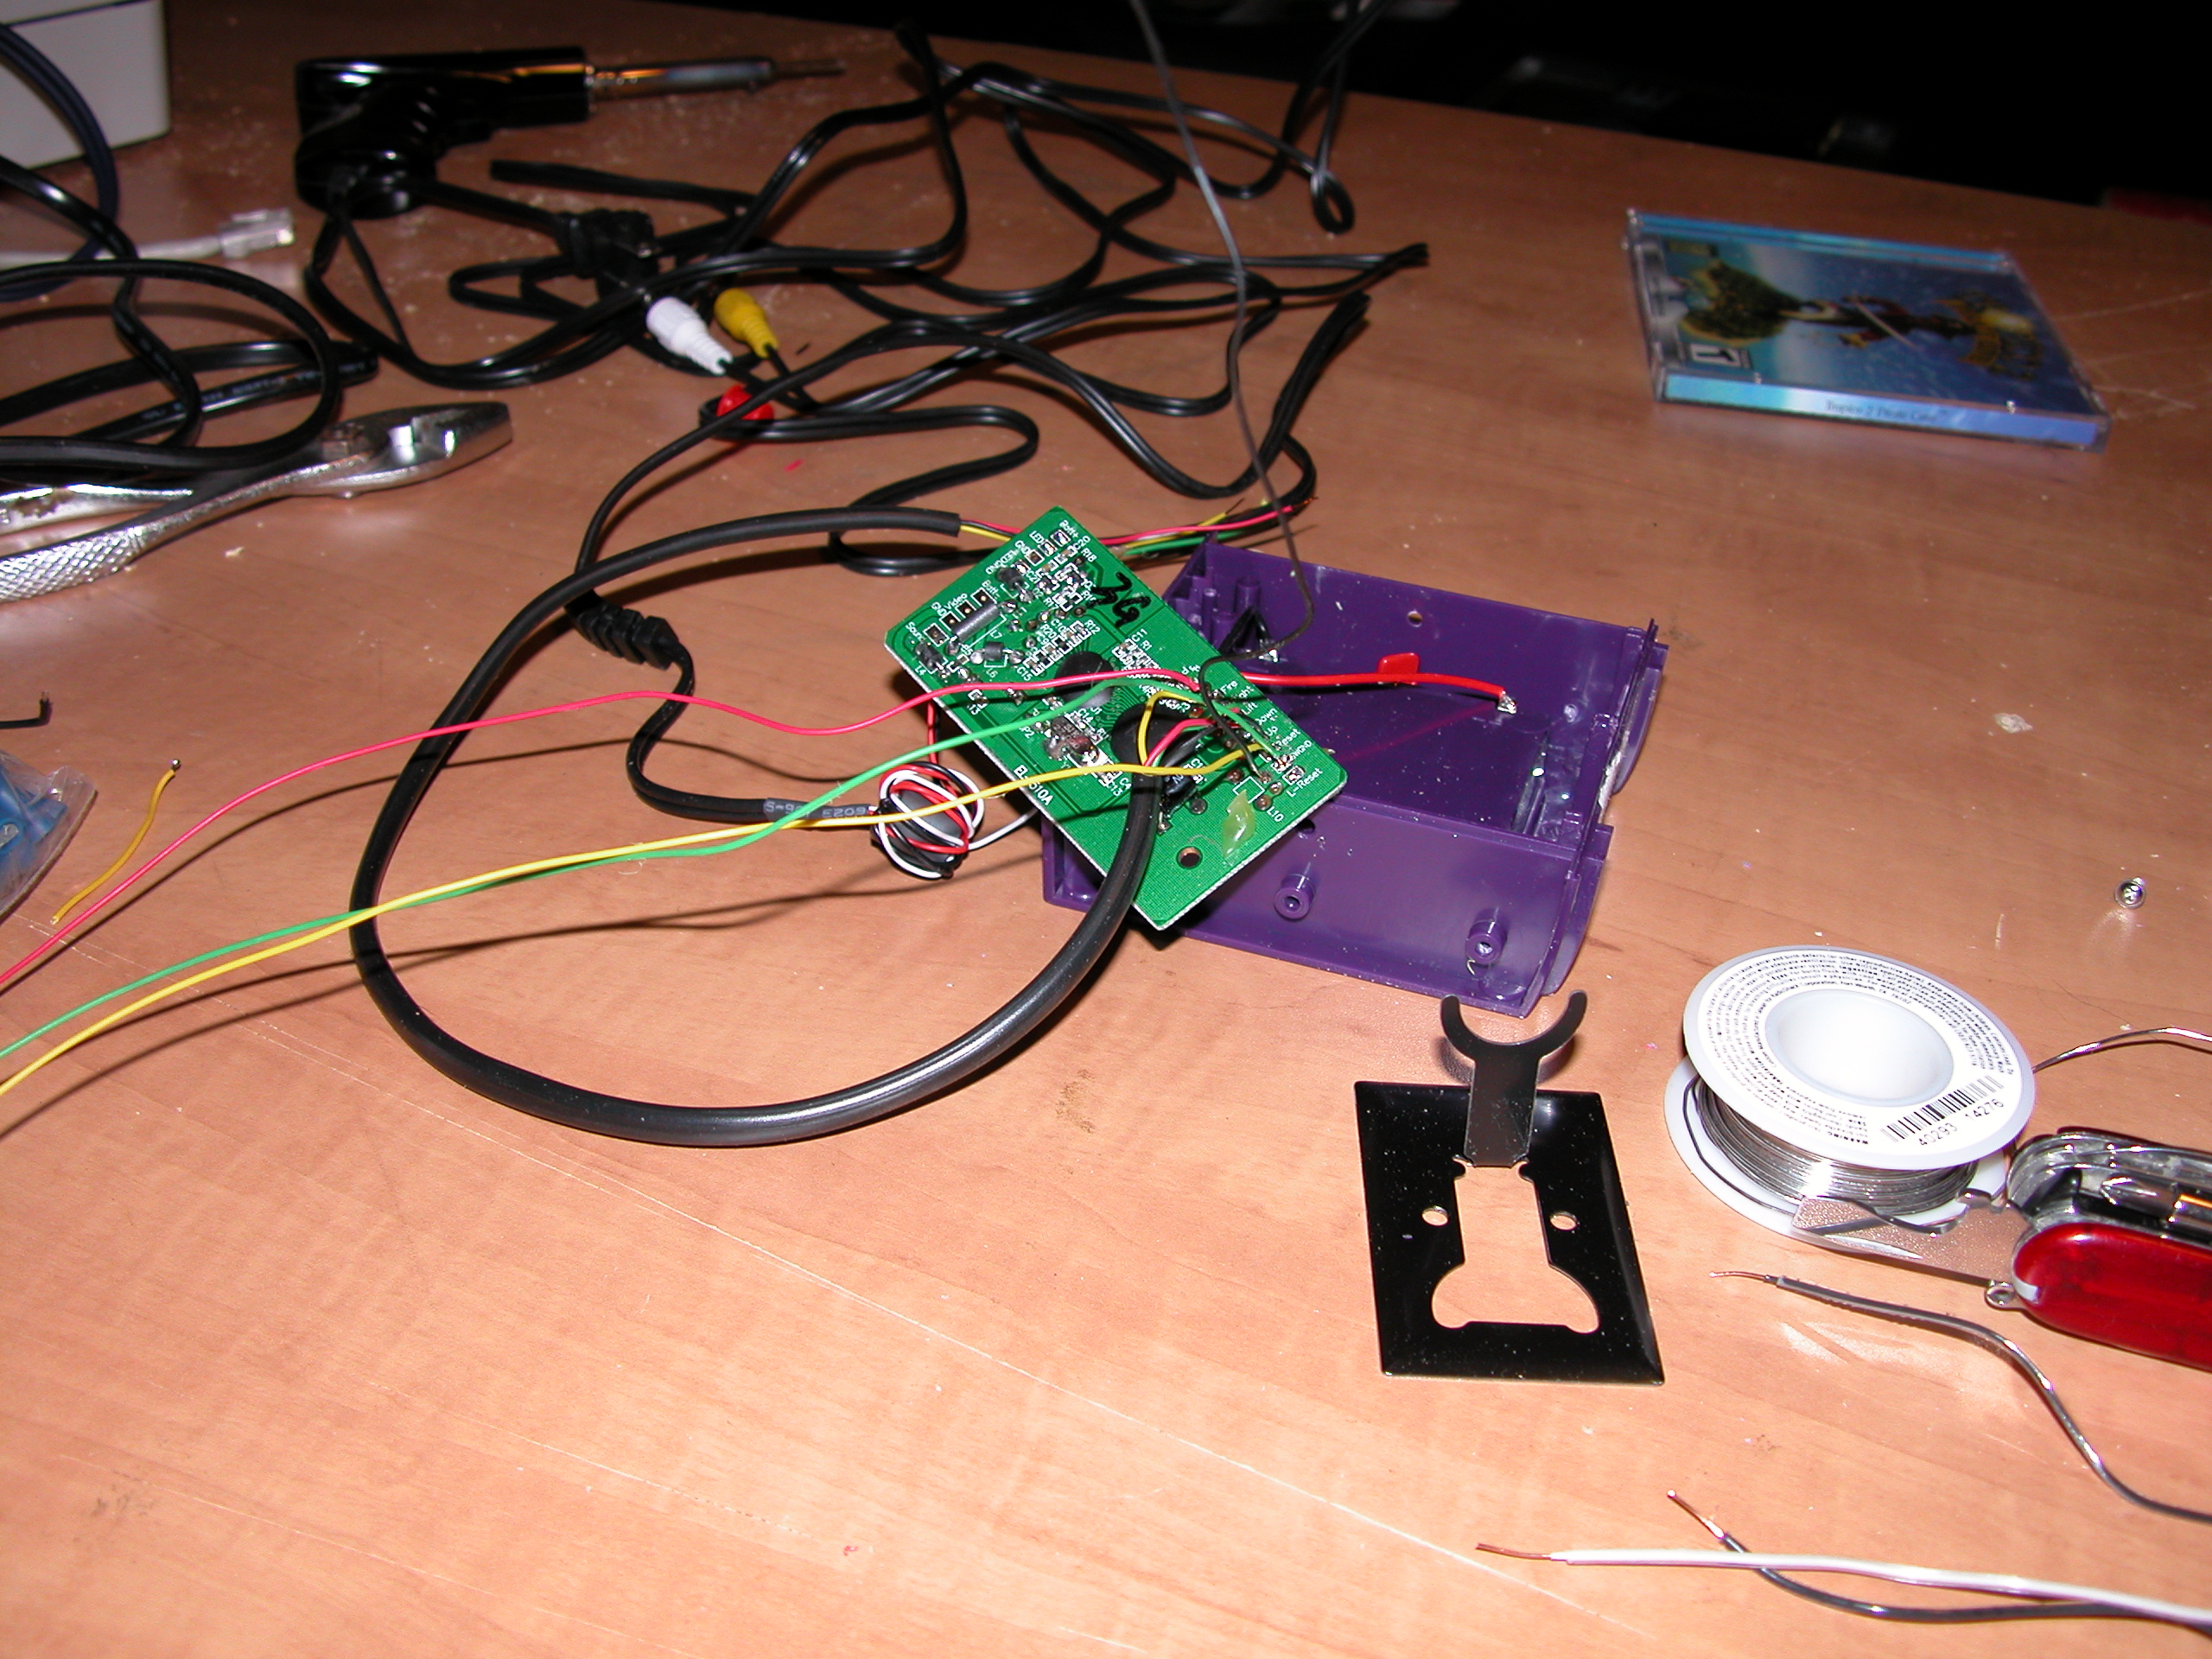
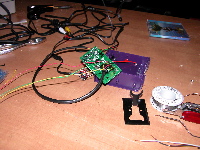
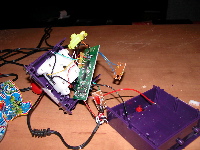 There are two circuit boards we keep. There is a main board that most items connect to, and a smaller board with the LED and power switch. The reset button will be thrown away. There are two circuit boards we keep. There is a main board that most items connect to, and a smaller board with the LED and power switch. The reset button will be thrown away. |
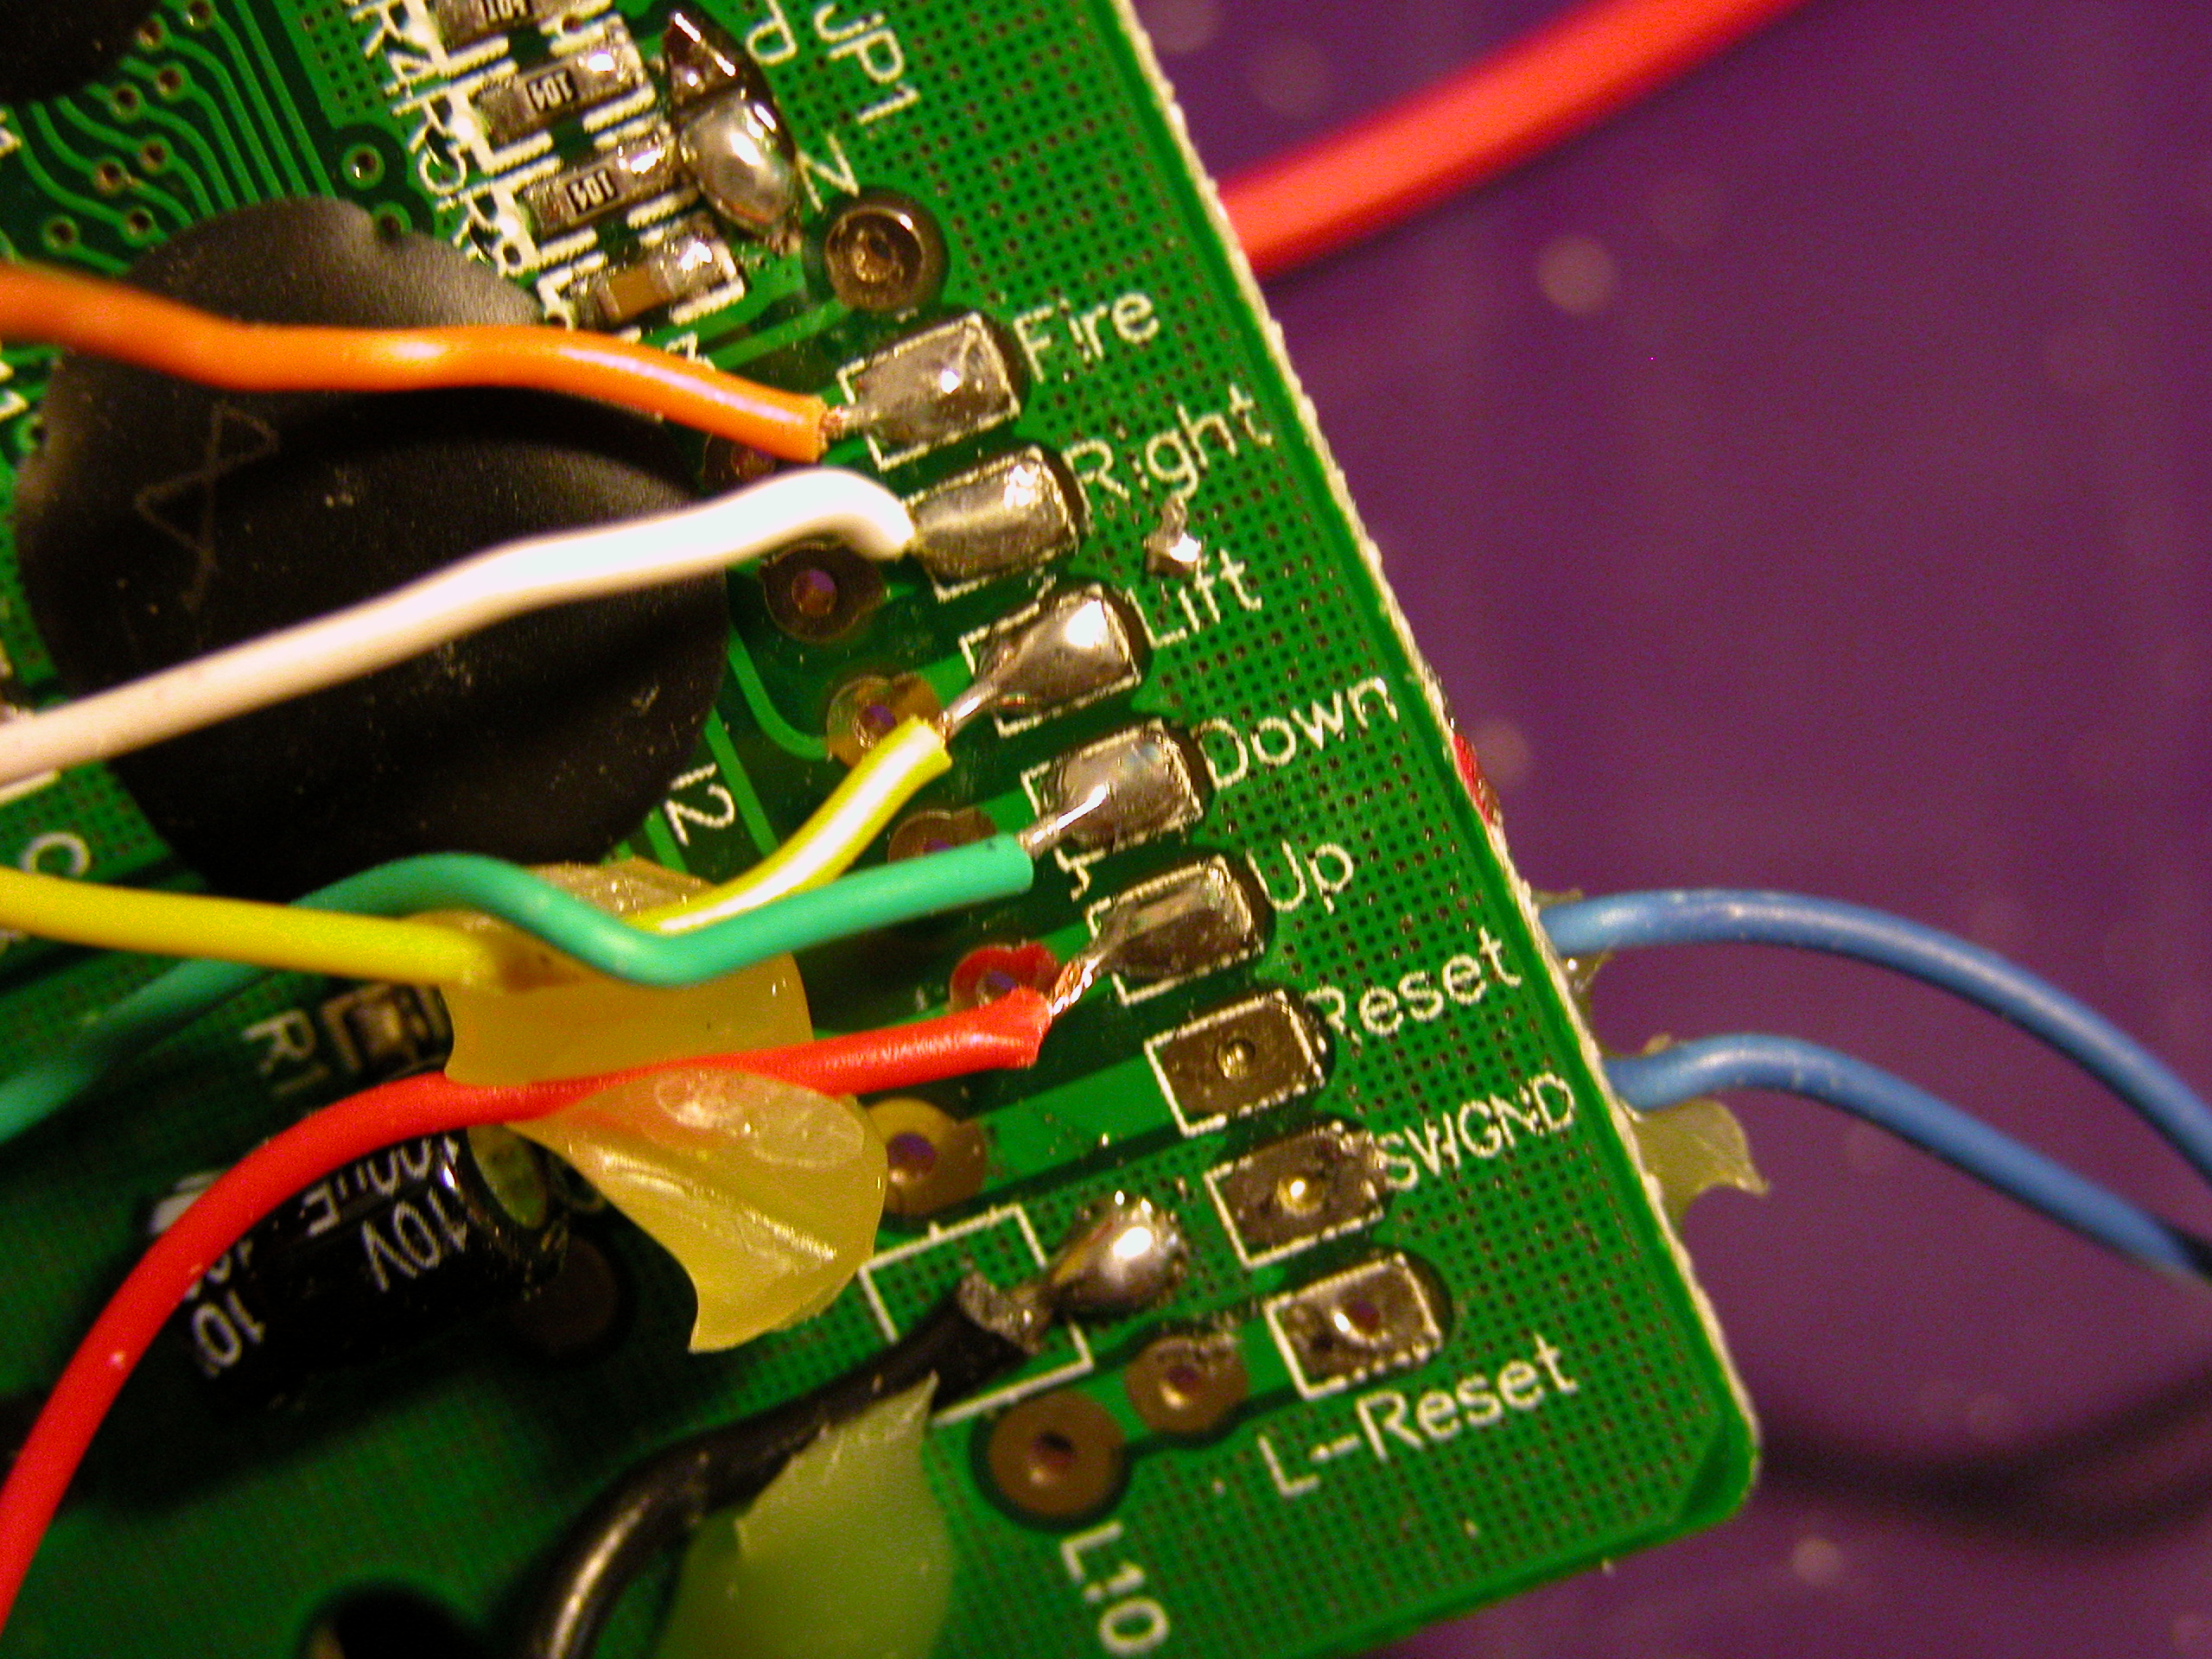
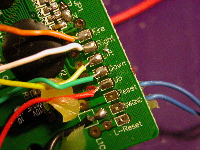 Examining the mother board, I thanked whoever designed this. Couldn't be easier. Unsolder the old wires, remove old solder, stick new wires into the holes and solder again. Fire, Right, Left, Up, Down, Reset, and Ground. Examining the mother board, I thanked whoever designed this. Couldn't be easier. Unsolder the old wires, remove old solder, stick new wires into the holes and solder again. Fire, Right, Left, Up, Down, Reset, and Ground. |
 My new wires are approximately 12" long, to give me flexibility in fitting everything into the case. There is one ground wire with multiple connectors for the grounds of all the microswitches. My new wires are approximately 12" long, to give me flexibility in fitting everything into the case. There is one ground wire with multiple connectors for the grounds of all the microswitches. |
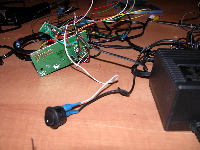 The Namco runs on battery power, but changing batteries will be inconvenient in the new cabinet. So, I dug up a 6 volt power adapter. The wires to the battery pack were snipped, the old power switch was removed from the circuit, and the wires were attached to the old wires. The long cable is kept from the power adapter, so that the power adapter can go in the back of the cabinet. The Namco runs on battery power, but changing batteries will be inconvenient in the new cabinet. So, I dug up a 6 volt power adapter. The wires to the battery pack were snipped, the old power switch was removed from the circuit, and the wires were attached to the old wires. The long cable is kept from the power adapter, so that the power adapter can go in the back of the cabinet. |
|
The electronics consist of the Namco Game ($20), the Power Adapter (another $20), a Joystick ($15), two Arcade Buttons ($3.50), SPST Power Switch ($1), and miscellaneous wires, solder, and solderless connectors ($8), totalling $67.50. The arcade hardware were purchased from GameCabinetsInc.com, the Namco from CircuitCity.com, the power switch, wires, solder, and solderless connectors from Radio Shack.
|
|